Embed a Form on a Salesforce Record Page
Introduction
You can embed a Formcrafts form directly on a Salesforce record page. This is useful for scenarios like allowing users to create a case from a contact record page, or submitting feedback related to an account.
In this guide, we will use the example of embedding a case form on a Contact record page. The form will automatically receive the Contact ID, which can be used to link the case to the contact.
There are three ways to embed a form on a record page:
- Button with Dynamic Actions - Add a button on the record page that opens the form with the Contact ID in the URL
- Visualforce page - Create a Visualforce page that embeds the form inline on the record page
- Lightning Web Component - Create a Lightning component that embeds the form inline on the record page
Prerequisites
Before you begin, set up your form to accept the Contact ID:
- Create your form in Formcrafts (e.g., a case submission form)
- Add a hidden field to store the Contact ID. Note the field reference (e.g., field1)
- Configure your workflow to create a Case in Salesforce, mapping the hidden field to the Contact lookup field
Learn more about using hidden fields and creating records in Salesforce.
Method 1: Button with Dynamic Actions
The simplest approach is to add a button on the record page that opens the form in a new tab, passing the Contact ID as a URL parameter.
Step 1: Get your form’s unique key
Find your form’s unique key under Share → Form key in Formcrafts’ form editor. It will look like:
abcd123Step 2: Create a Button
- In your Salesforce organization, go to Setup → Object Manager → Contact → Buttons, Links, and Actions
- Click New Button or Link
- Configure the button:
- Label: Create case (or your preferred name)
- Name: fc_create_case
- Display Type: Detail Page Button
- Behavior: Display in new window
- Content Source: URL
- Enter the following URL:
https://app.formcrafts.com/abcd123?field1={!Contact.Id}Replace abcd123 with your form’s key, and field1 with your hidden field reference.
- Click Save
Step 3: Add the button to the Record Page
- Go to Setup → Object Manager → Contact → Lightning Record Pages
- Edit the page (or create a new one)
- Click on the Highlights Panel at the top of the page
- In the right sidebar, find Dynamic Actions and click Add Action
- Search for your button (e.g., “Create case”) and add it
- Click Save and Activate the page
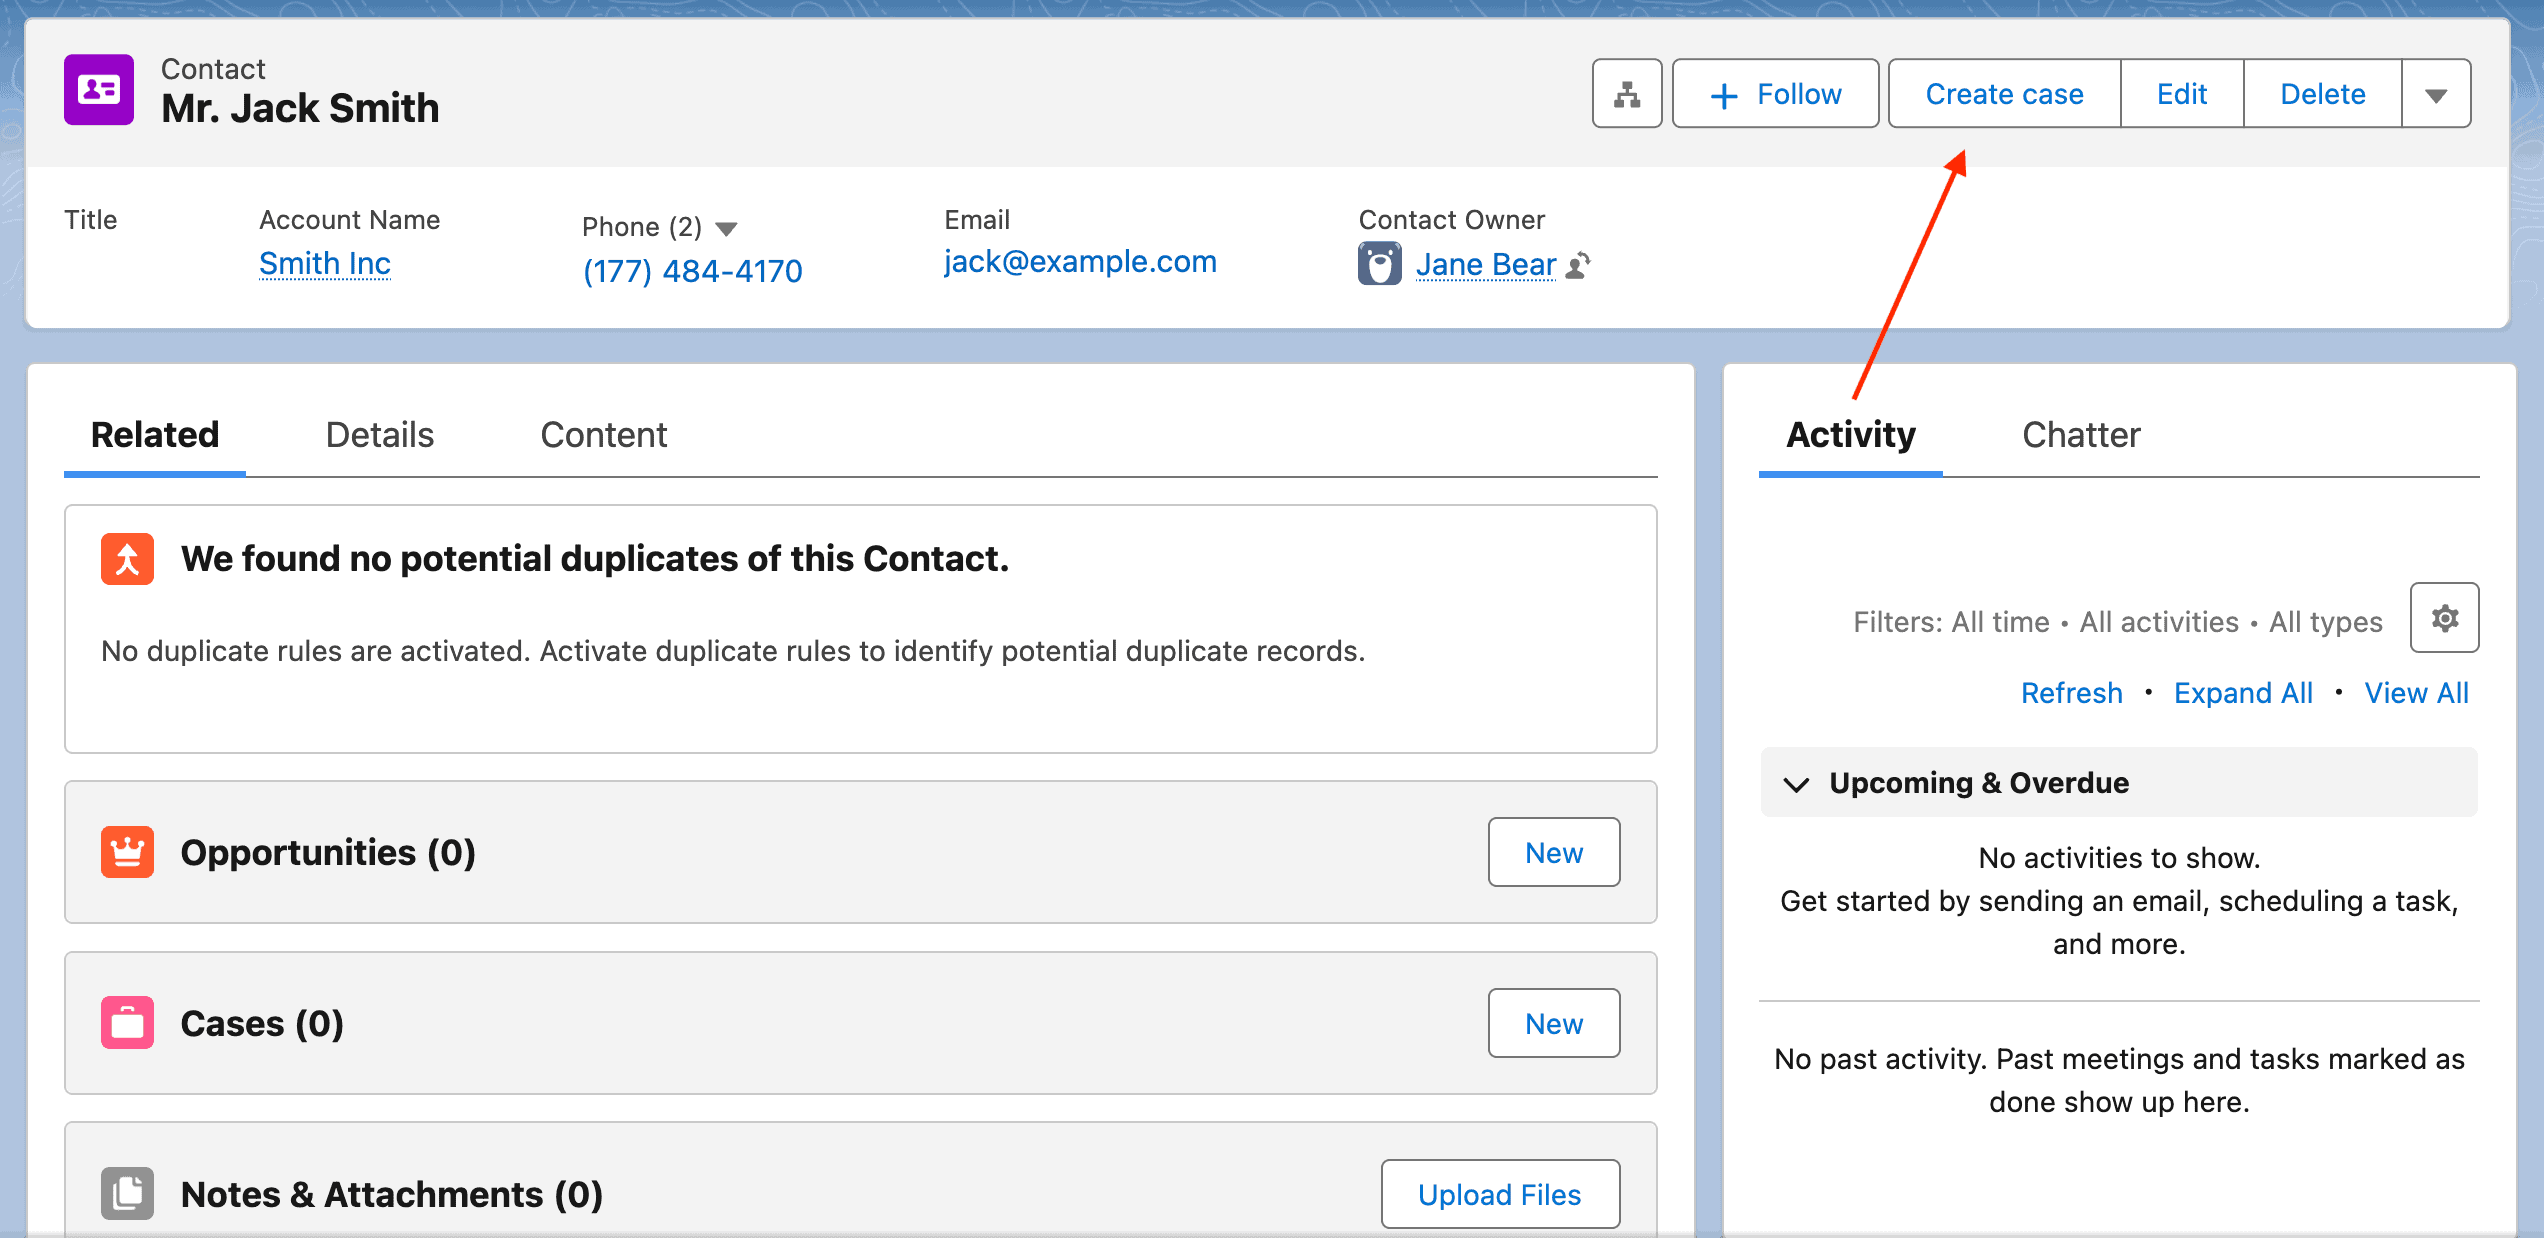
Now, when viewing a Contact record, users will see a “Create case” button in the highlights panel that opens the form with the Contact ID pre-filled.
Method 2: Visualforce page
A Visualforce page allows you to embed the form directly on the record page using the Formcrafts embed.js library.
Step 1: Create the Visualforce page
- Go to Setup → Visualforce Pages
- Click New and enter a name (e.g., “Create case”)
- Paste the following code:
<apex:page standardController="Contact">
  <script src="https://app.formcrafts.com/embed.js"></script>
  <div
    data-fc-key="abcd123"
    data-fc-prefill-field1="{!Contact.Id}"
    data-fc-seamless="true">
  </div>
</apex:page>
Replace abcd123 with your form’s key, and field1 with your hidden field reference.
- Check Available for Lightning Experience, Experience Builder, and the mobile app
- Click Save
Step 2: Add to the record page
- Go to Setup → Object Manager → Contact → Lightning Record Pages
- Edit the page (or create a new one)
- Drag a Visualforce component onto the page
- Select your Visualforce page (e.g., “Create case”)
- Set the height as needed (e.g., 600 pixels)
- Click Save and Activate the page
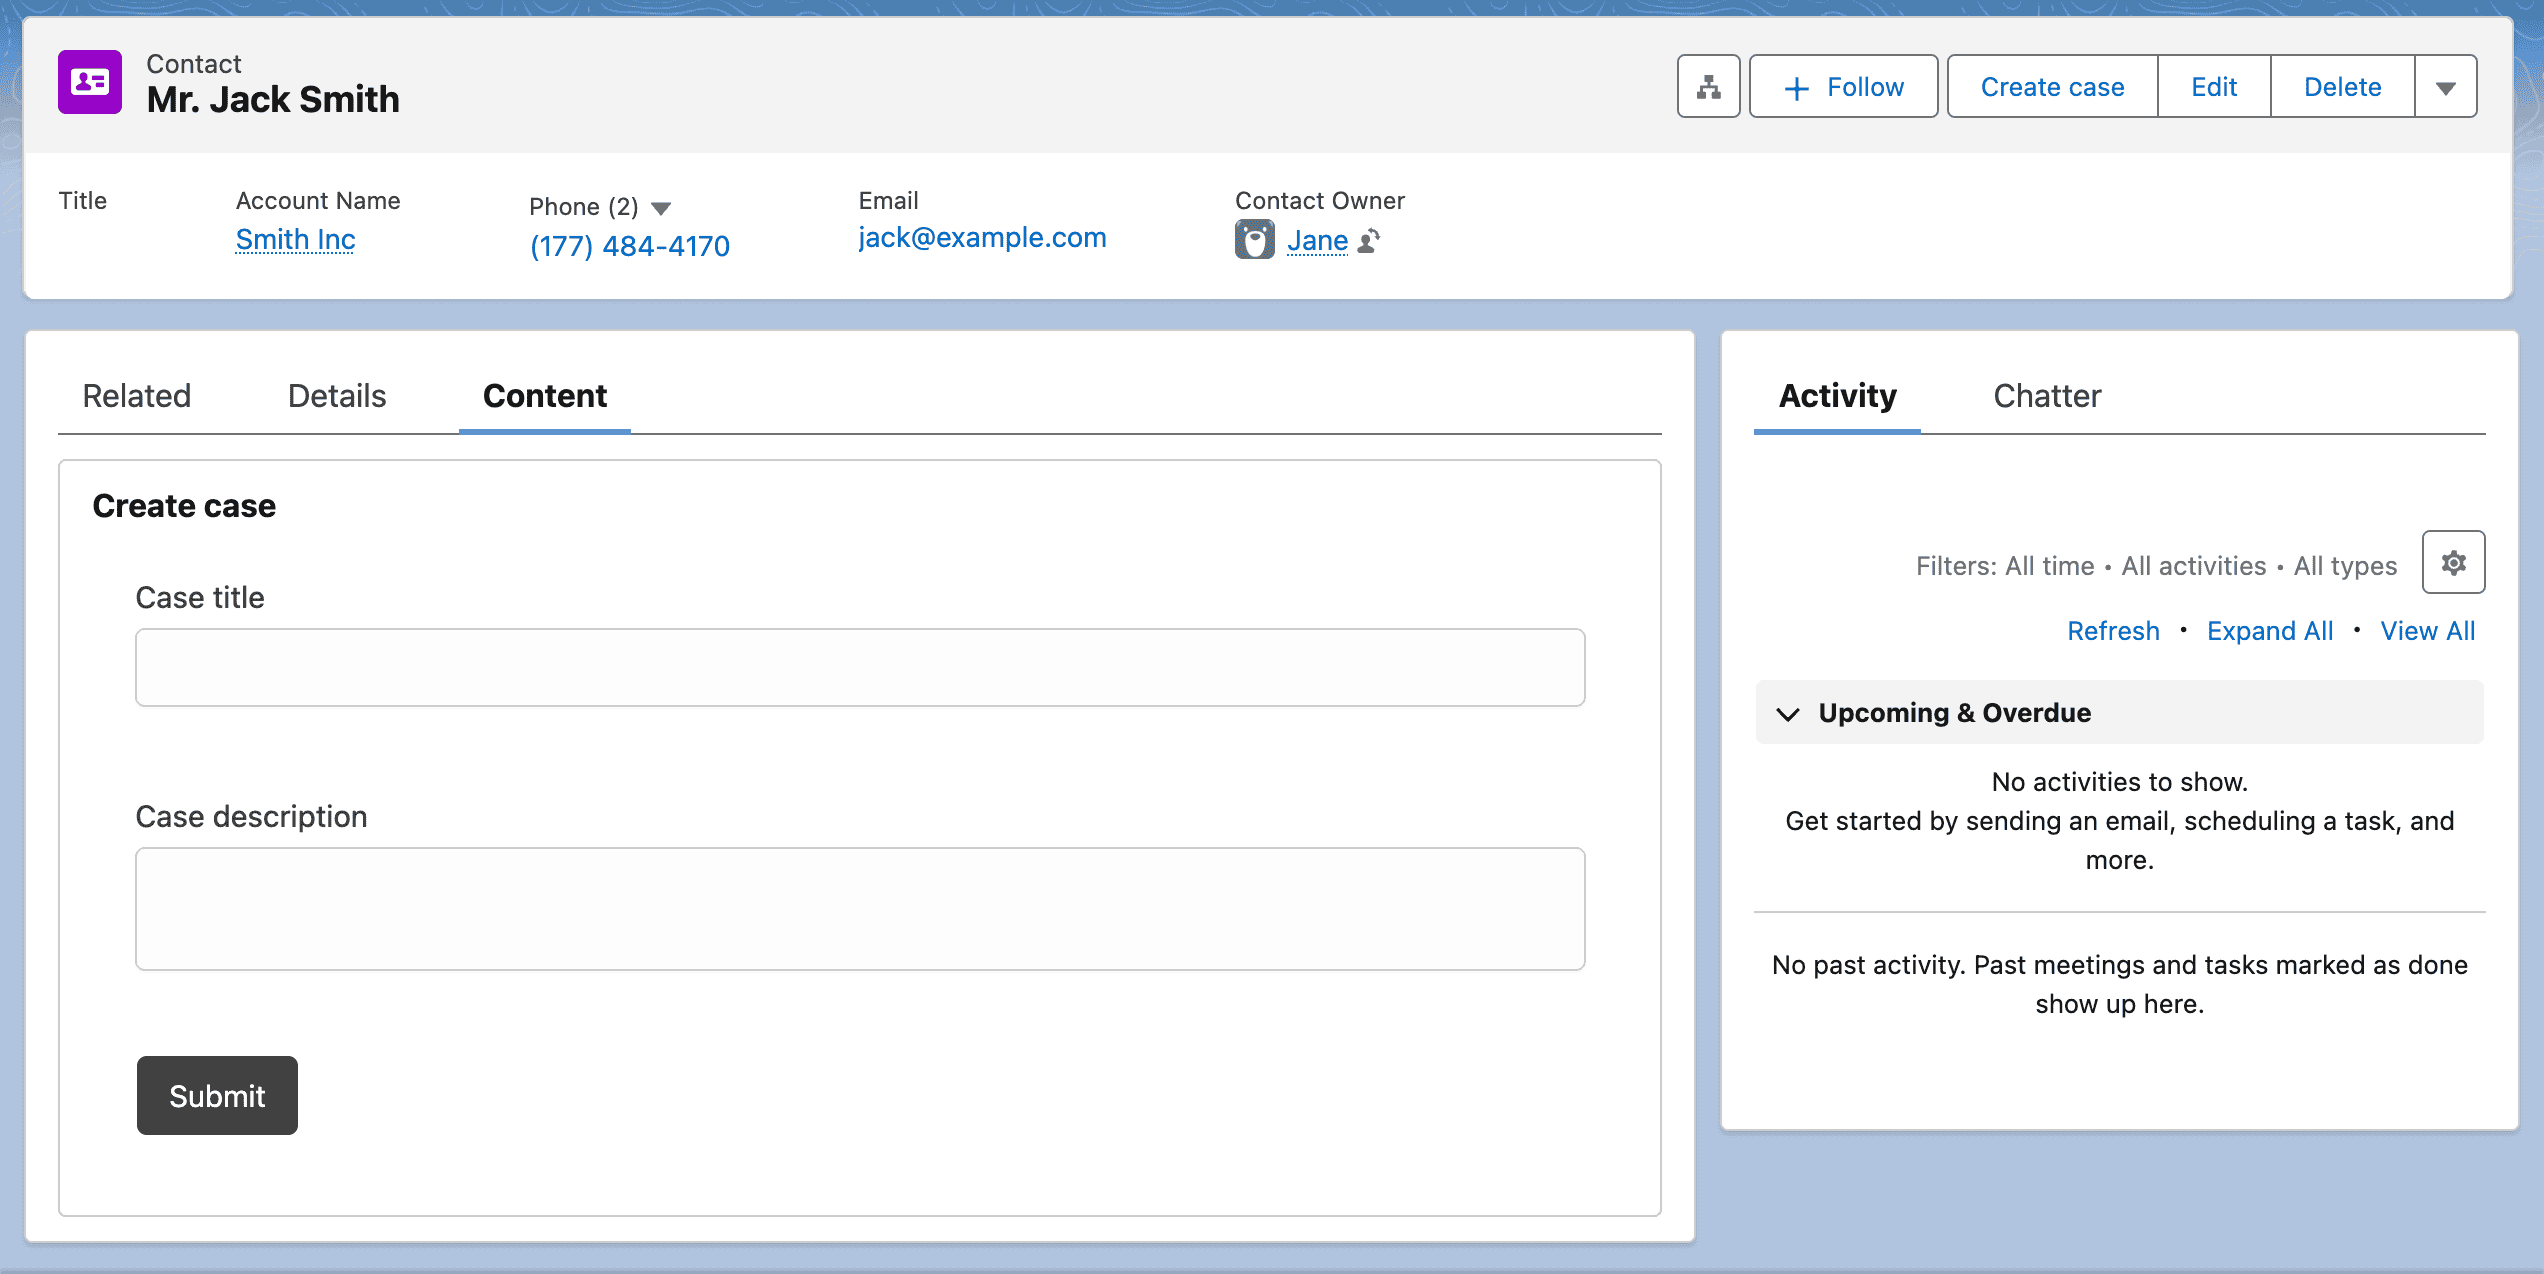
The form will now appear embedded on the Contact record page with the Contact ID automatically prefilled in the hidden field.
Method 3: Lightning Web Component
This method is a more advanced approach using a Lightning Web Component to embed the form inline on the record page. This approach is more flexible since it allows you to specify the form key in the Lightning App Builder, and has auto-adjusting height.
Step 1: Create the Lightning Web Component
Create a new Lightning Web Component in your Salesforce org (via Developer Console or VS Code with Salesforce CLI). Name the component formcraftsForm.
formcraftsForm.html:
<template>
  <div lwc:dom="manual" class="formcrafts-container"></div>
  <template if:true={isLoading}>
    <lightning-spinner
      alternative-text="Loading form..."
      size="medium"></lightning-spinner>
  </template>
  <template if:true={error}>
    <div class="slds-text-color_error">{error}</div>
  </template>
</template>
formcraftsForm.js:
import { LightningElement, api, track } from 'lwc';

export default class FormcraftsForm extends LightningElement {
    @api formKey = '';
    @api prefillField = '';
    @api recordId;

    @track isLoading = true;
    @track error = null;

    formInstance = null;
    scriptLoaded = false;

    connectedCallback() {
        this.loadFormcraftsScript();
    }

    disconnectedCallback() {
        if (this.formInstance) {
            this.formInstance.destroy();
        }
    }

    loadFormcraftsScript() {
        if (window.formcrafts_embed) {
            this.scriptLoaded = true;
            this.initializeForm();
            return;
        }

        const script = document.createElement('script');
        script.src = 'https://app.formcrafts.com/embed.base.js';
        script.onload = () => {
            this.scriptLoaded = true;
            this.initializeForm();
        };
        script.onerror = () => {
            this.isLoading = false;
            this.error = 'Failed to load Formcrafts embed script.';
        };
        document.head.appendChild(script);
    }

    initializeForm() {
        if (!this.formKey) {
            this.isLoading = false;
            this.error = 'Form key is required. Please configure the component.';
            return;
        }

        const container = this.template.querySelector('.formcrafts-container');
        if (!container || !window.formcrafts_embed) {
            return;
        }

        try {
            const config = {
                form: this.formKey,
                target: container,
                seamless: true,
                width: null,
                redirectWithin: true
            };

            if (this.prefillField && this.recordId) {
                config.values = {
                    [this.prefillField]: this.recordId
                };
            }

            this.formInstance = window.formcrafts_embed.createInlineForm(config);

            this.formInstance.on('load', () => {
                this.isLoading = false;
            });
        } catch (err) {
            this.isLoading = false;
            this.error = 'Failed to initialize form: ' + err.message;
        }
    }
}
formcraftsForm.js-meta.xml:
<?xml version="1.0" encoding="UTF-8"?>
<LightningComponentBundle xmlns="http://soap.sforce.com/2006/04/metadata">
  <apiVersion>59.0</apiVersion>
  <isExposed>true</isExposed>
  <targets>
    <target>lightning__AppPage</target>
    <target>lightning__RecordPage</target>
    <target>lightning__HomePage</target>
    <target>lightning__Tab</target>
  </targets>
  <targetConfigs>
    <targetConfig targets="lightning__AppPage,lightning__RecordPage,lightning__HomePage">
      <property name="formKey" type="String" label="Form Key"
        description="Your Formcrafts form key (e.g., abcd123)" required="true"/>
      <property name="prefillField" type="String" label="Prefill Field"
        description="The ID of the form field to prefill with the record ID (e.g., field1)"/>
    </targetConfig>
  </targetConfigs>
</LightningComponentBundle>
Step 2: Add CSP Trusted Site
- Go to Setup → CSP Trusted Sites
- Click New Trusted Site
- Enter a name (e.g., “Formcrafts”) and the URL
https://app.formcrafts.com - Check Allow site for scripts
- Click Save
Step 3: Add to the record page
- Go to Setup → Object Manager → Contact → Lightning Record Pages
- Edit the page (or create a new one)
- Find your component (e.g., “formcraftsForm”) in the custom components section
- Drag it onto the page
- Configure the component properties:
- Form Key: Enter your Formcrafts form key (e.g.,
abcd123) - Prefill Field: Enter the field reference to prefill with the Record ID (e.g.,
field1)
- Form Key: Enter your Formcrafts form key (e.g.,
- Click Save and Activate the page
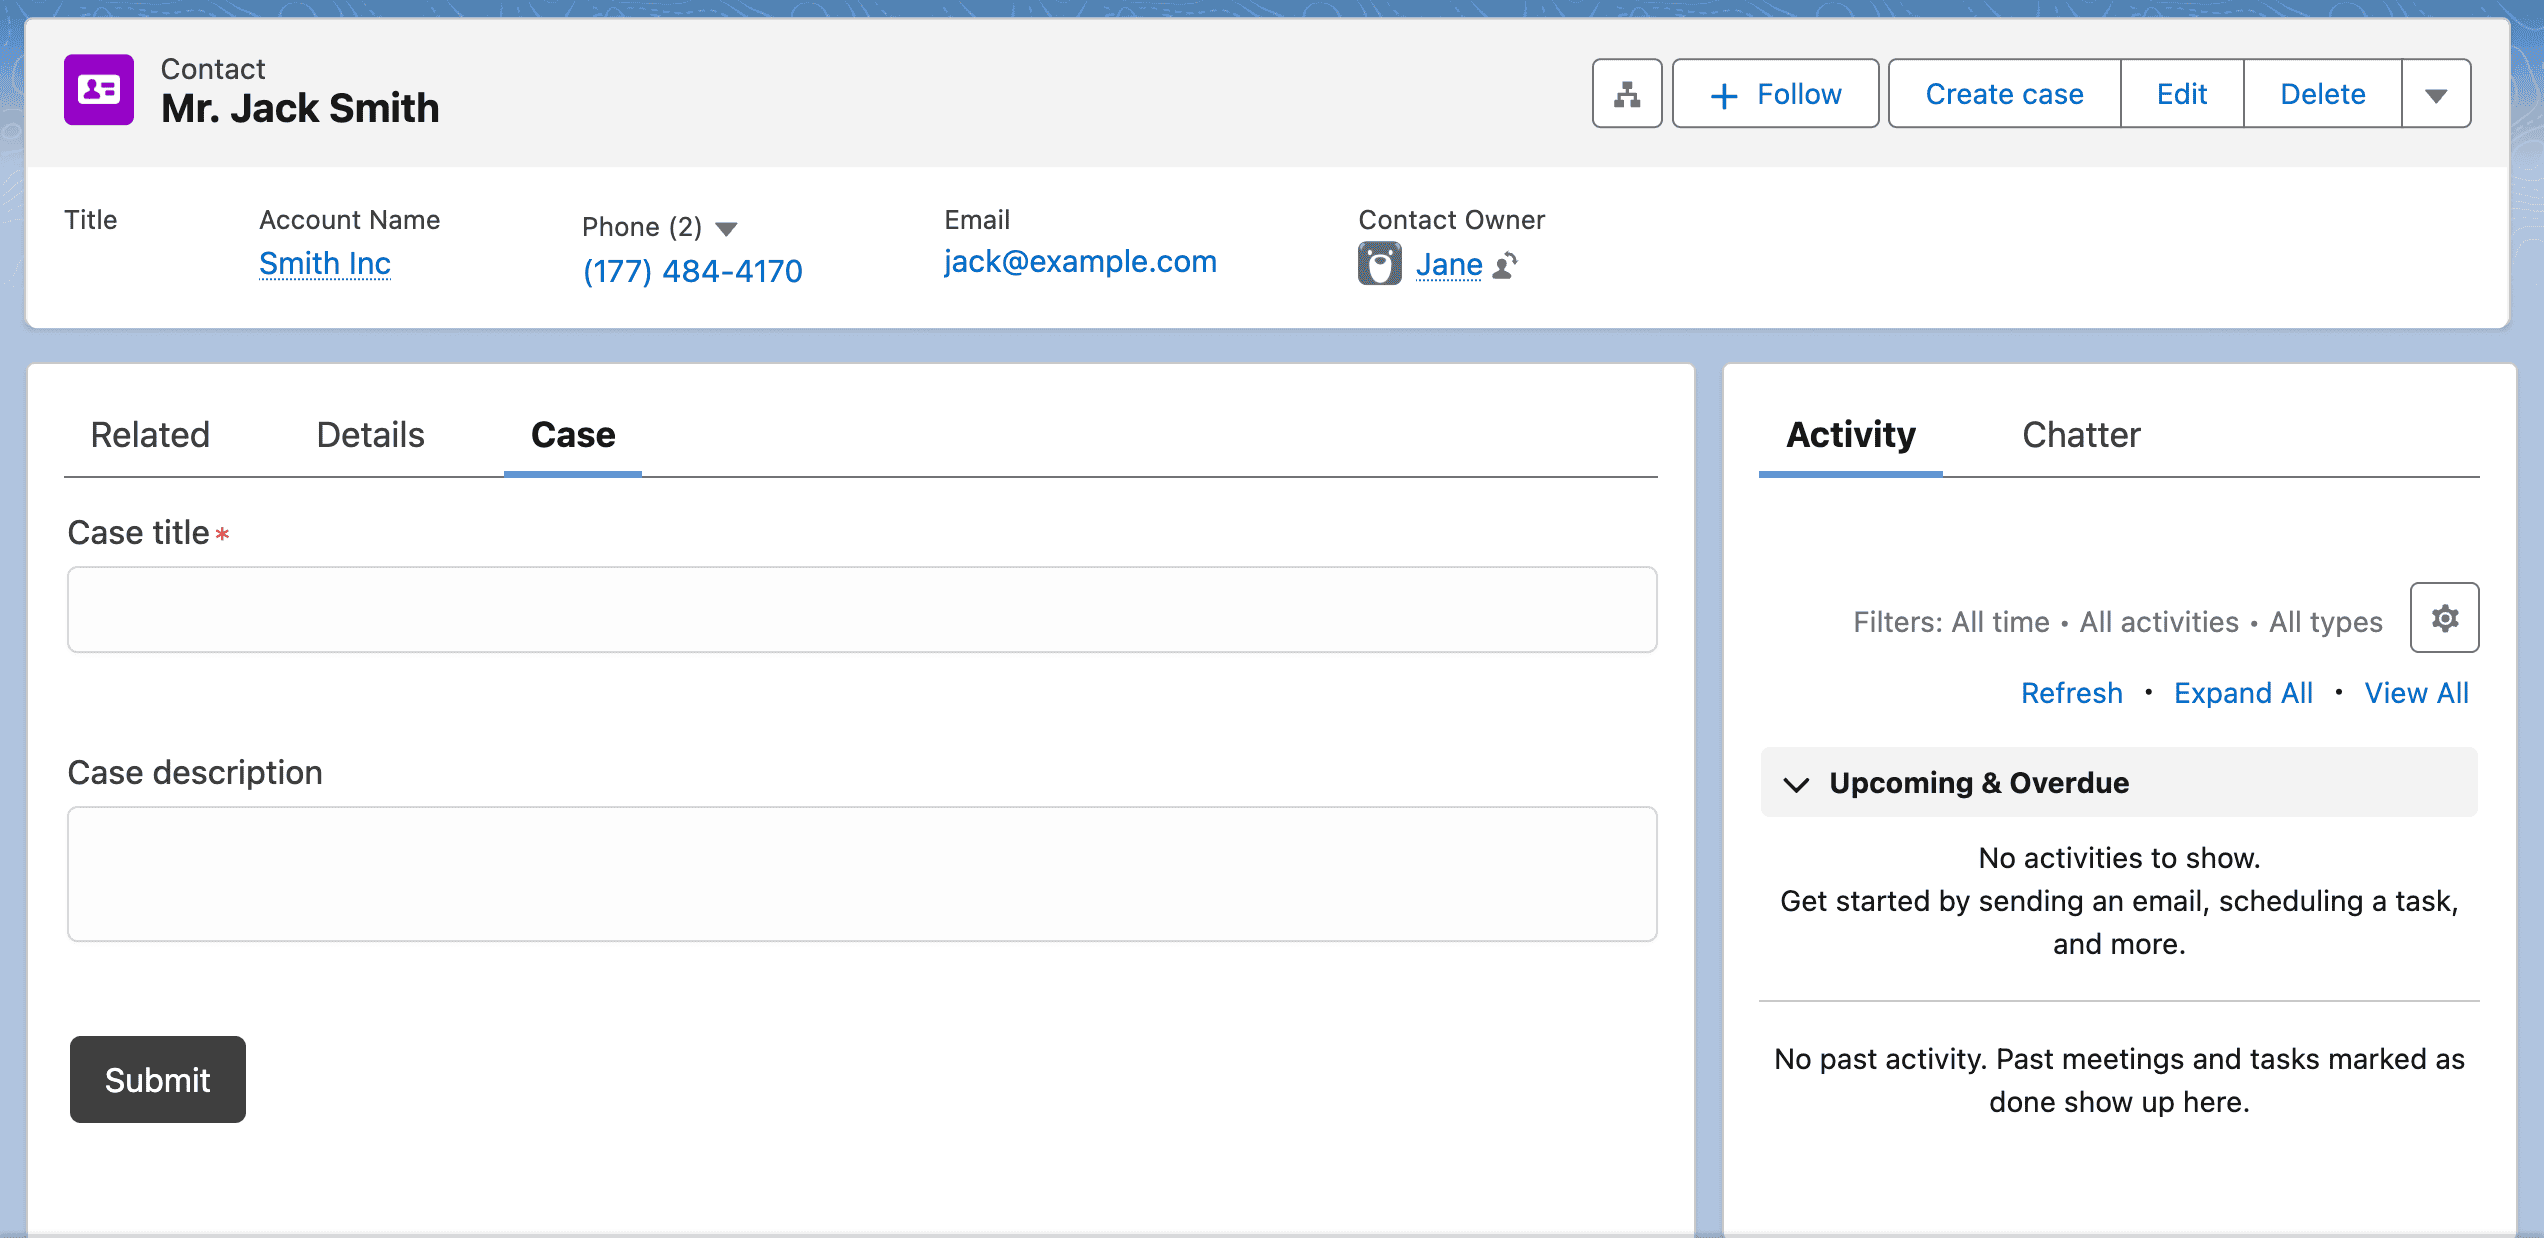
The Record ID is automatically passed to the form when placed on a Record Page. This works with any Salesforce object (Contact, Account, Lead, etc.).
Comparison
| Feature | Button | Visualforce | Lightning Component |
|---|---|---|---|
| Setup complexity | Low | Medium | High |
| Passes Record ID | Yes | Yes | Yes |
| Embedded on page | No | Yes | Yes |
| Auto height adjustment | N/A | No | Yes |
| Configurable in App Builder | No | No | Yes |
Notes
- The Contact ID passed to the form can be used with Salesforce lookups to fetch additional contact data and prefill other fields
- You can adapt these methods for other Salesforce objects (Account, Lead, Opportunity, etc.) by changing the object references