Dynamic Lookup
Introduction
Field references are a way to recall information from other fields.
Math calculations take this a step further by allowing you to create calculated fields in your forms by using field references as variables.
Lookup allows you to fetch real-time data from an external source based on form input.
Here are some real-world examples of using lookups:
- Analyze the sentiment of a user’s comment in real-time, and show different questions based on the sentiment.
- Perform a real-time currency conversion by fetching the latest exchange rates from an external API.
- Find the selected contact in a Google Sheet and prefill their email address in the form.
Available sources
Currently, Formcrafts supports the following lookup sources:
- HubSpot: Lookup a record from your HubSpot CRM. You can either specify an object type, or use HubSpot Query Language (HQL) to fetch records. Learn more in our HubSpot prefill tutorials.
- Salesforce: Lookup a record from your Salesforce CRM. You can either specify an object type, or use SOQL to fetch records. Learn more in our Salesforce prefill tutorial.
- Zendesk: Lookup an existing ticket from your Zendesk account. You can either specify a ticket ID, or use Zendesk Query Language (ZQL) to fetch tickets. Learn more in our Zendesk prefill tutorial.
- Remote URL: Fetch data from any external API endpoint that returns JSON data. This is the most flexible option, and can be used to integrate with any third-party service that provides an API. (Read below for a detailed example.)
- Google Sheets: Lookup data from a Google Sheets spreadsheet. (Read below for a detailed example.)
Remote URL usage
We will create a simple feedback comment form and use lookup via Remote URL to fetch the sentiment of a user’s comment in real-time. We will then show different questions based on the sentiment.
Create a new form
Let’s create a simple sentiment analysis feedback form, using the Remote URL method.
On your Formcrafts dashboard ↗ click on Add Form → Start from scratch. Enter a Form name and hit enter. This will create a new form.
You can also create a new form by clicking on Add Form → Use a Template and selecting a template. This would allow you to skip this step. We have a large collection of survey and feedback form templates ↗ that you can use. Here is a popular CSAT survey template ↗.
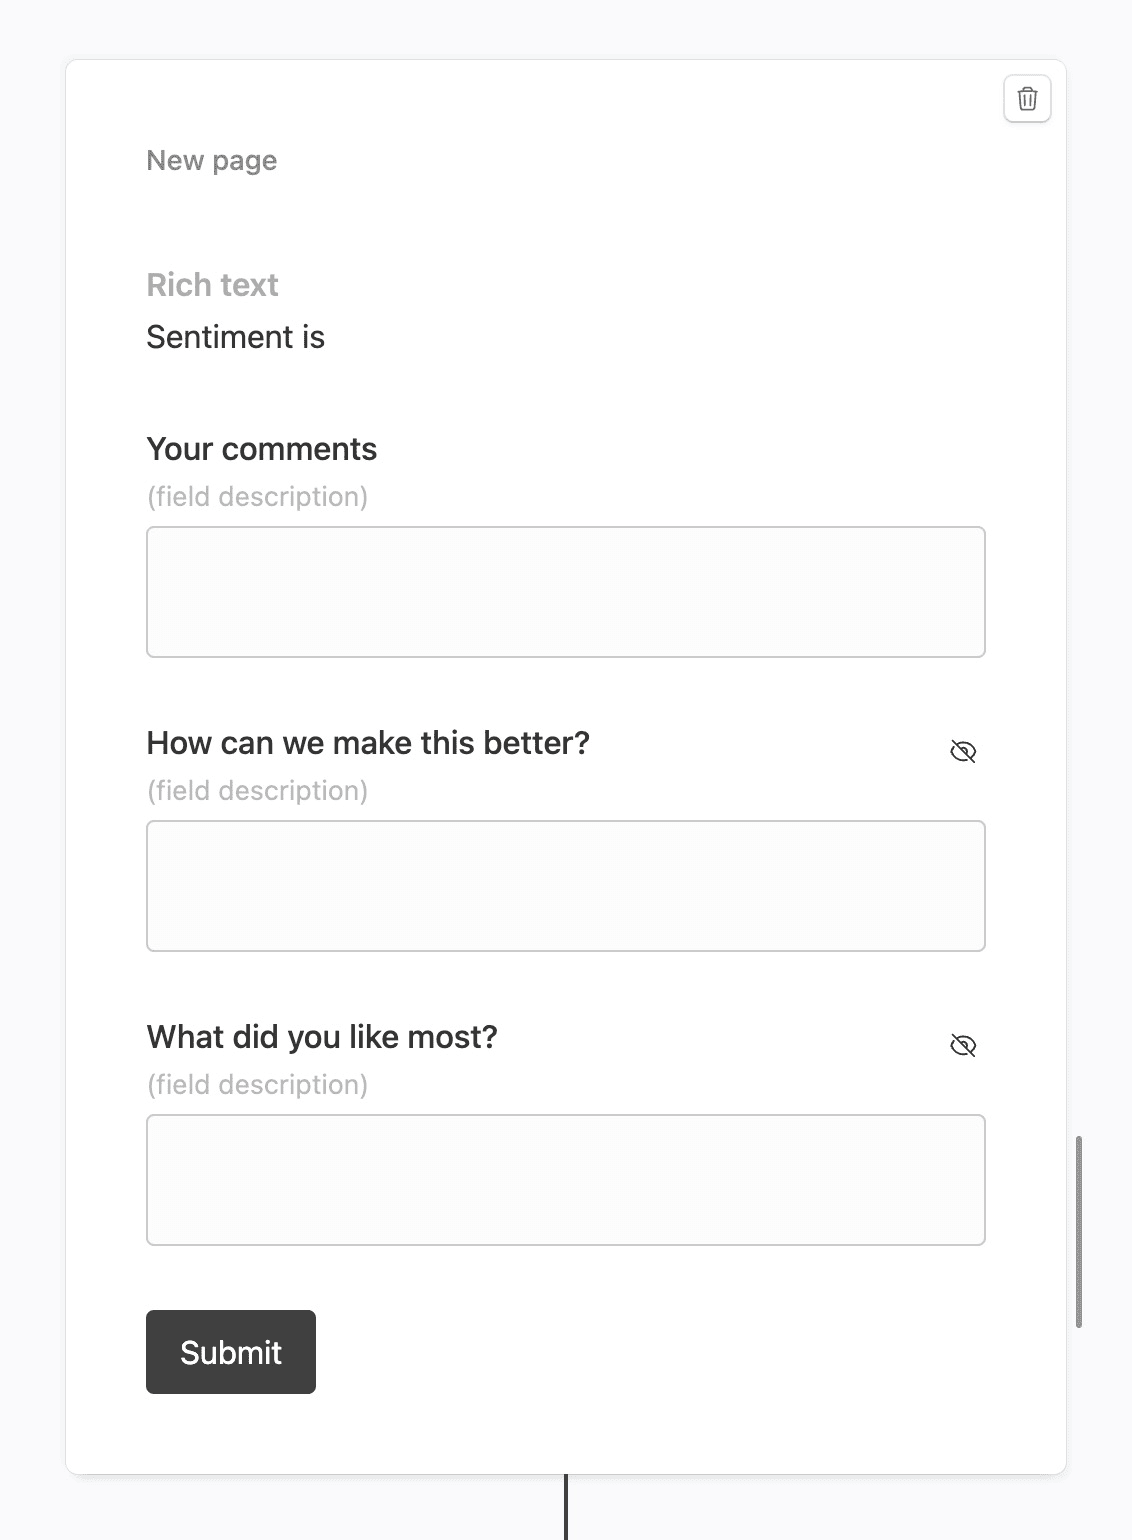
Now add some basic fields to your form using the Add field button on the top-left corner of the form editor:
- Rich text
- Your comments (Comment)
- How can we make this better? (Comment)
- What did you like most? (Comment)
Create a lookup
Click on the Lookups button on the top-left corner of the form editor, and then click on the Add lookup button.
Now edit the new lookup, and under (select source) find Remote URL. Use this URL as the source:
https://api.formcrafts.com/public/sentiment?text={field1}(Note that the above URL returns a random sentiment, and should only be used for demonstration purposes.)
Apart from the URL you can also set an authorization header, like Bearer token or Basic username:password. We recommend creating a special and restricted token for this purpose.
We are referencing the field Your comments in the URL. Formcrafts will now watch this field and periodically send the value to the URL we provided.

The URL will return a JSON object like:
{
  "sentiment": "happy",
  "meta": {
    "characters_input": 3,
    "characters_output": 5,
    "words": 1
  }
}
In the Returned values field, enter comma-separated JSONPath expressions to extract from the response. This allows you to extract specific fields from the JSON response.
Learn more about JSONPath syntax →
Show sentiment
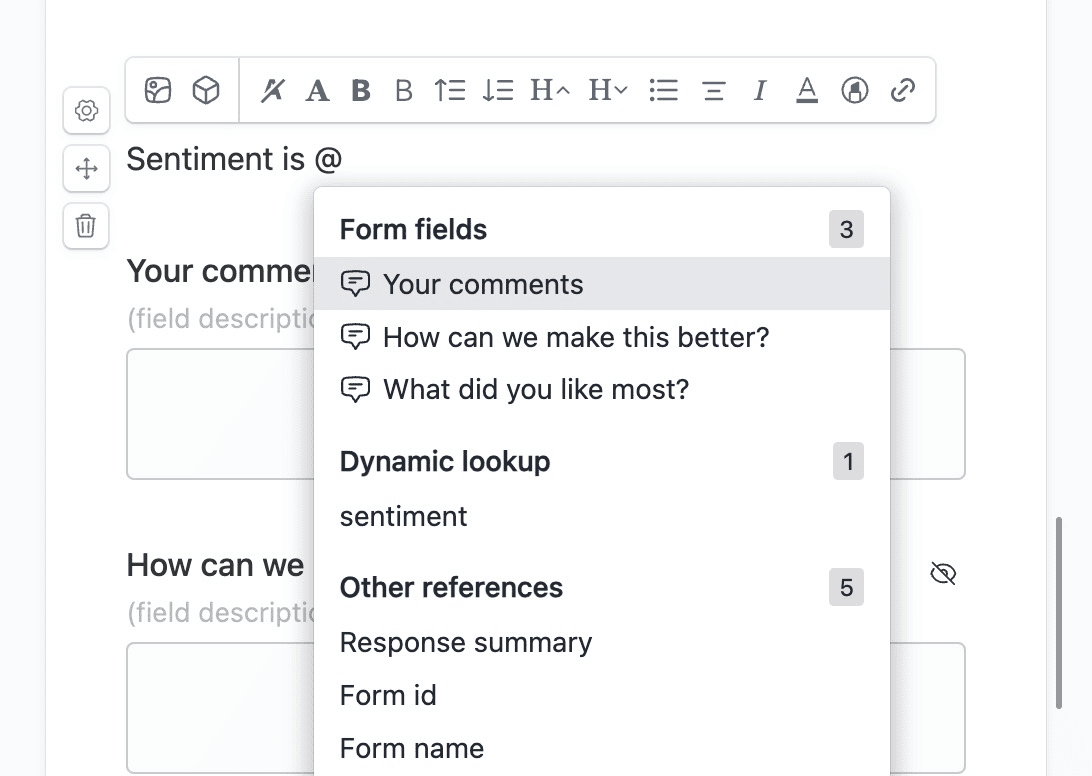
When you edit the rich text field and press @ you will see the sentiment field under Lookups.
By using Sentiment is @sentiment, we can show the sentiment in the rich text field.
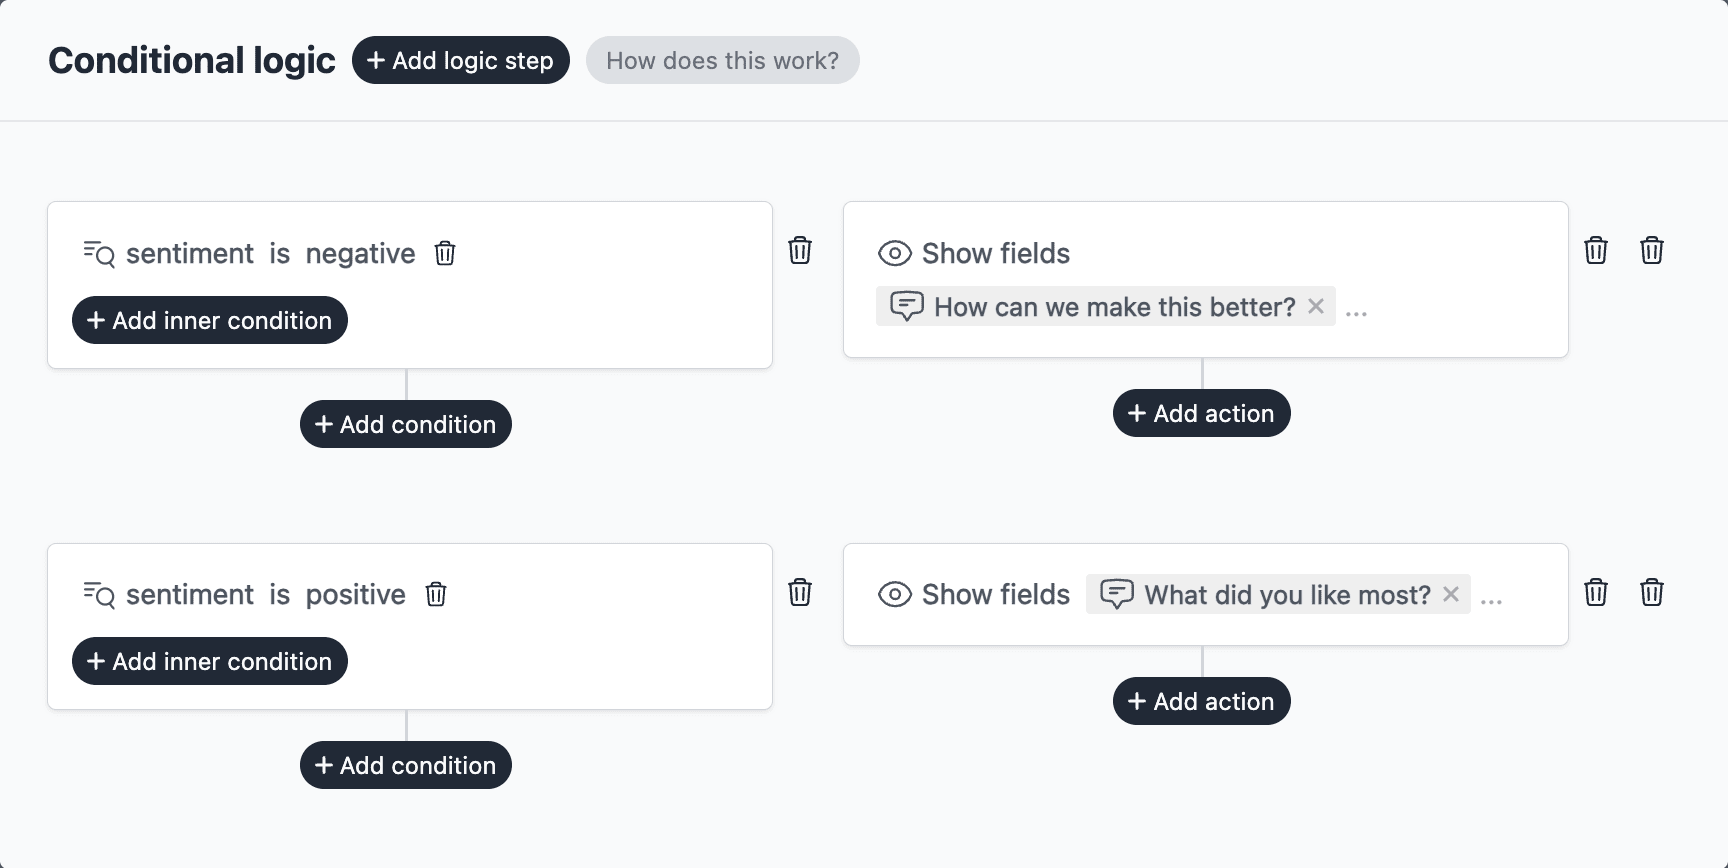
Use conditional logic
We can use conditional logic to show different questions based on the sentiment.
We want to show How can we make this better? if the sentiment is negative, and What did you like most? if the sentiment is positive.
Click on the Conditional logic button on the top-left corner of the form editor, and add two logic steps:
Save and test
Click on the Preview button on the top-right corner of the form editor, and test the form.
Note: Our sentiment API is rather crude and should only be used for demonstration purposes. In a real-world scenario, you would use a more sophisticated sentiment analysis API.
Google Sheets
You can also use Google Sheets as a lookup source. This allows you to fetch data from a Google Sheets spreadsheet based on user input. Let’s look at an example where you have a Google Sheet called Customer list with customer names, cities, and email addresses. We want to create a form where users can select a customer name from a dropdown, and the form automatically fetches their email address.

Create a new form
Create a new form and add a dropdown field called Select a contact. Configure the dropdown to fetch options from Google Sheets ↗. You will need to connect your Google account if you haven’t already.
Create a lookup
Click on the Lookups button on the top-left corner of the form editor, and then click on the Add lookup button.
Edit the new lookup and select Google Sheets as the source.
Configure the lookup:
- File: Select your Google Sheets file (Customer list)
- Sheet: Select the sheet containing your data (customers)
- Lookup rules: Set the condition to find the matching row. In this case, we want to find the row where the Name column matches the value of our dropdown field.
- Columns: Select the columns you want to retrieve. Here we select Email since that’s the data we want to prefill.

Use the lookup result
Once configured, the Email column becomes available as a reference in your form. You can use it to:
- Prefill an email field by setting its default value to the lookup reference
- Display it in a rich text field using the @ reference
- Use it in conditional logic rules
In this example, we will display the email address in a rich text field. Edit the form to add a rich text field and set its content to:

You can reference fields or lookup results by pressing @ while editing a rich text field.
Save and test
Click on the Preview button on the top-right corner of the form editor, and test the form.