Embed Forms on a Zendesk Help Center
Before you start make sure you already have a ticket form that is connected to Zendesk. If you don’t have a form yet, following the instructions here to create a Zendesk ticket form.
Get the field IDs
In the ticket form tutorial we created Name and Email fields to ask for the user’s name and email address.
If the users is logged into the Help Center, we can use the user’s name and email address to prefill these fields.
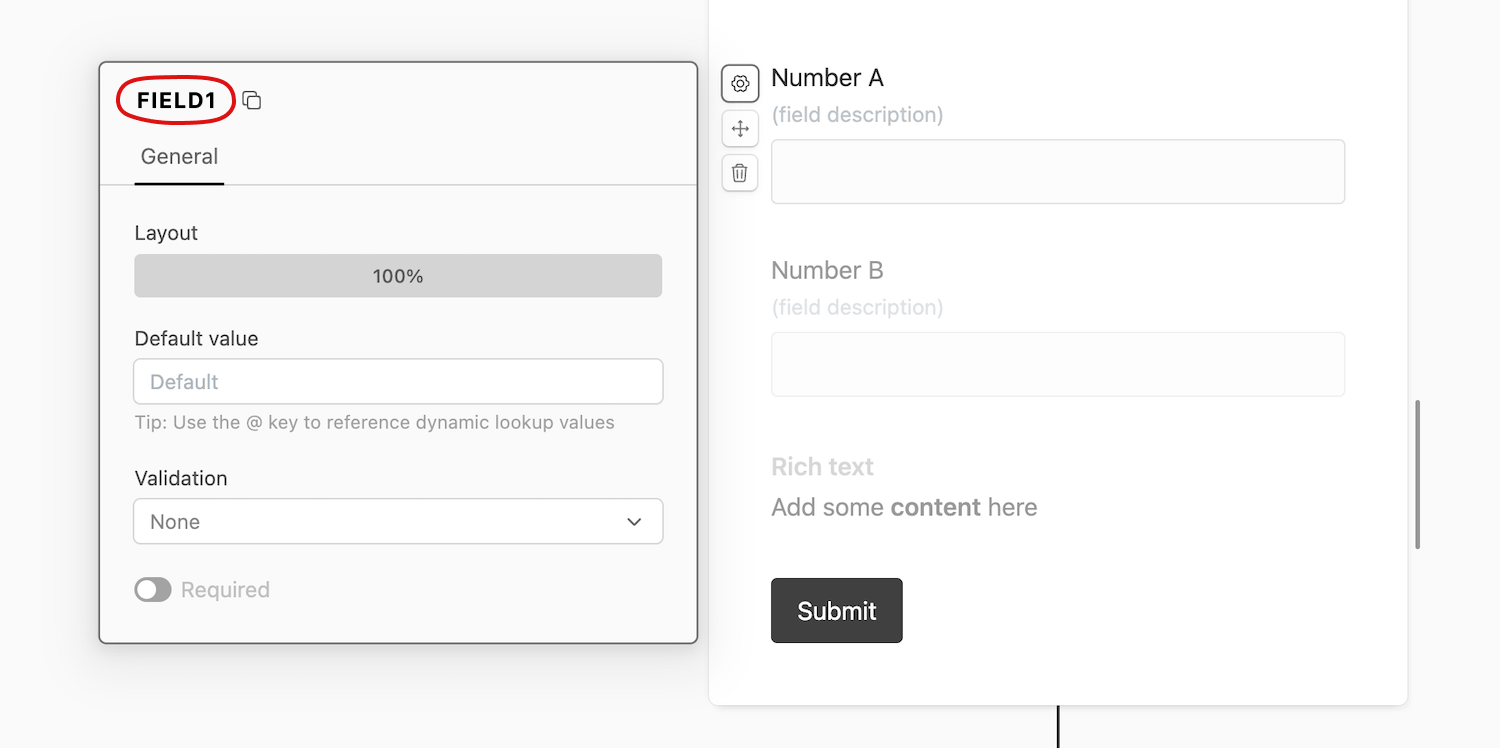
To make this work grab the field IDs of the Name and Email fields.
Get the embed code
Go to Share → Embed on a page in the form builder. Here you can enable Seamless mode which will modify your embed code to ensure your form is without borders and background, allowing it to blend seamlessly with your Zendesk Help Center.
Copy the inline embed code on this page.
Edit the Zendesk theme
The below steps also work when embedding the form in a Zendesk article. However, before you proceed you have to allow the option to display unsafe content in your Zendesk Guide.
- In Guide click the Settings icon in the sidebar.
- Under Guide Settings > Security, check Display Unsafe Content.
- Click Update.
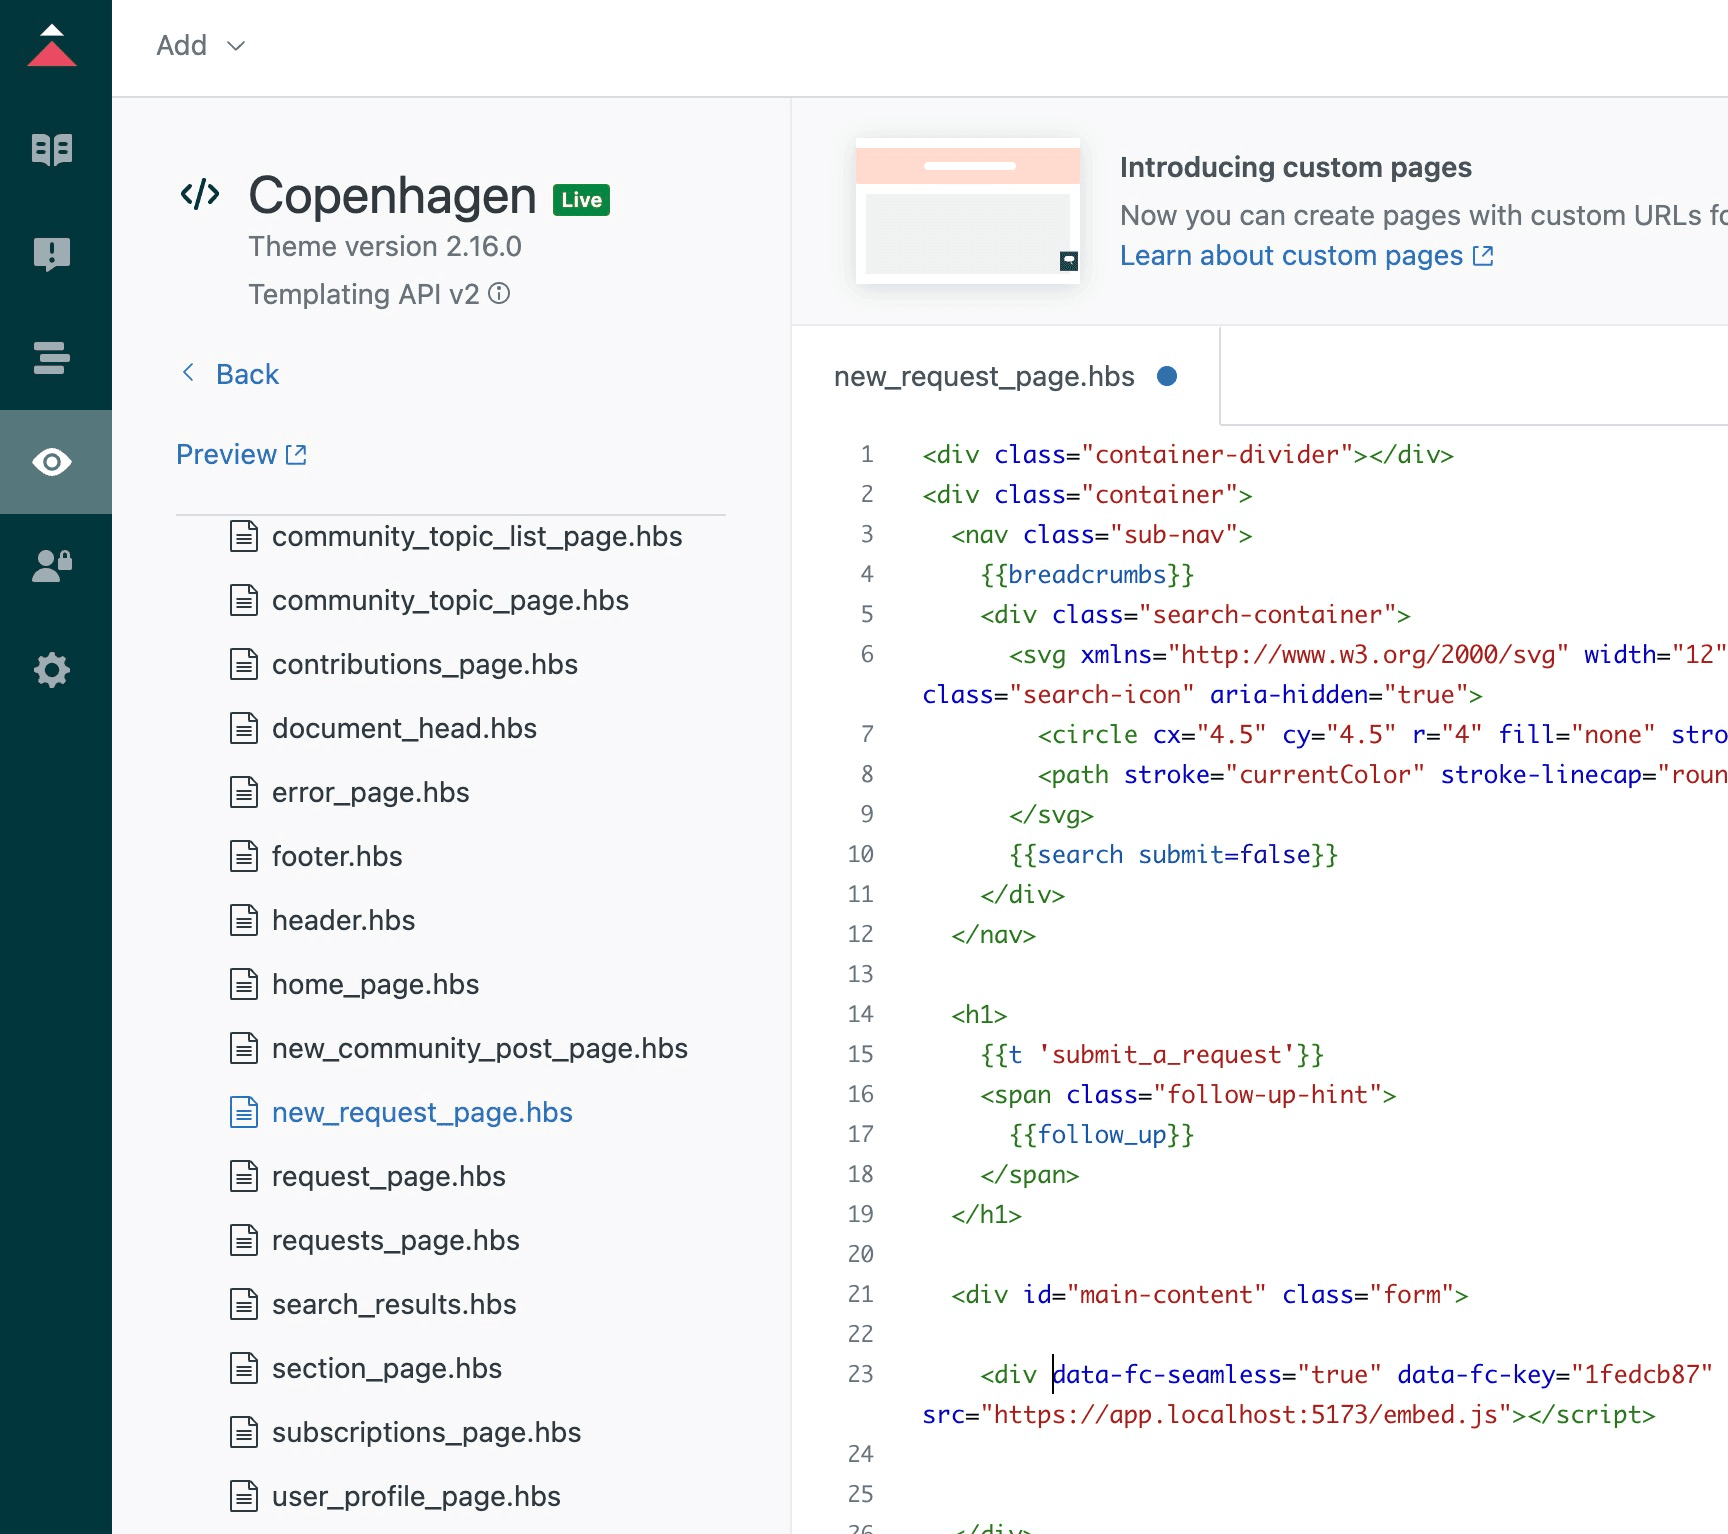
Go to your Zendesk Guide and click on Guide Admin → Customize design and click on the Customize link next to your theme. Now look for the Edit code button.
We will now edit the new_request_page.hbs file. This file is used to display the form for creating a new ticket.
If this file already has a form, you can remove it and replace it with the embed code we copied earlier.
Your embed code should look something like this:
<div
data-fc-seamless="true"
data-fc-key="abcd1234"
style="max-width:500px;height:600px"></div>
<script src="https://app.formcrafts.com/embed.js"></script>
We have to modify this to prefill the name and email fields. Assuming the field IDs are field1 and field2, we can modify the embed code to:
<div
data-fc-prefill-field1="window.HelpCenter.user.name"
data-fc-prefill-field2="window.HelpCenter.user.email"
data-fc-seamless="true"
data-fc-key="abcd1234"
style="max-width:500px;height:600px"></div>
<script src="https://app.formcrafts.com/embed.js"></script>
window.HelpCenter.user.name and window.HelpCenter.user.email are the variables that Zendesk uses to store the user’s name and email address.
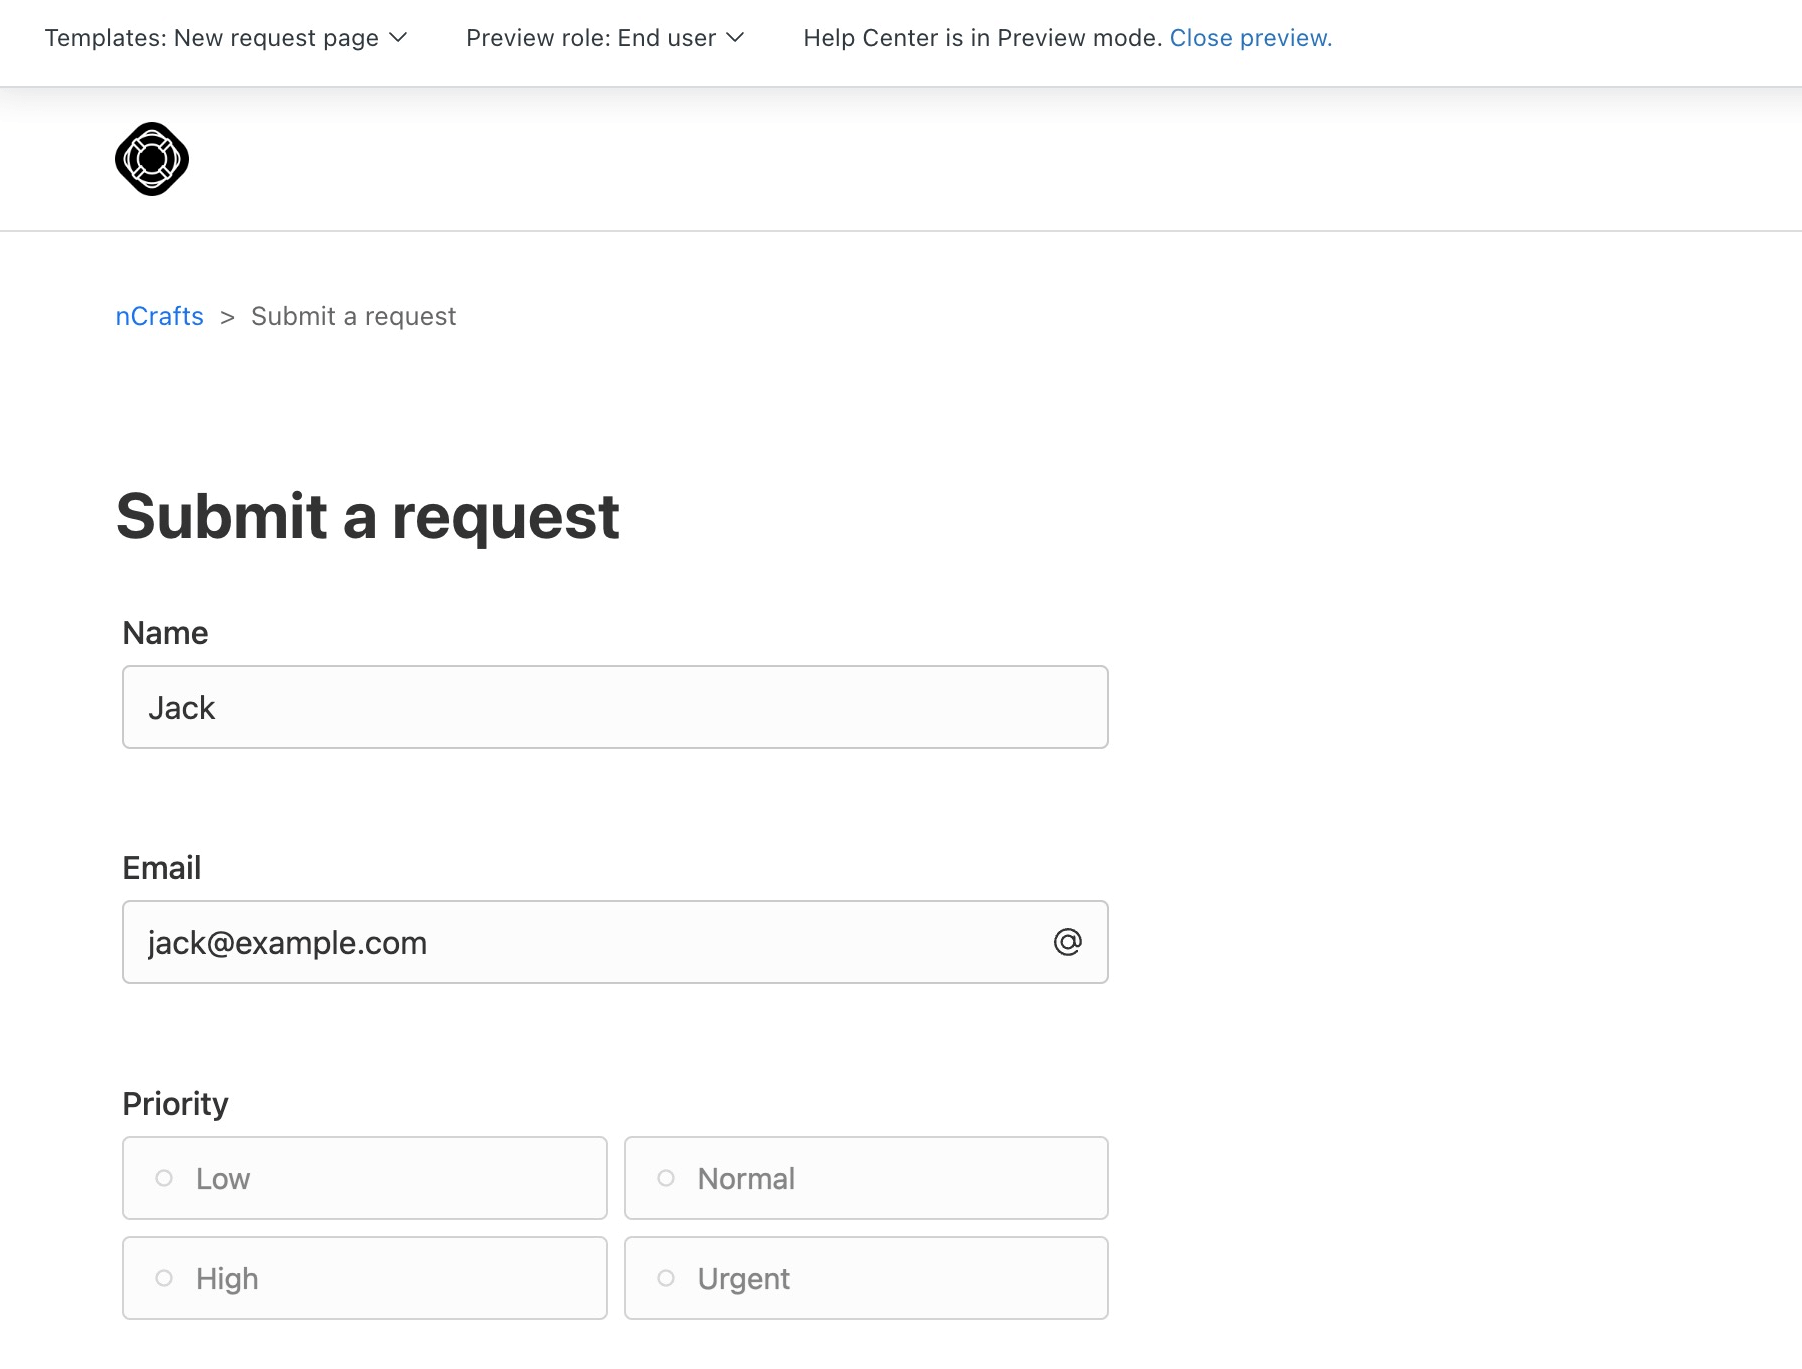
Now click on Publish and preview your Help Center. You should see the form embedded in the new request page.