Create Front Contacts and Messages
Introduction
Front workflow allows you to turn new form responses into messages and contacts in Front. This can allow you to create customer support forms ↗, or contact us forms ↗ that leverage the power of Formcrafts while also allowing you to manage the responses in Front.
Create a new form
On your Formcrafts dashboard ↗ click on Add Form → Start from scratch. Enter a Form name and hit enter. This will create a new form.
You can also create a new form by clicking on Add Form → Use a Template and selecting a template. This would allow you to skip this step.
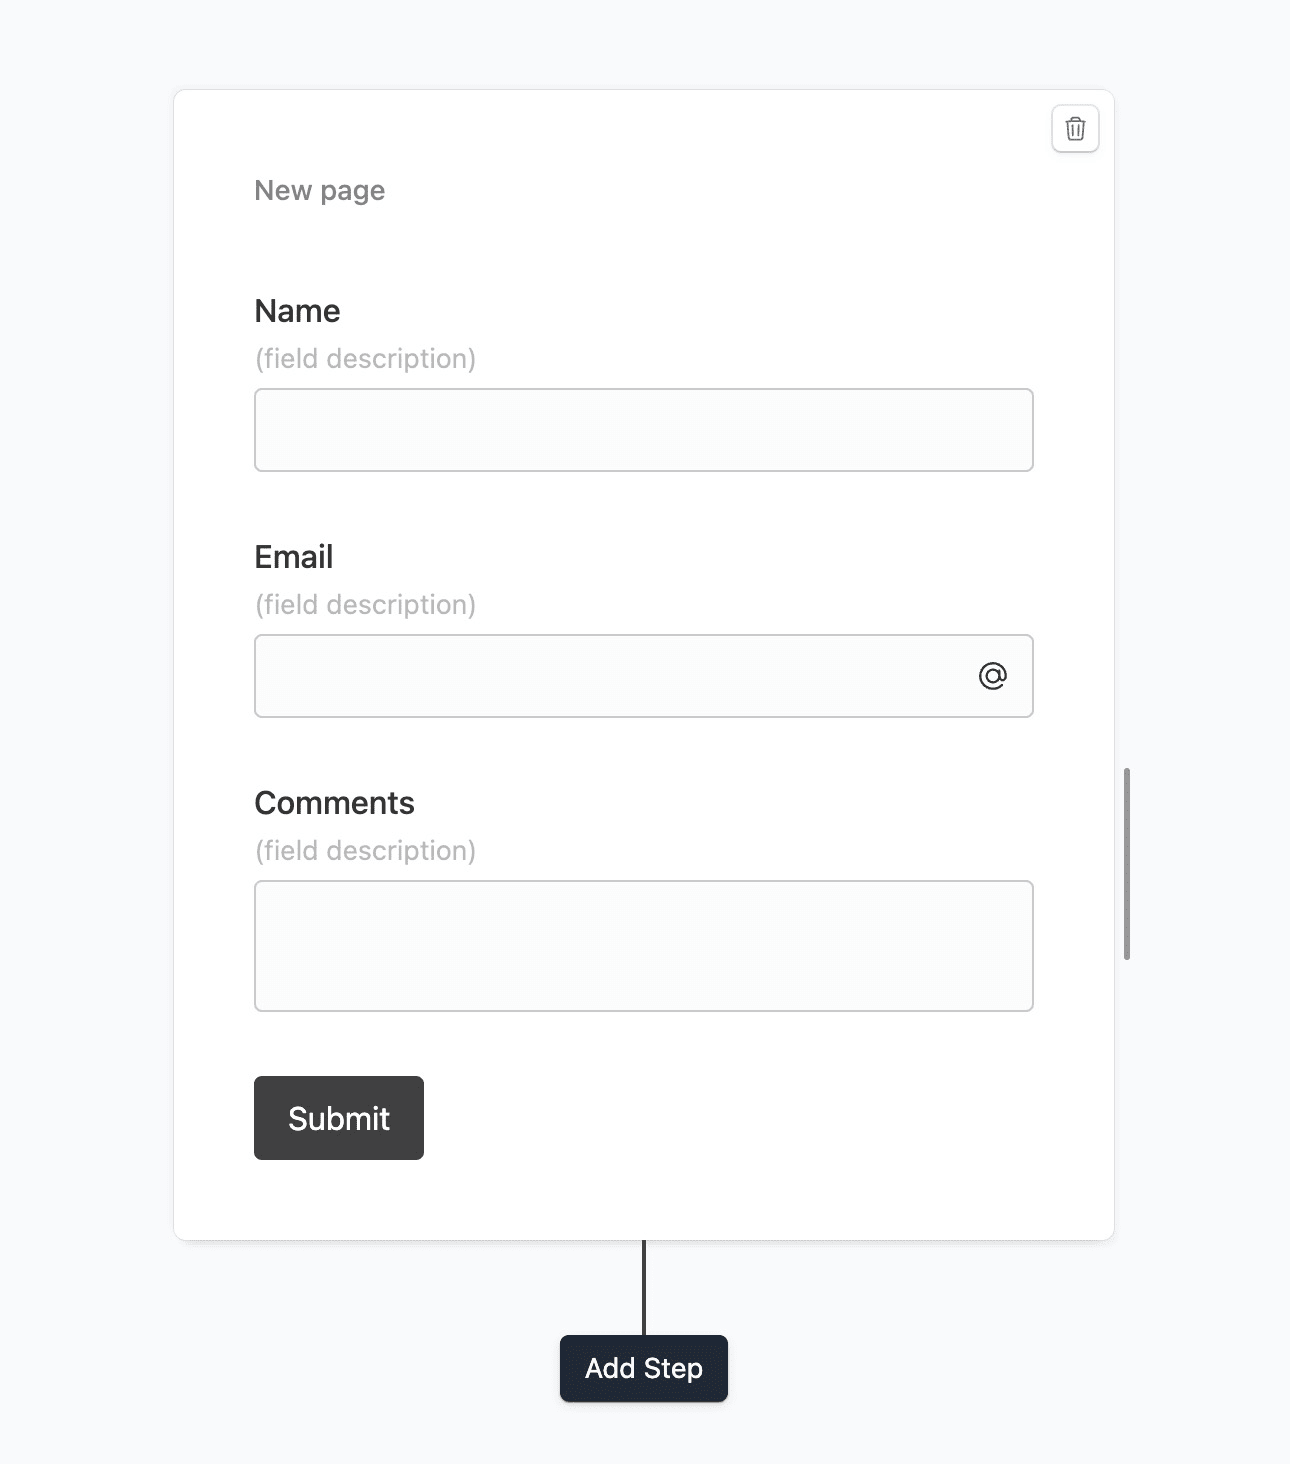
Now add some basic fields to your form using the Add field button on the top-left corner of the form editor:
- Name (One line input)
- Email (Email)
- Comments (Comment)
Create a workflow
Click on the Workflows button on the top-left corner of the form editor, and then click on the Add workflow button.
Now edit the new workflow, and click on Add action. Under (select action) find Front, and click on Connect to Front.
At this stage you will be asked to connect your Front account. Proceed as directed.
Configure the action
The last stage is to configure the workflow action.
Under Inboxes you can choose one or more inboxes to send the message to.
Then we would use the section Field mapping to map the form fields to their respective Mailchimp counterpart.
Under (Form data) you can use plain text or reference fields using the @ key. We will create the following field mappings:
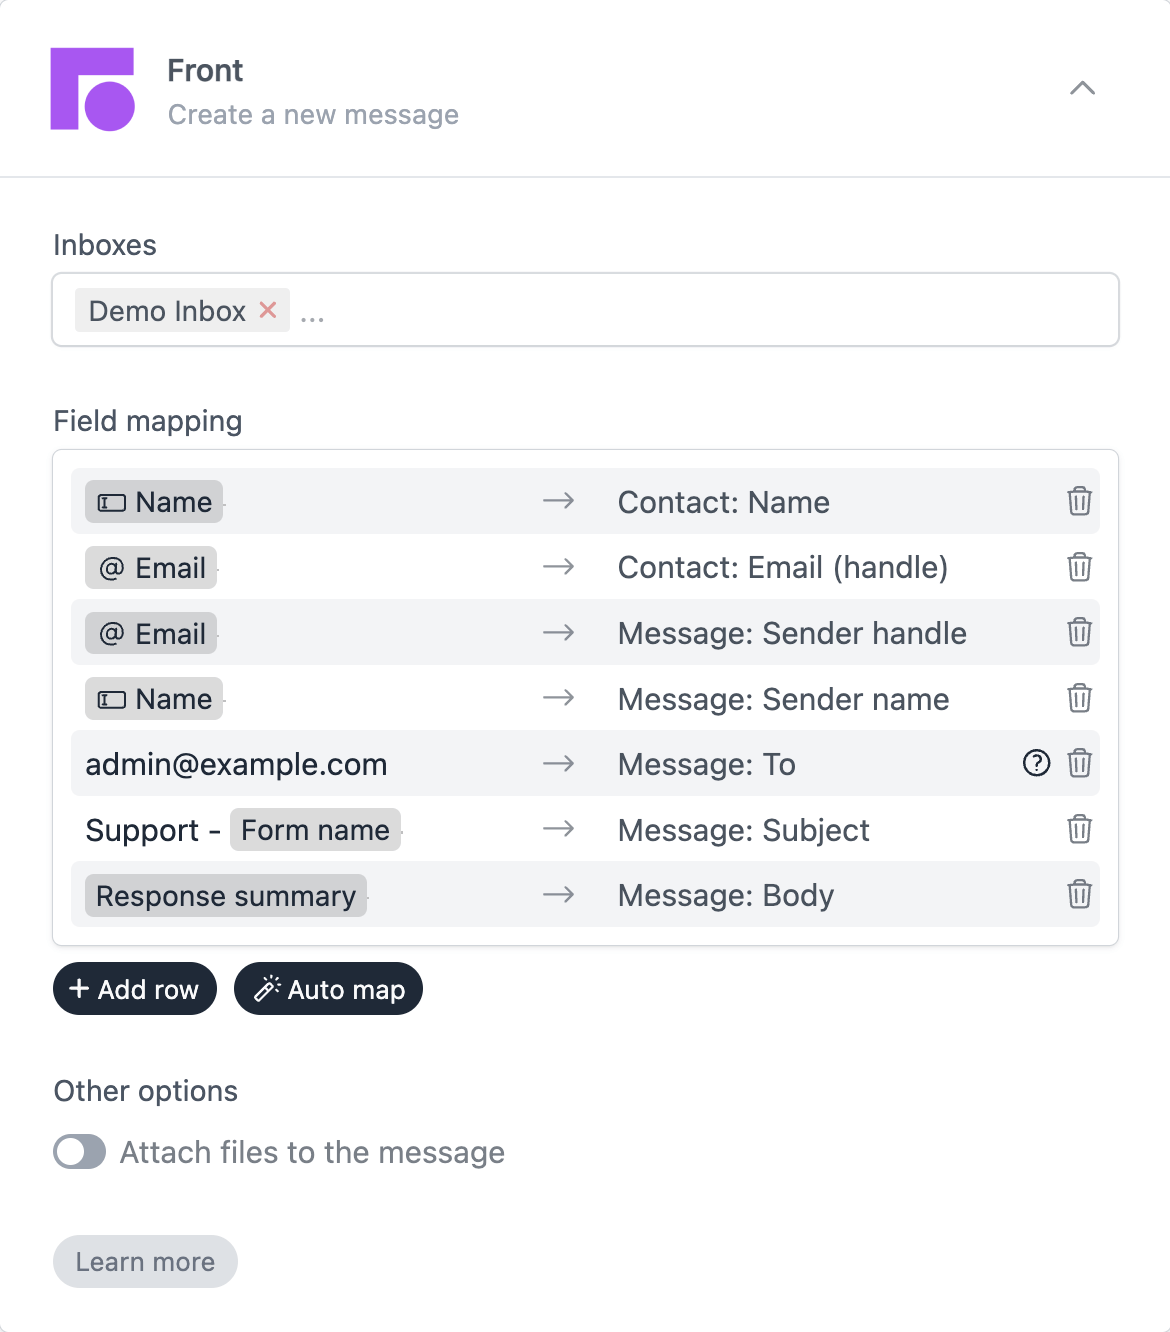
We have mapped the form field Name to both Contact: Name and Message: Sender name.
We have mapped the form field Email to both Contact: Email and Message: Sender email.
We have mapped the text ”[email protected]” to Message: To. This is the email address of the person who will receive the message.
We have mapped a combination of plain text and a reference (Support - @Form name) to Message: Subject. If your form is named “App dashboard” then the subject of new messages will be “Support - App dashboard”.
We have mapped the special reference Response Summary to Message: Body. This will include a summary of the form response in the message.
Note: if you don’t want to create a contact simply skip the Contact: fields.
Save and test
Click on the Preview button on the top-right corner of the form editor, and submit the form to test the workflow.
Formcrafts keeps a record of all successful and failed workflows which you can view using the Logs button on the top-left corner of the form editor.
Learn more about Workflow logs.
Notes
Attaching files
You can accept files through your form and have them attached to the messages in Front. To do so add a File upload field to your form, and then edit the workflow action to enable the Attach files to the message option.
Create CSAT surveys
You can also use Formcrafts to create CSAT surveys ↗, and embed a part of your form in the signature of your Front messages. This allows you to collect feedback from your customers after a support interaction, and then analyze it using Formcrafts’ rating analysis and NPS analysis.
Learn more about embedding surveys in emails.
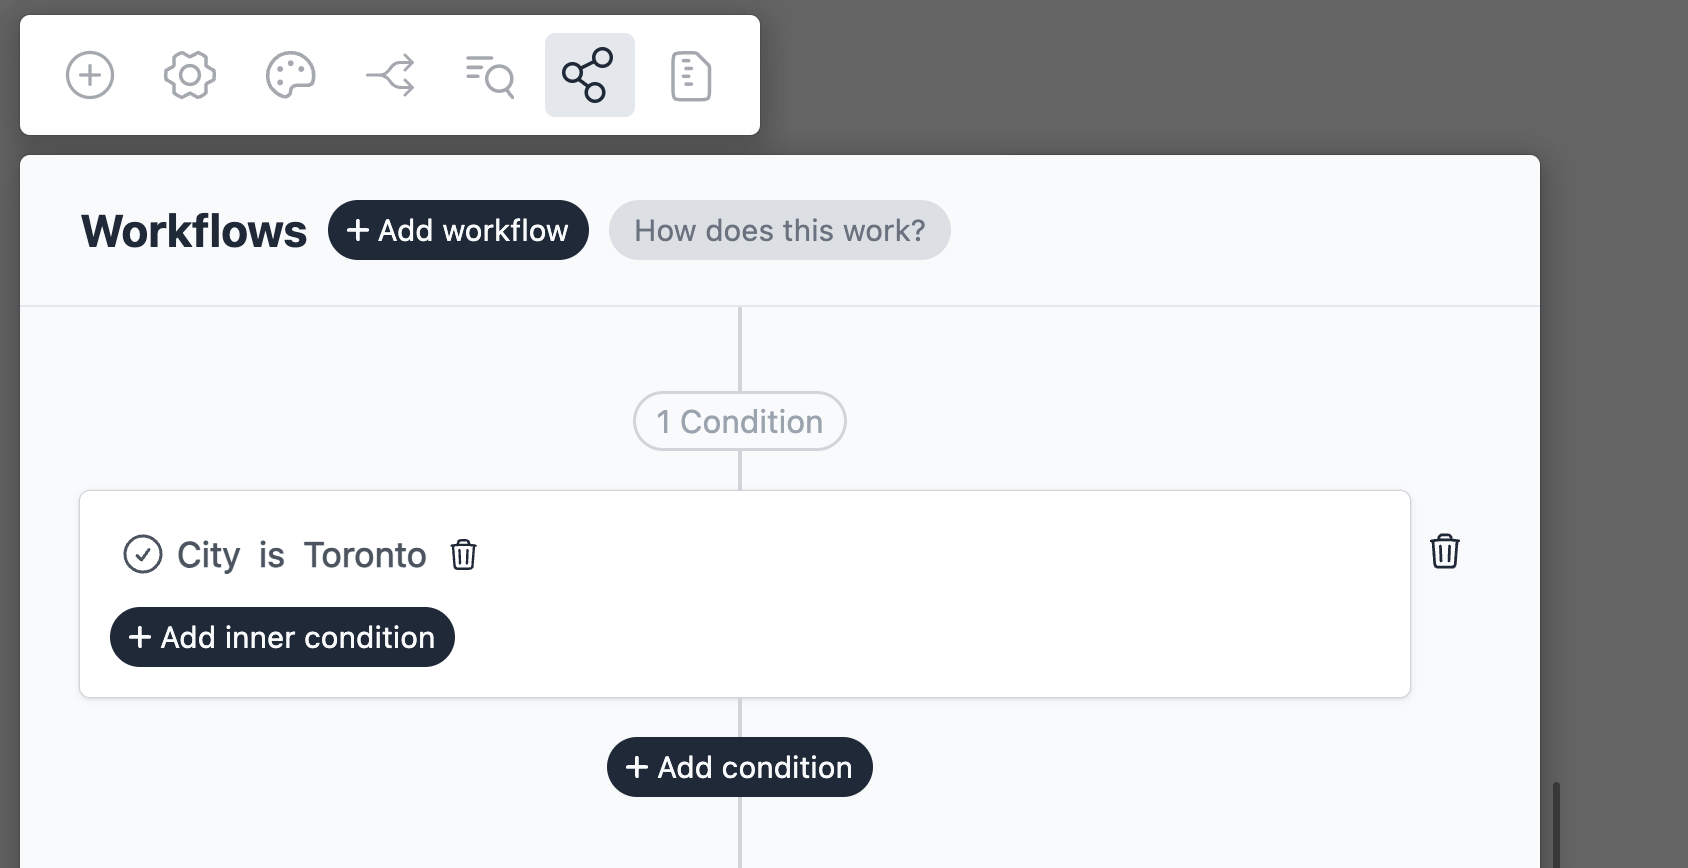
Conditional workflows
By default the Front action(s) is triggered on each form submit. We can add conditions to our workflow to trigger the action(s) only when certain conditions are met. Edit your workflow and click on Add condition. Here you can add conditions, or even create condition groups.