Create Asana Requests
Introduction
Asana workflow allows you to create new tasks when a form is submitted. In addition the workflow can:
- Create a task in a project, or specific section.
- Support for custom fields.
- Attach files to the task.
- Set variable dates.
In this tutorial we will create a simple request form and connect it to Asana. When submitted the form will create a new task in Asana.
Create a new form
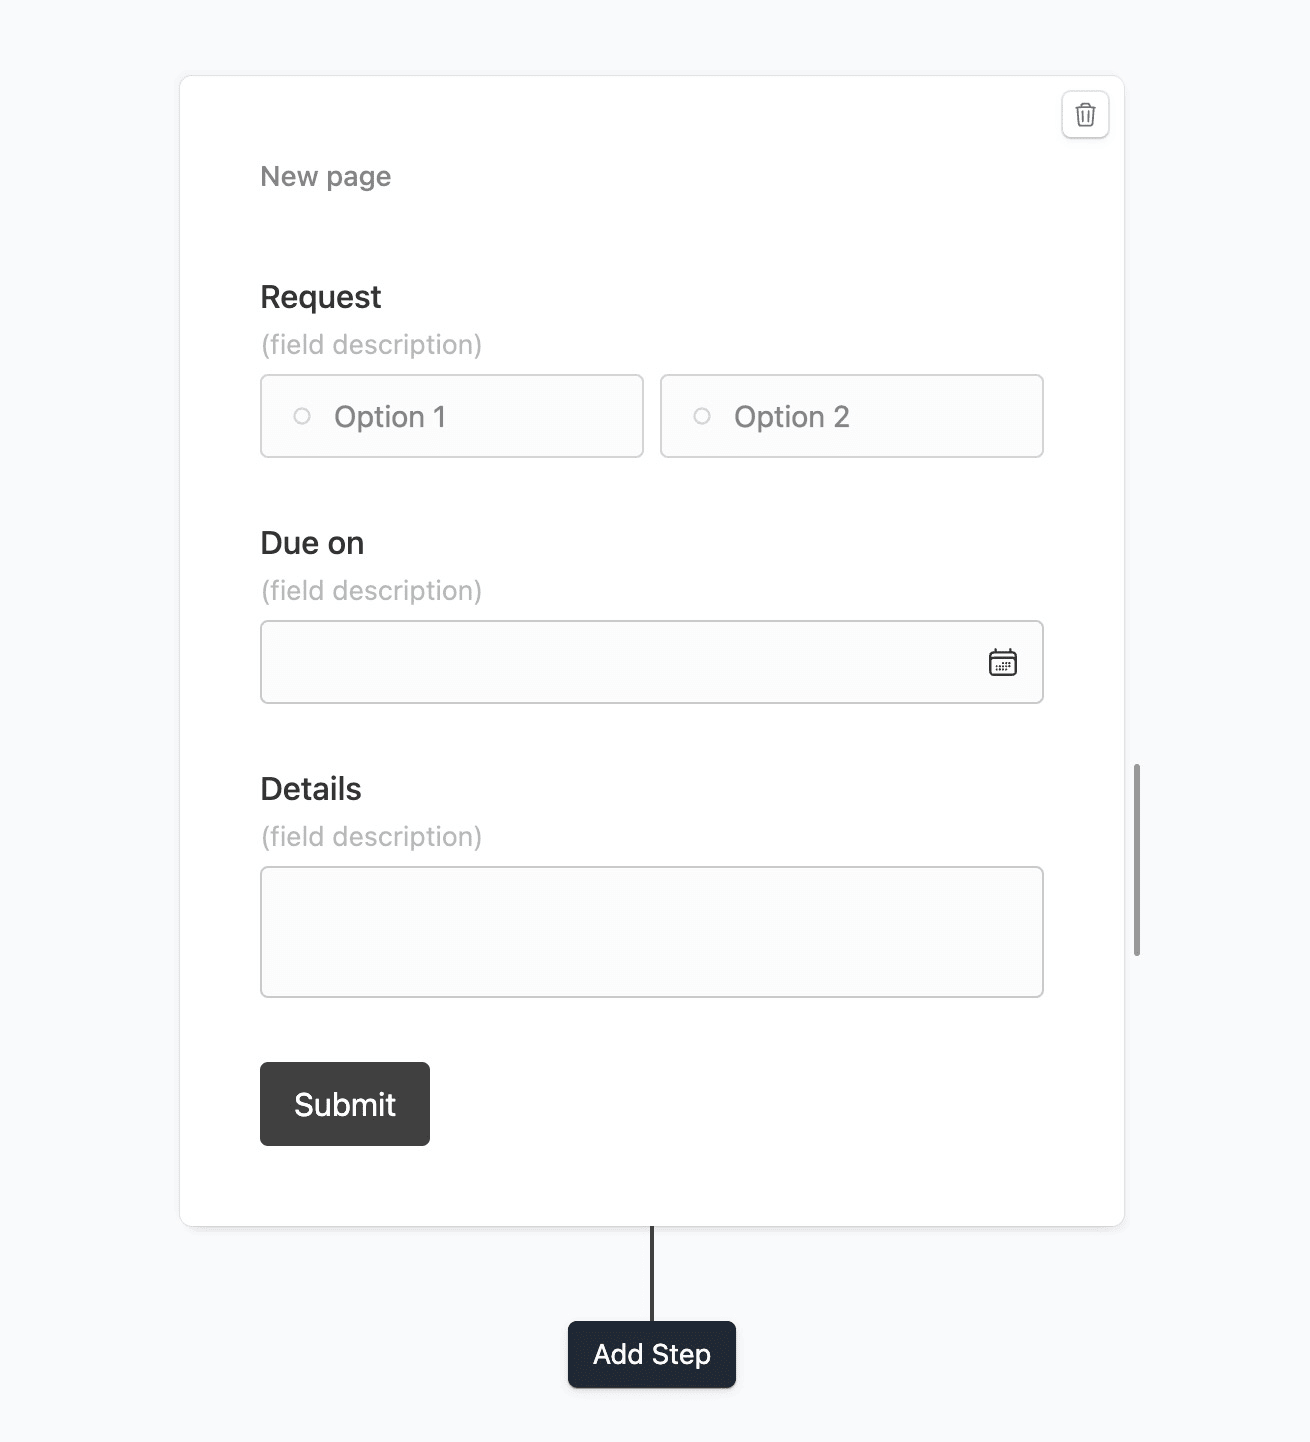
On your Formcrafts dashboard ↗ click on Add Form → Start from scratch. Enter a Form name and hit enter. This will create a new form.
You can also create a new form by clicking on Add Form → Use a Template and selecting a template. This would allow you to skip this step.
Now add some basic fields to your form using the Add field button on the top-left corner of the form editor:
- Request (Multiple choice)
- Due on (Date)
- Details (Comment)
Create a workflow
Click on the Workflows button on the top-left corner of the form editor, and then click on the Add workflow button.
Now edit the new workflow, and click on Add action. Under (select action) find Asana, and click on Connect to Asana.
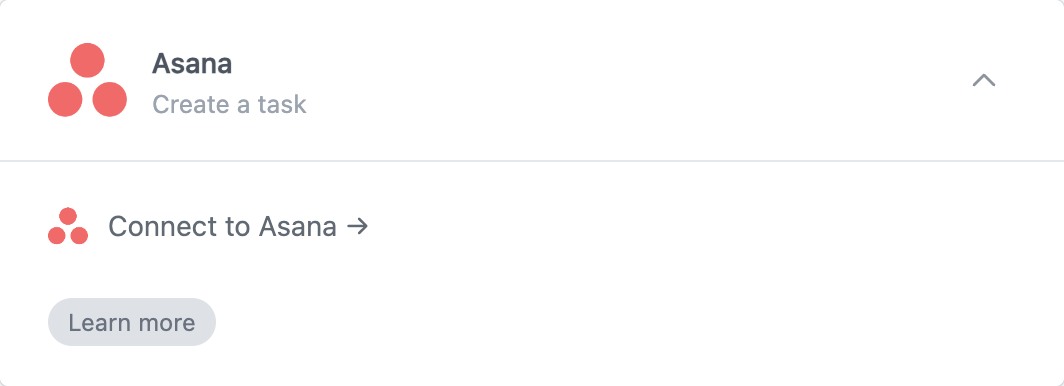
At this stage you will be asked to connect your Asana account.
Configure the action
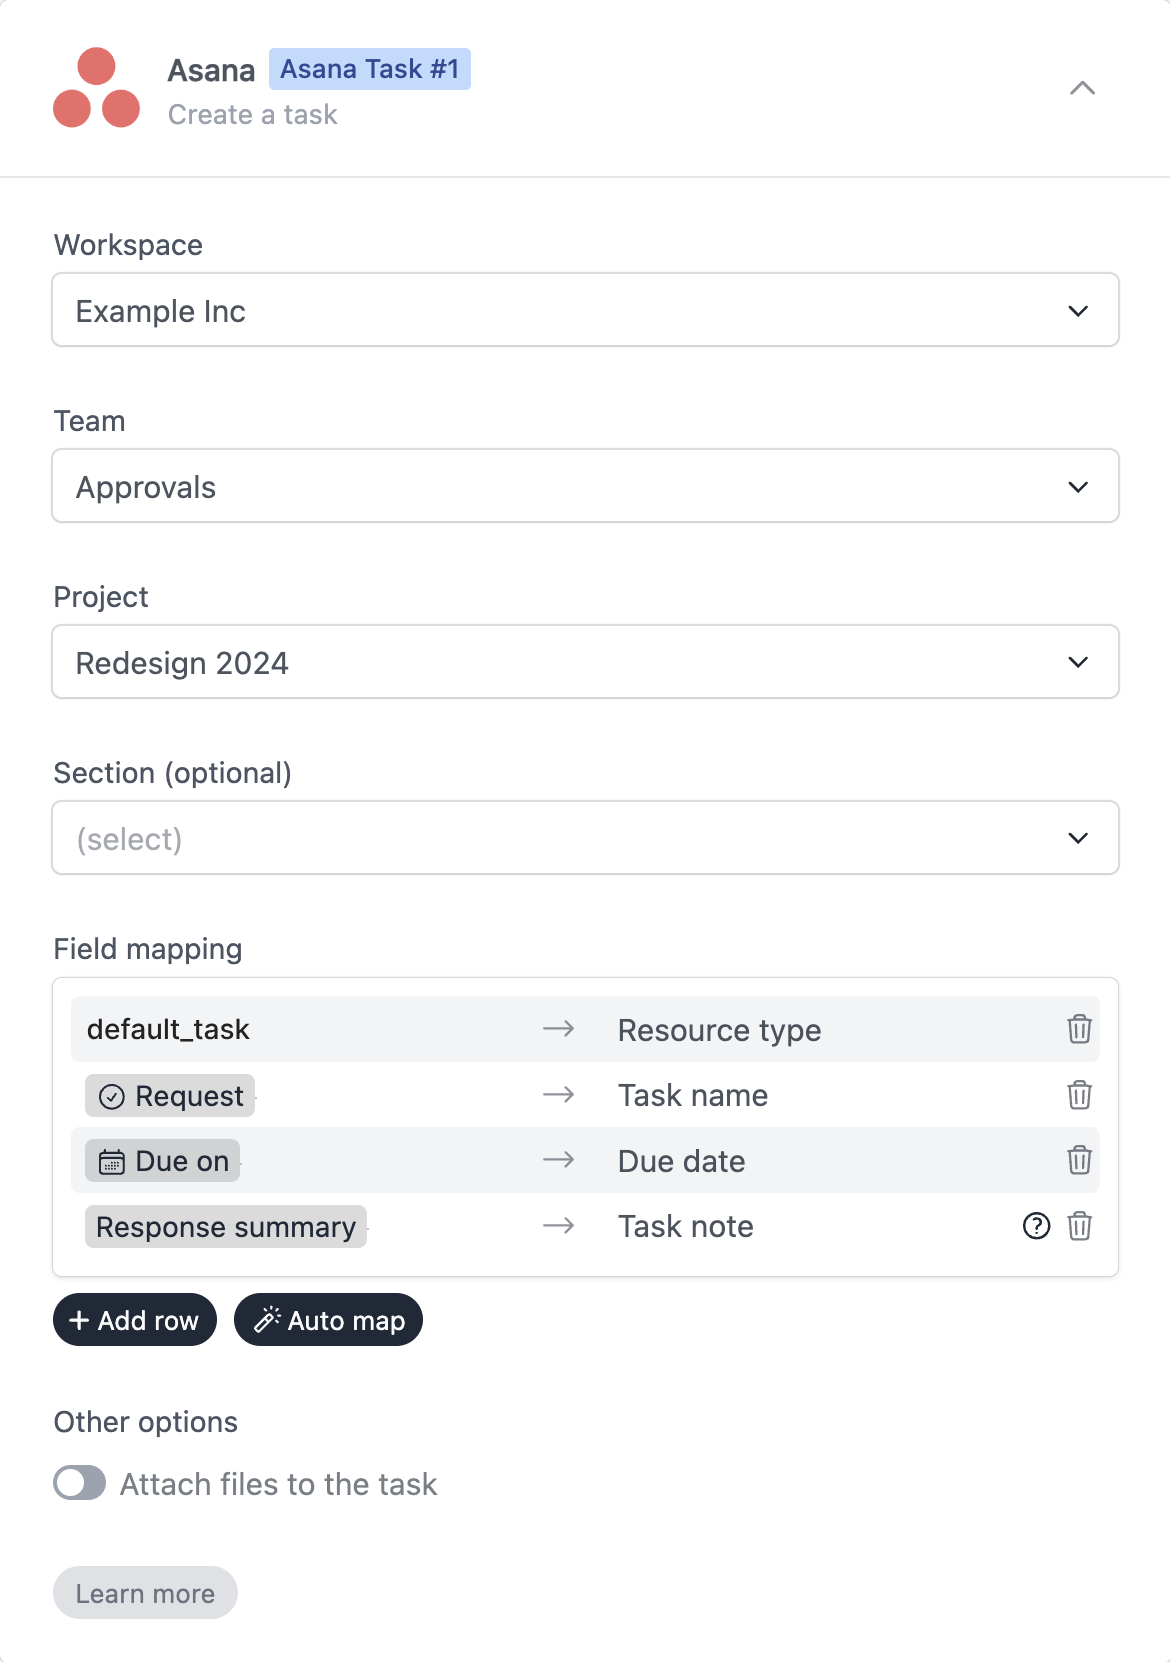
The last stage is to configure the workflow action. Here you can select the Workspace, Team, Project, and optionally a section.
Next we will use the Field mapping section to map the form data to the corresponding Asana task fields.
For this form we want:
- The Resource type should always be “default_task”
- The Task name should be the same as the Request field in the form.
- The Due date for the task should be the same as the Due on field in the form.
- The Task note should simply include all the form data.
To make this possible our field mapping should look like this:
Notes:
(Form data) can use field references, or plain text (like “default_task” above), or a combination of the two.
Response summary is a special reference that includes all the form data in a human-readable format.
Task date columns on the task (like due date) can be mapped via a form field, or it can be a string like “2025-01-01”, “tomorrow”, “+7 days”, “+1 month”, etc …
Save and test
Click on the Preview button on the top-right corner of the form editor, and submit the form to test the workflow.
Formcrafts keeps a record of all successful and failed workflows which you can view using the Logs button on the top-left corner of the form editor.
Learn more about Workflow logs.
Notes
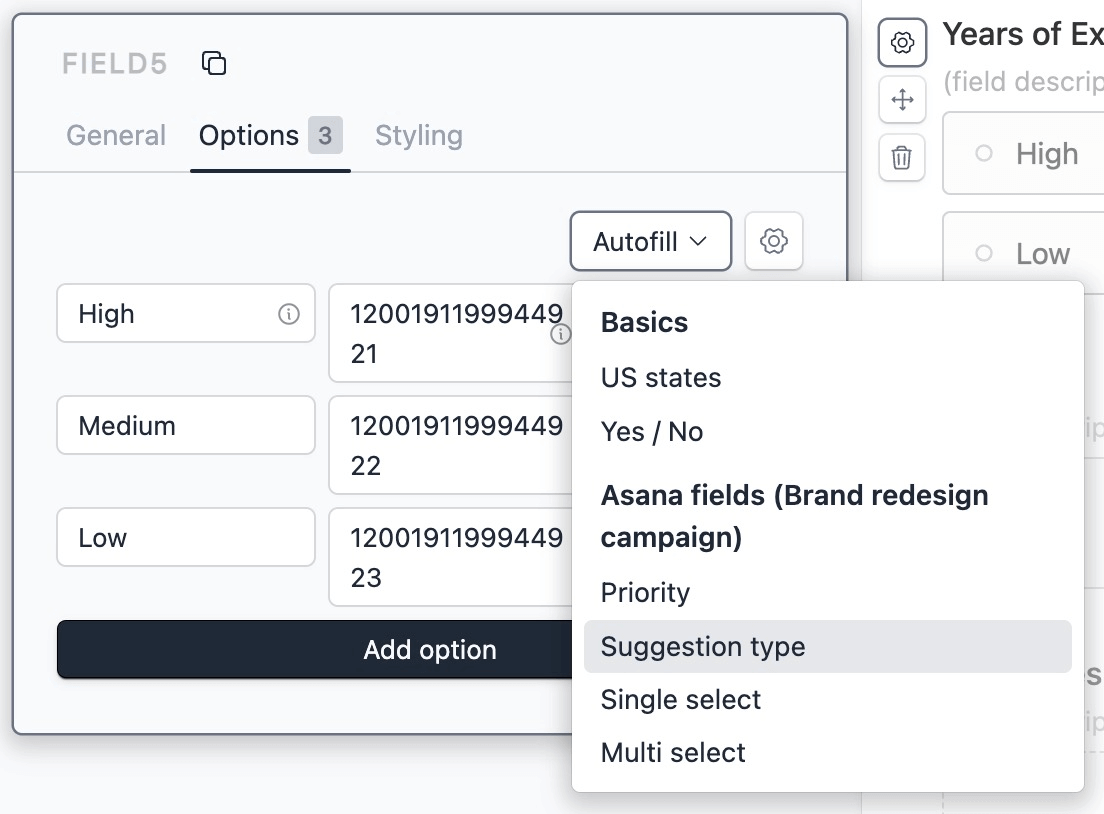
Custom fields
If you have custom fields in Asana, you can map them to form fields in the same way as the default fields. For certain fields like Single select or Multi select you must ensure that options in Formcrafts match the options in Asana.
Formcrafts makes this easy by allowing you to autofill the options From Asana. To do so, edit the form field, and go to Options → Autofill and look for the relevant field under Asana.
Attaching files
Add a File upload field to your form, and then edit the workflow action to enable the Attach files to the task option.
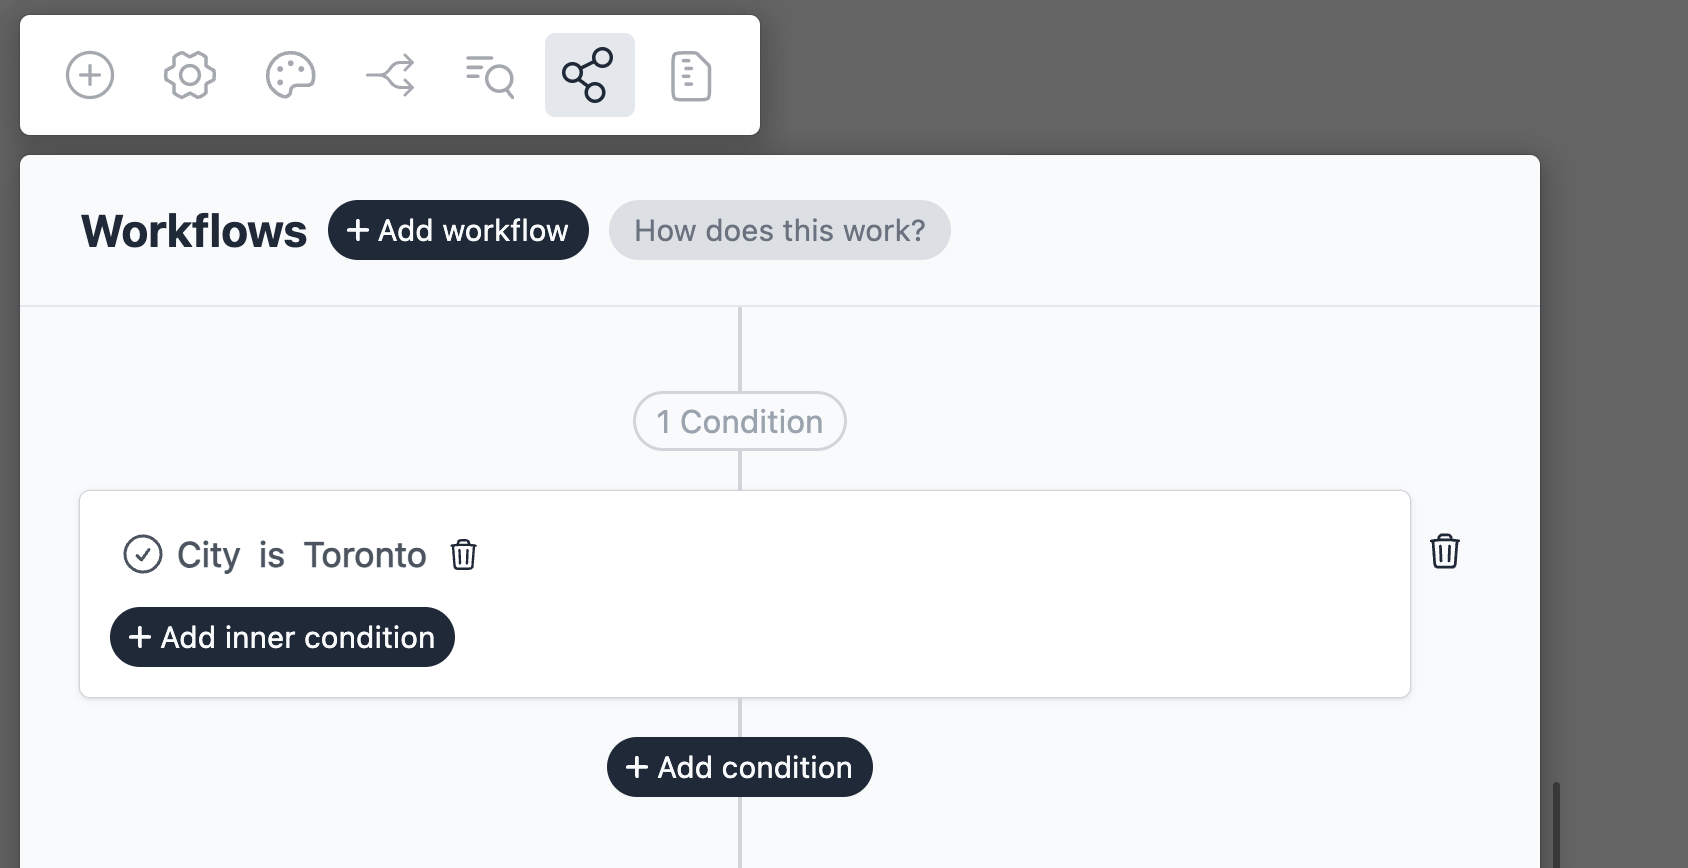
Conditional workflows
By default the Asana action(s) is triggered on each form submit. We can add conditions to our workflow to trigger the action(s) only when certain conditions are met. Edit your workflow and click on Add condition. Here you can add conditions, or even create condition groups.