Update a Record in Salesforce
Introduction
In this tutorial, we will learn how to create a lead generation form which would:
Create a new lead in Salesforce
Update an existing contact in Salesforce, or create a new contact if it doesn’t exist
Create a new form
On your Formcrafts dashboard ↗ click on Add Form → Start from scratch. Enter a Form name and hit enter. This will create a new form.
You can also create a new form by clicking on Add Form → Use a Template and selecting a template. This would allow you to skip this step. We have a large collection of lead generation form templates ↗ that you can use.
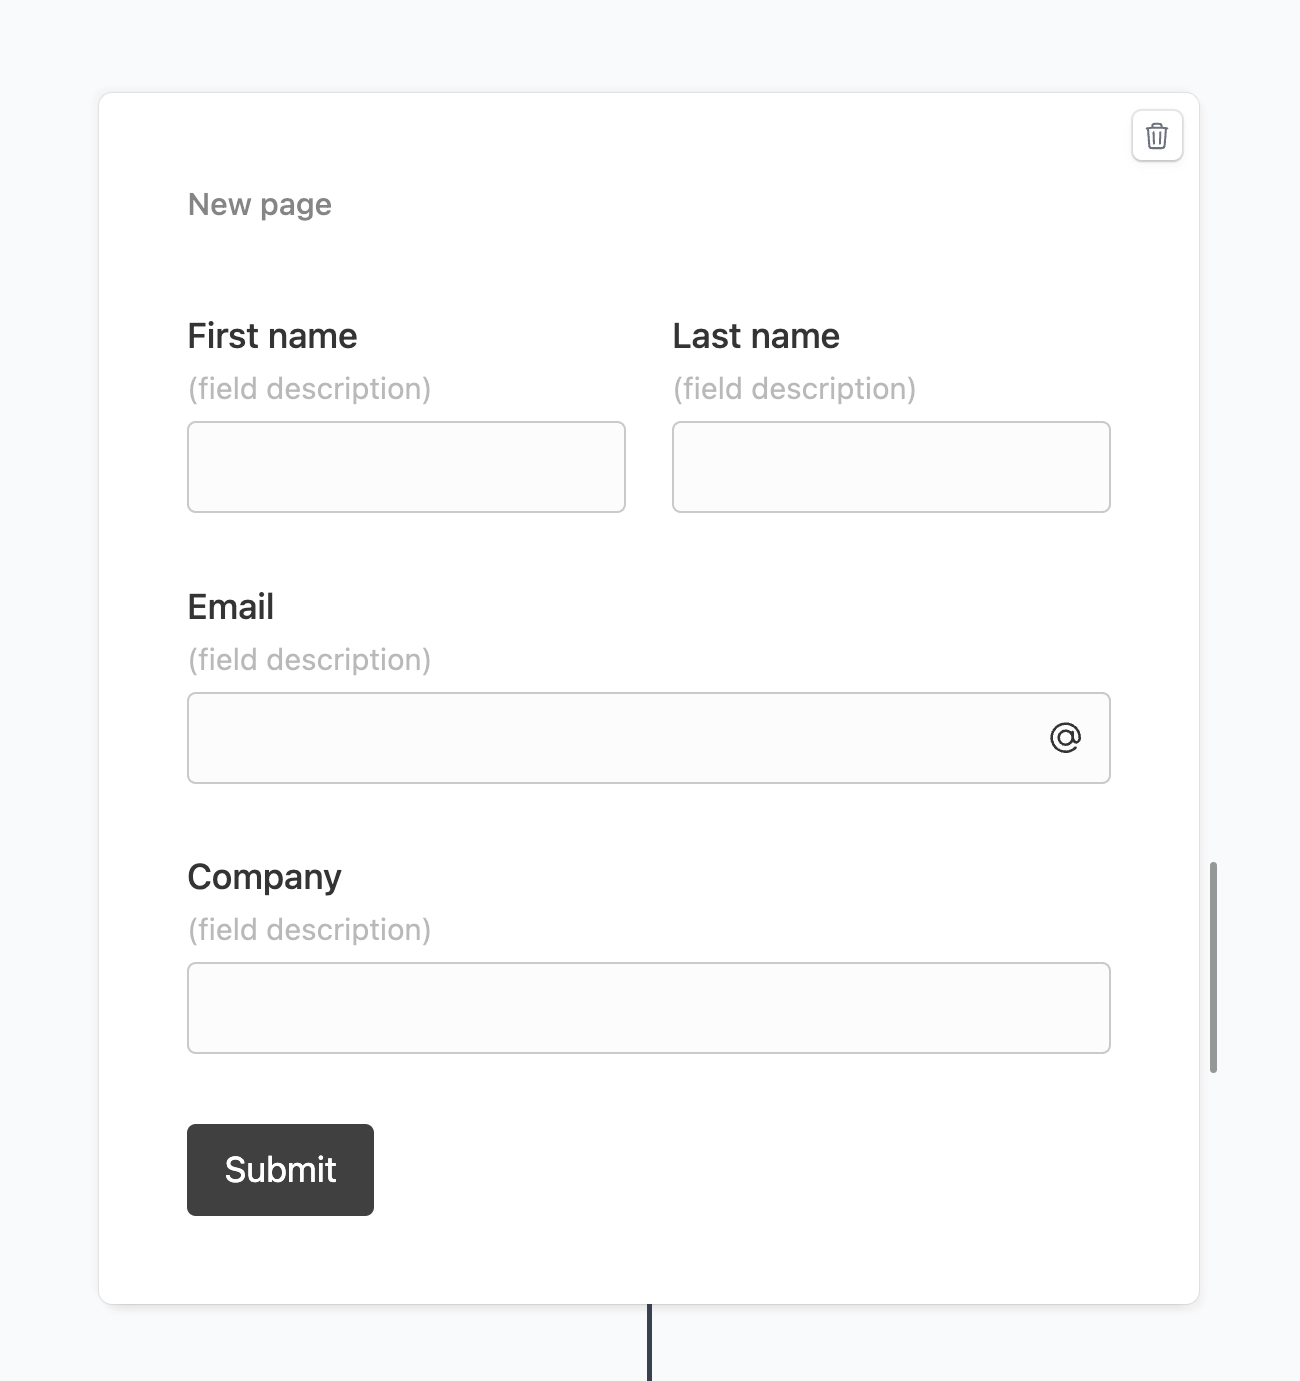
Now add some basic fields to your form using the Add field button on the top-left corner of the form editor:
- First name (One line text)
- Last name (One line text)
- Email (Email)
- Company (One line text)
Create a workflow
Click on the Workflows button on the top-left corner of the form editor, and then click on the Add workflow button.
Edit the new workflow, and click on Add action. Under (select action) find Salesforce, and click on Connect to Salesforce.

This will open a popup window where you can connect to your Salesforce organization.
Configure the lead action
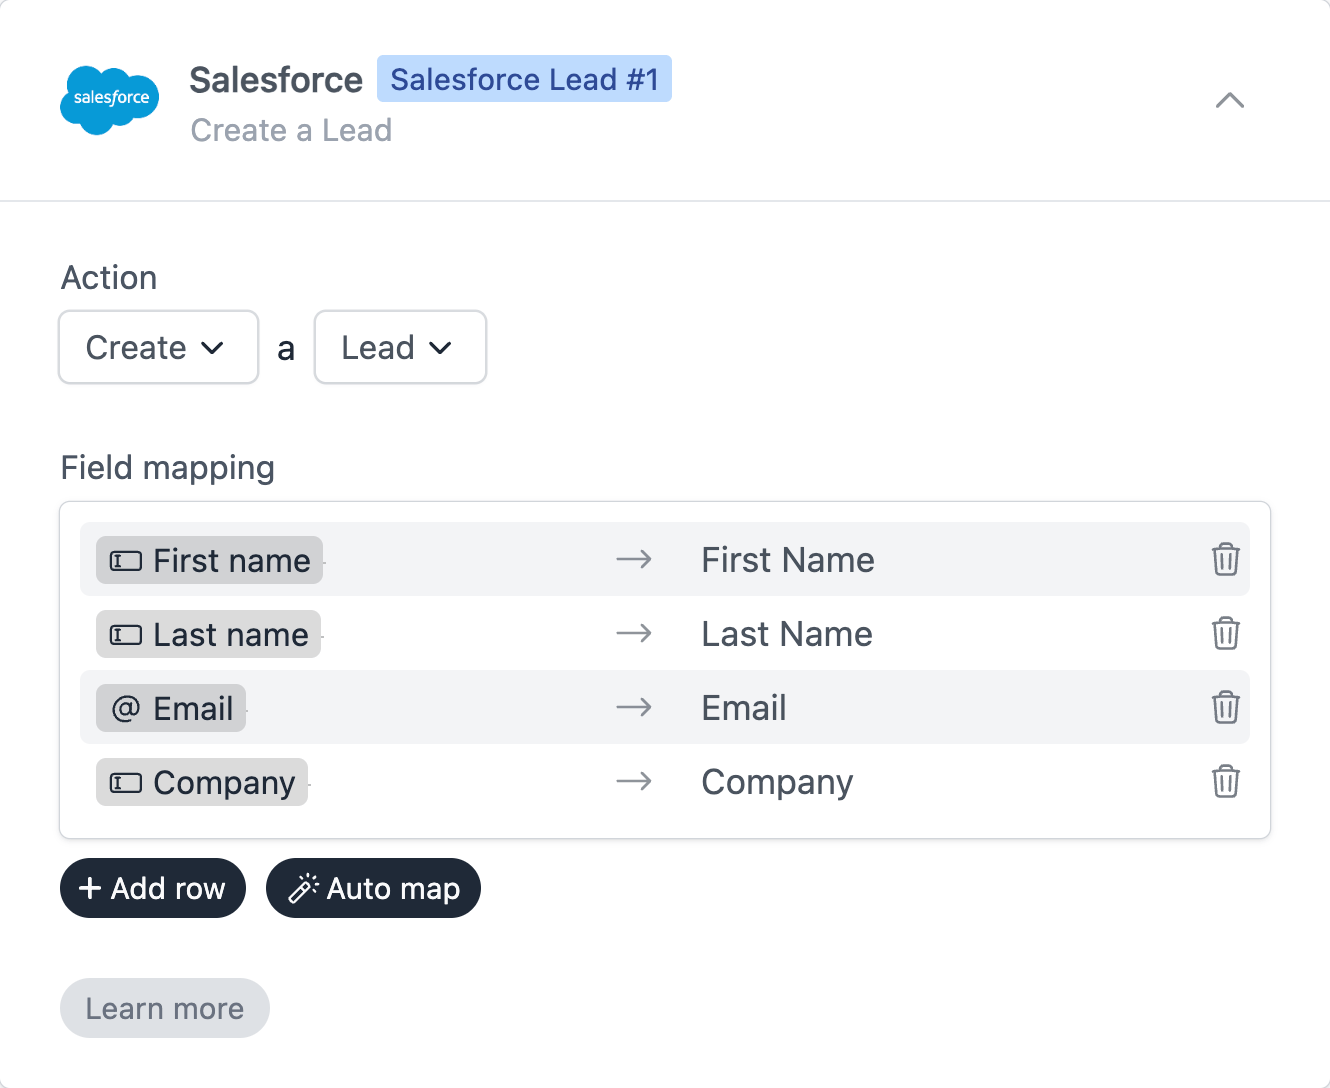
Our action should be Create a Lead.
Use the Field mapping section to map the form fields to Salesforce fields.
Under (Form data) you can use plain text or reference fields using the @ key. We will create the following field mappings:
Configure the contact action
In the same workflow, click on Add action again and select Salesforce.
The action now should be Create or update a Contact.
We will use Lookup rules to tell the workflow how to find the contact in Salesforce. If the contact is found the workflow will update the contact record; if not it will create a new contact.
Our rules should look for a contact where either:
- The email address is an exact match; or
- The first name and last name are an exact match
Then we will use the Field mapping section to map the form fields to Salesforce fields.
Our lookup rules and field mappings will look like this:
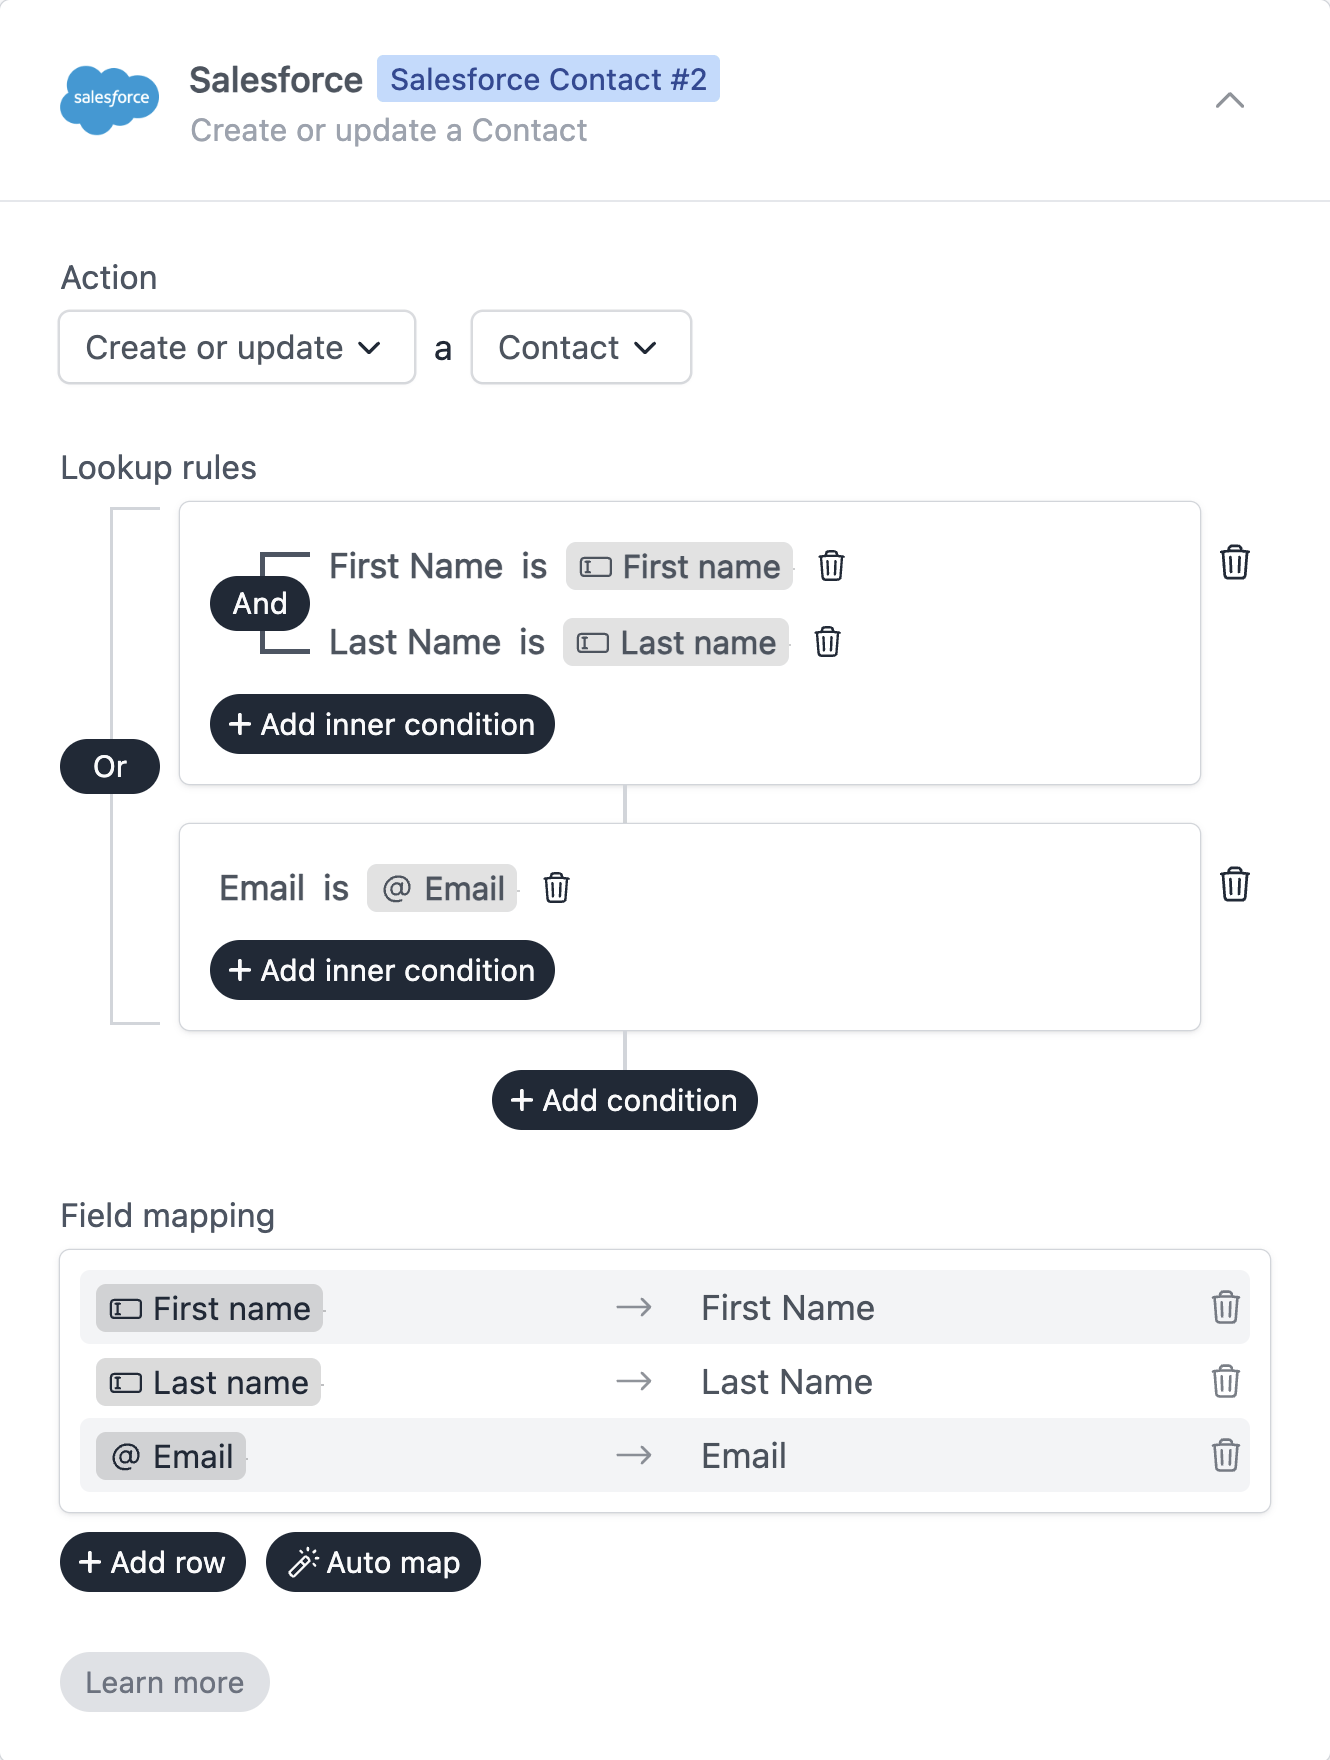
As you can notice lookup rules in Formcrafts are very powerful and allow using multiple rules, with and / or conditions.
Inner and outer conditions can then be used to create complex rules, like in this example.
Save and test
Click on the Preview button on the top-right corner of the form editor, and submit the form to test the workflow.
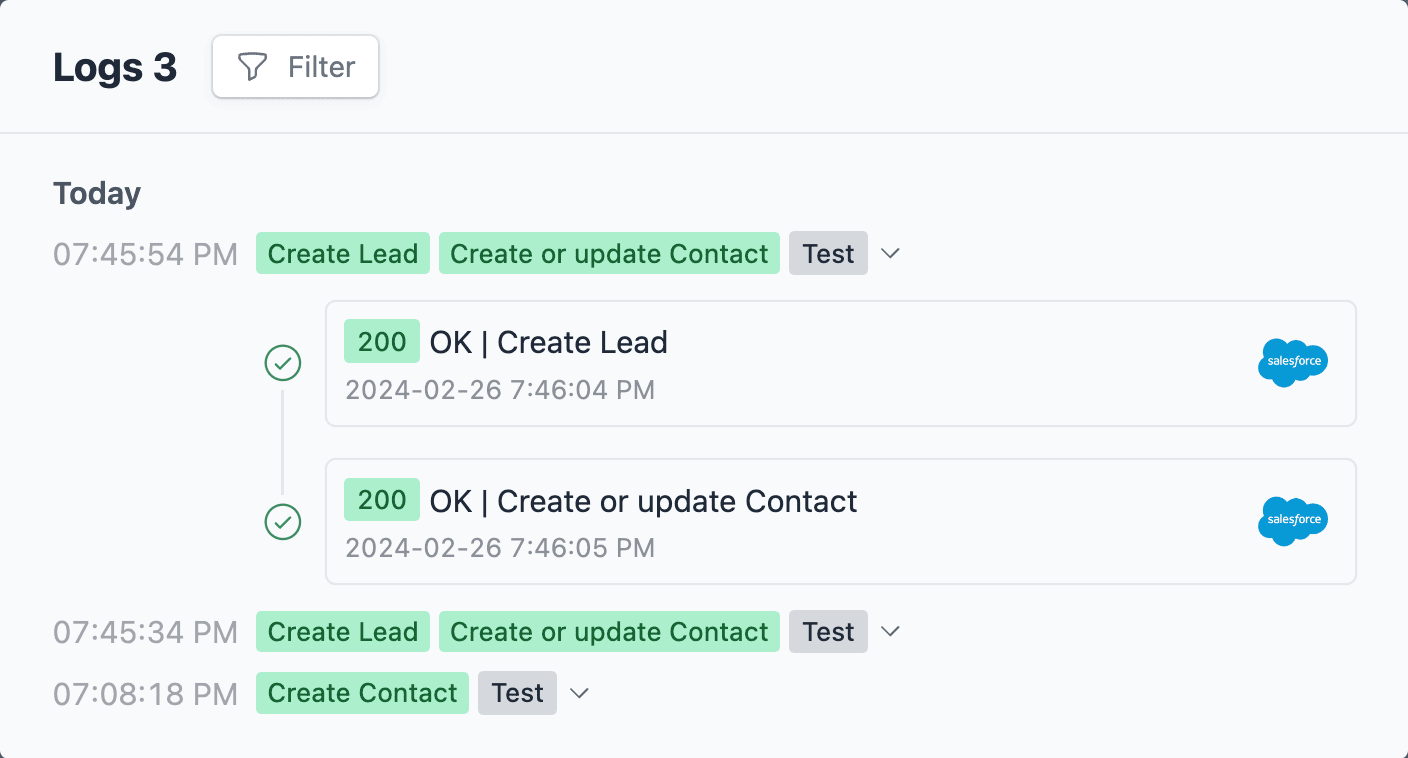
Formcrafts keeps a record of all successful and failed workflows which you can view using the Logs button on the top-left corner of the form editor.
Learn more about Workflow logs.
Notes
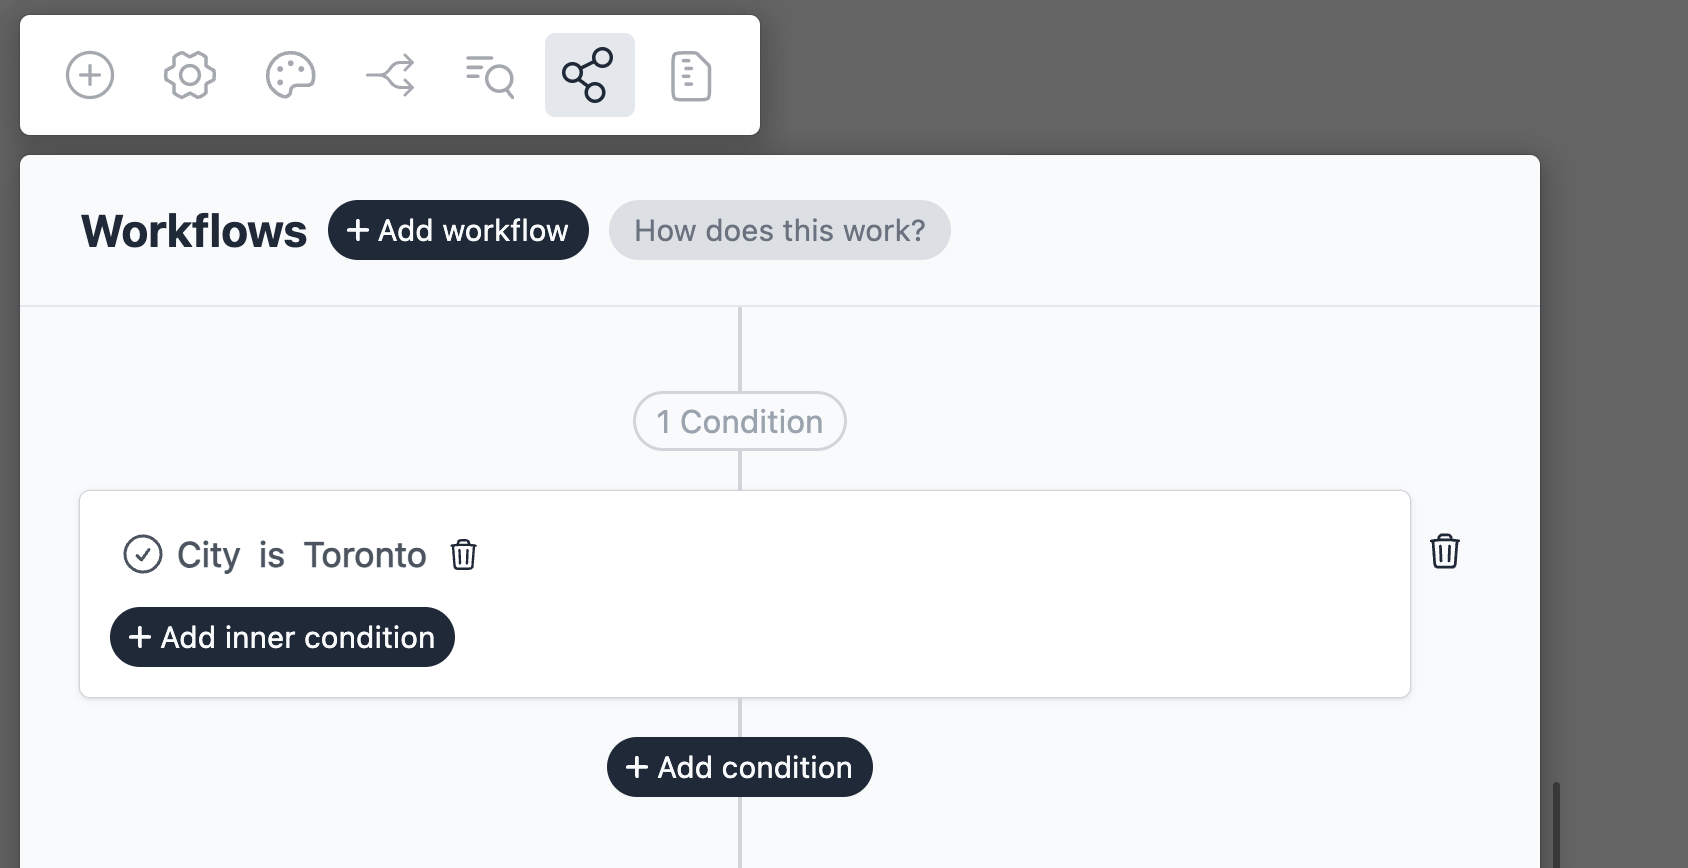
Conditional workflows
By default the Salesforce action(s) is triggered on each form submit. We can add conditions to our workflow to trigger the action(s) only when certain conditions are met. Edit your workflow and click on Add condition. Here you can add conditions, or even create condition groups.
