Create a Pipedrive Webform
Introduction
In this tutorial, we will create a web to lead form and connect it to Pipedrive so it will:
- Create a new person record.
- Create a new organization record.
- Create a new lead record, and associate it with the person and organization records.
Create a new form
On your Formcrafts dashboard ↗ click on Add Form → Start from scratch. Enter a Form name and hit enter. This will create a new form.
You can also create a new form by clicking on Add Form → Use a Template and selecting a template. This would allow you to skip this step. We have a large collection of lead generation form templates ↗ that you can use.
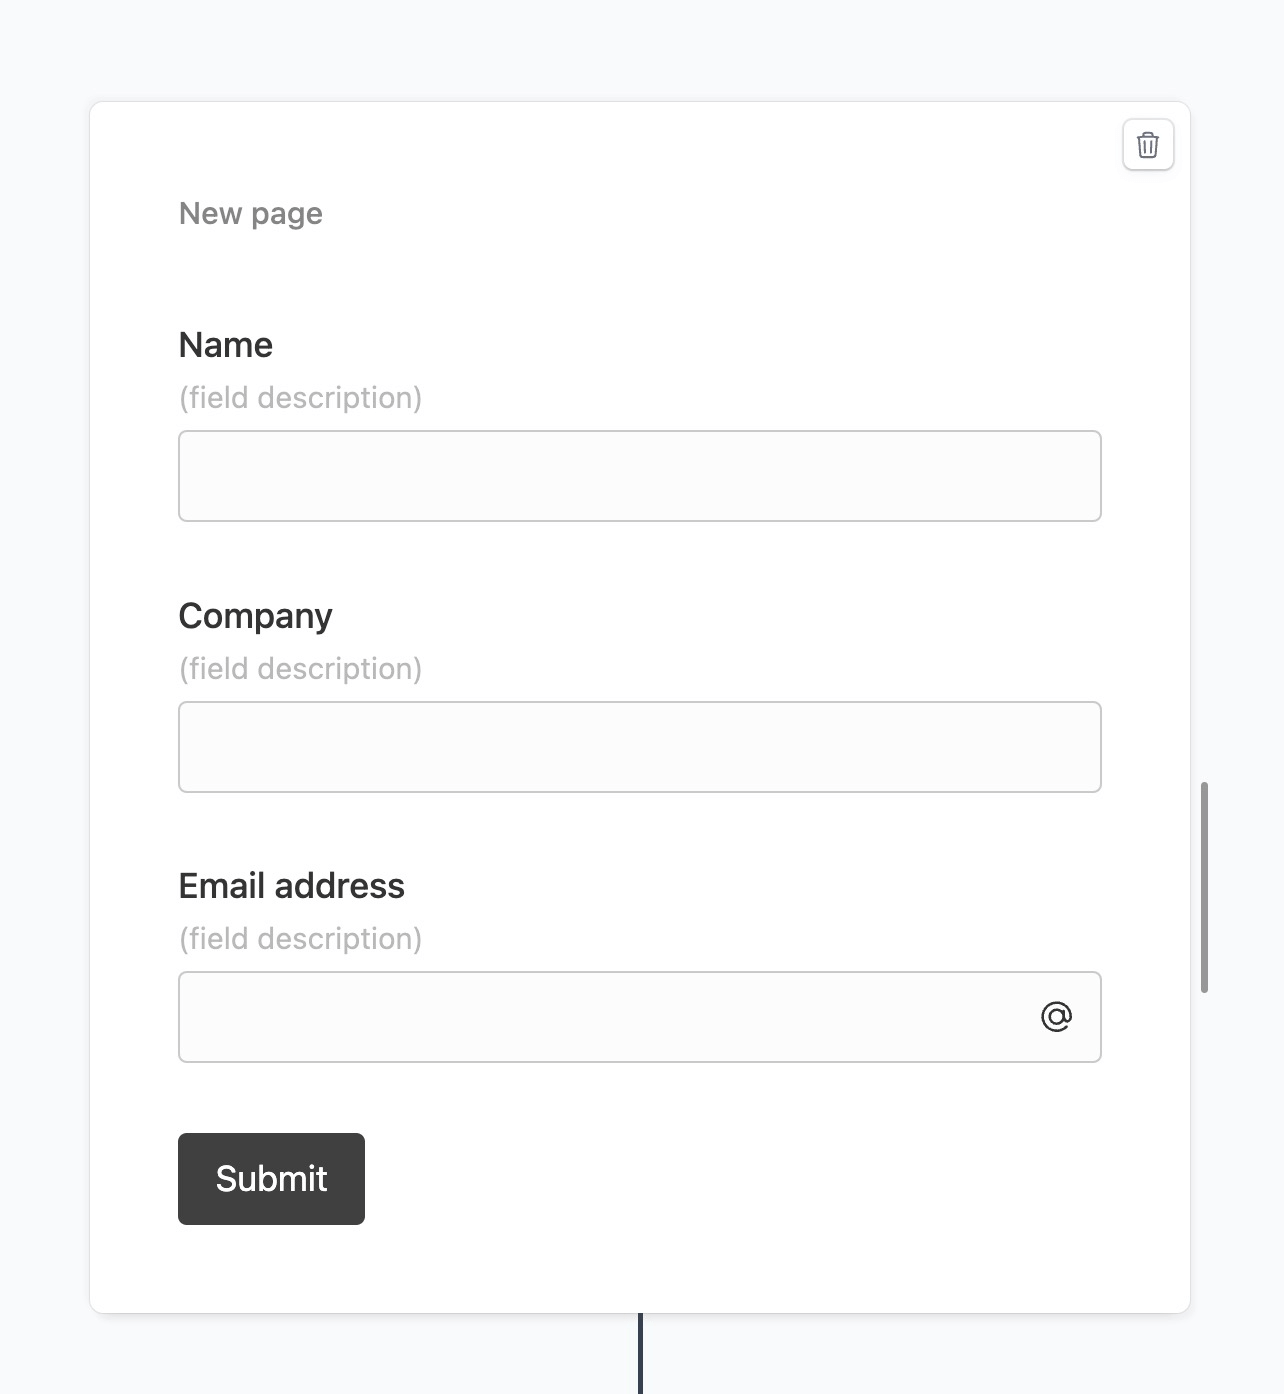
Now add some basic fields to your form using the Add field button on the top-left corner of the form editor:
- Name (One line text)
- Company (One line text)
- Email address (Email)
Create a person action
Click on the Workflows button on the top-left corner of the form editor, and then click on the Add workflow button.
Now edit the new workflow, and click on Add action. Under (select action) find Pipedrive, and click on Connect to Pipedrive.

This will open a popup window where you can connect to your Pipedrive account. Now set the action to create a Person, and map the form fields to Pipedrive fields as below:
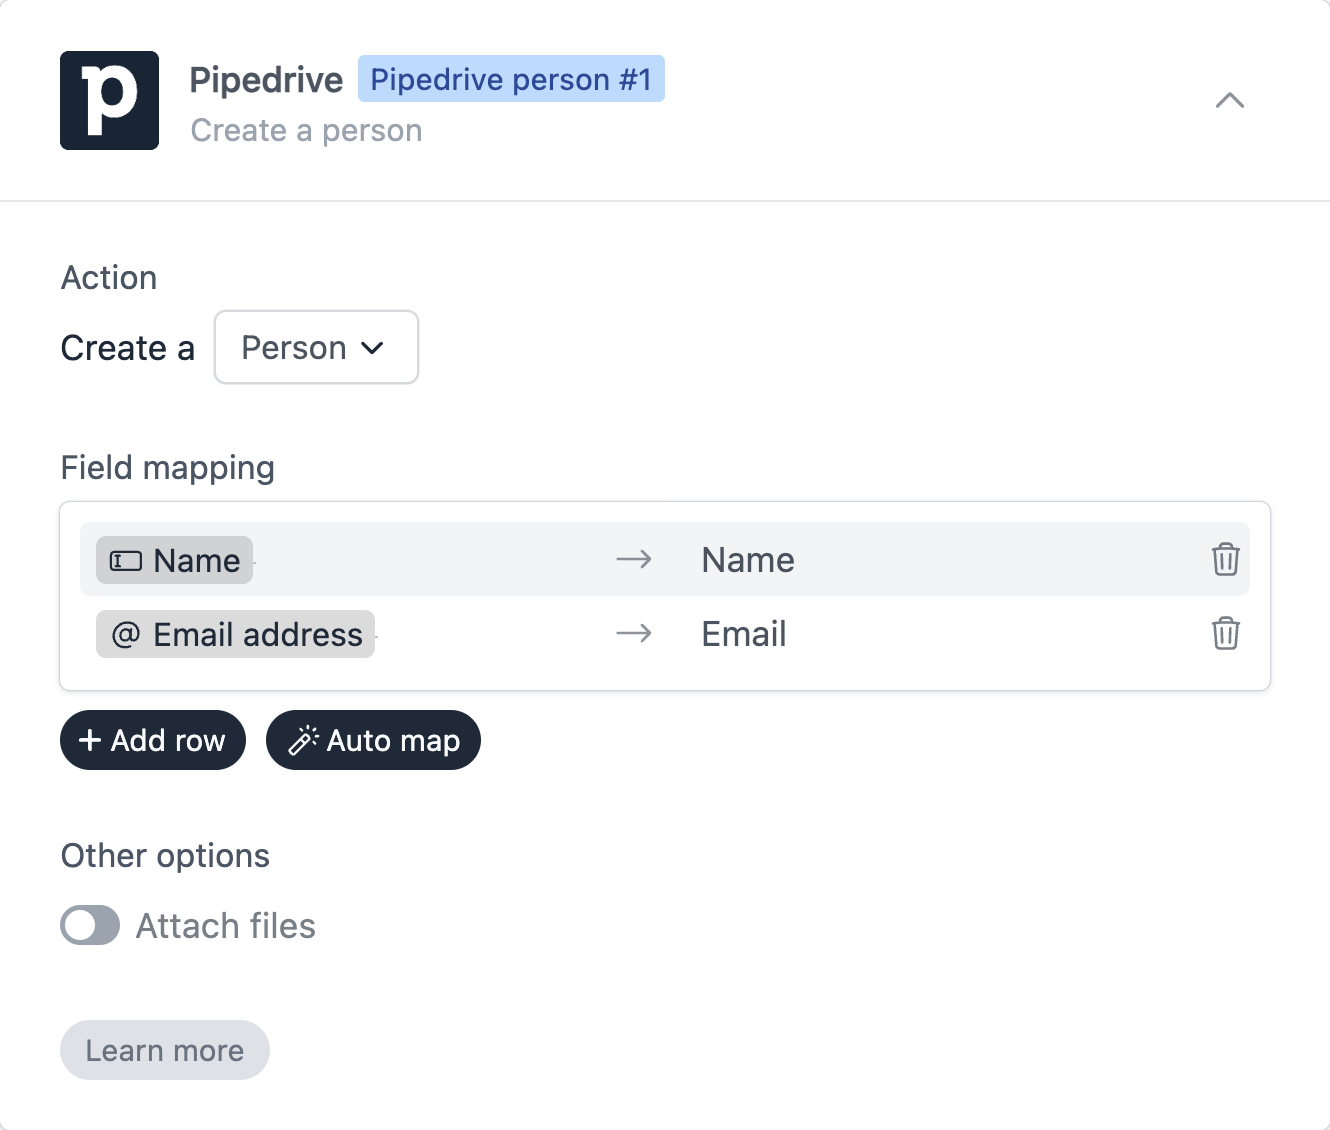
We have mapped the Name field to Name, and Email address to Email.
Create an organization action
Click on Add action to add another action to this workflow. Under (select action) find Pipedrive, and set this action to create an Organization.
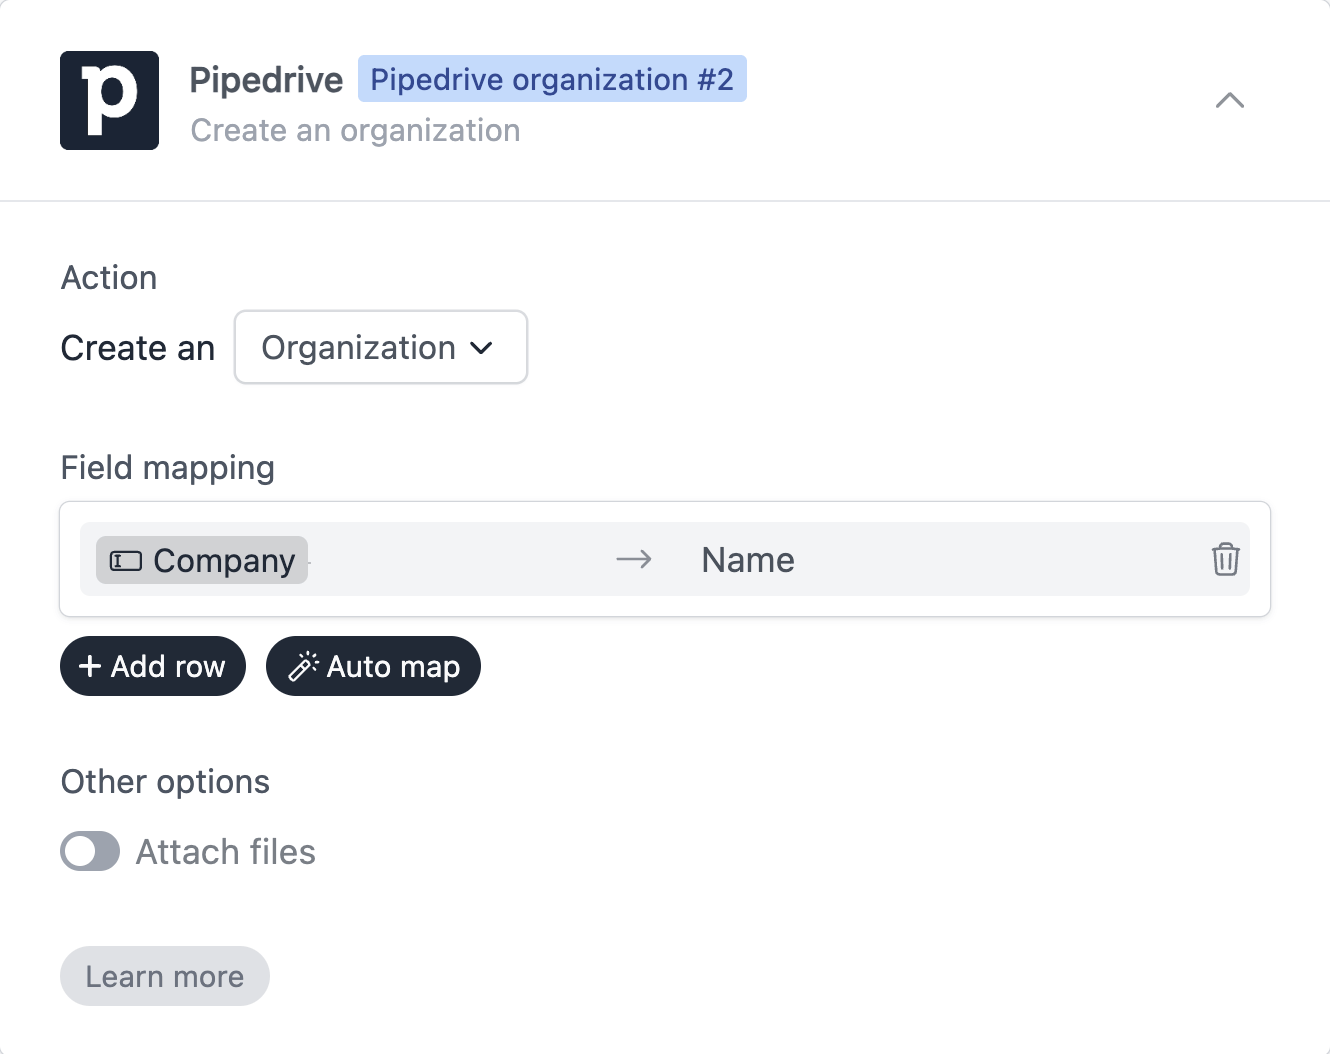
We have mapped the Company field to Name.
Create a lead action
Click on Add action to add another action to this workflow. Under (select action) find Pipedrive, and set this action to create a Lead.
Create the lead workflow as below:
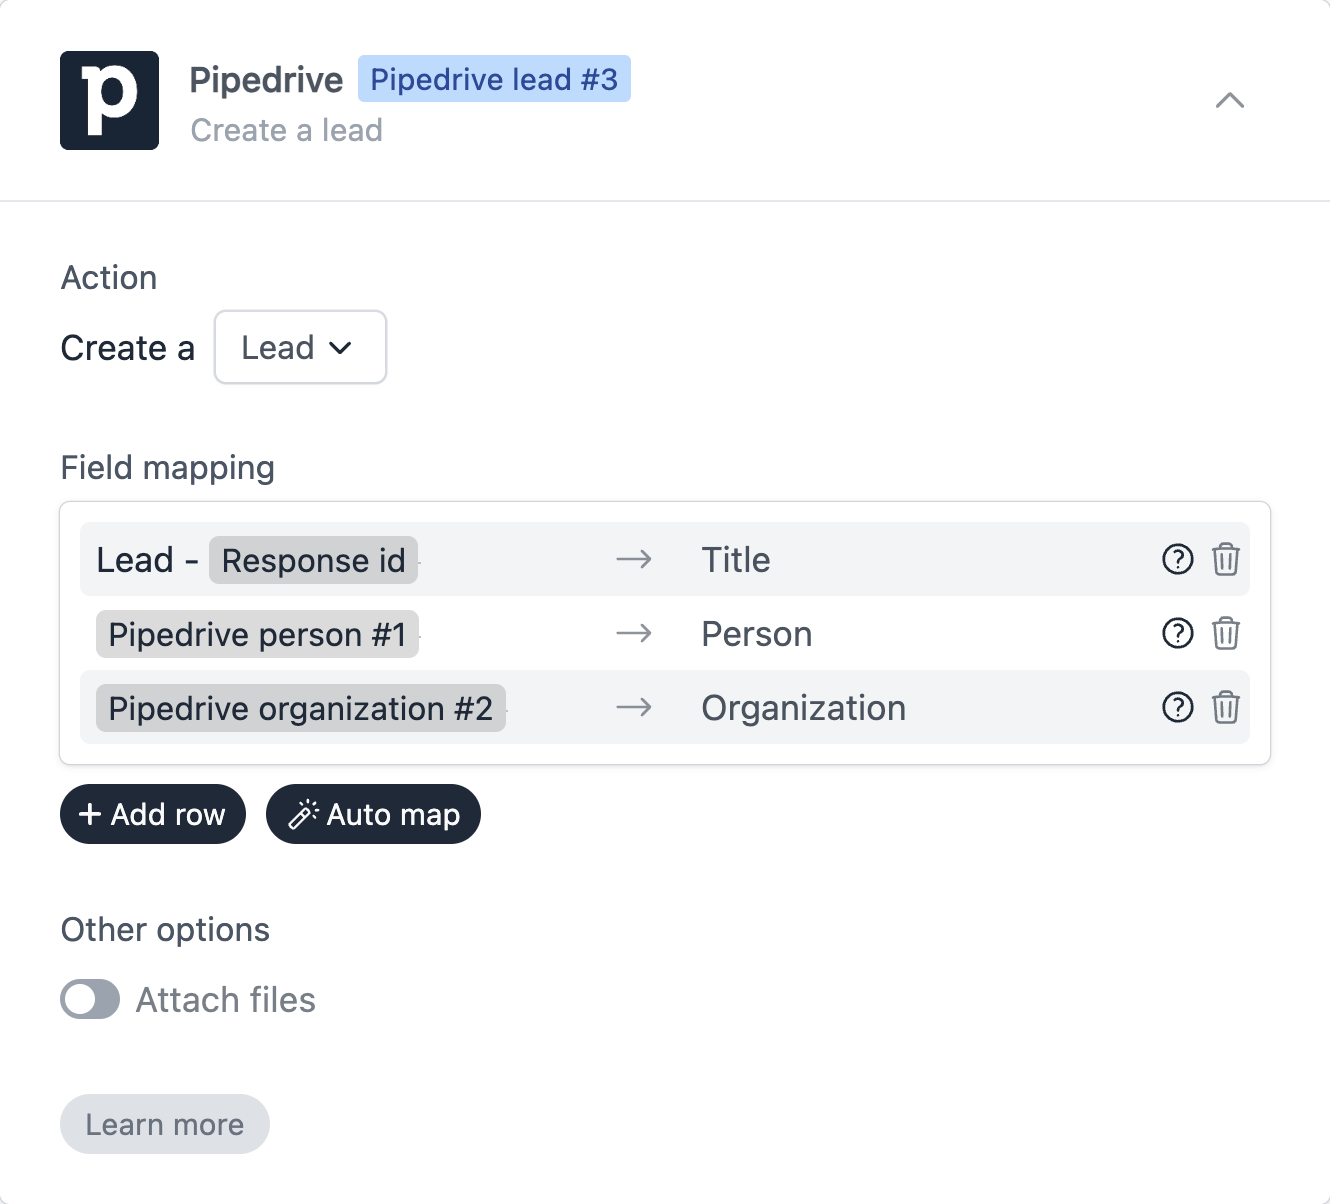
We have mapped a combination of plain text and the reference Response id to Title. This will create a new lead with the title “Lead - @Response id”.
We have mapped Pipedrive person #1 (the person we created in the first action) to Person.
Lastly, we mapped Pipedrive organization #1 (the organization we created in the second action) to Organization.
Save and test
Click on the Preview button on the top-right corner of the form editor, and submit the form to test the workflow.
Formcrafts keeps a record of all successful and failed workflows which you can view using the Logs button on the top-left corner of the form editor.
Learn more about Workflow logs.
Attaching files
You can accept files through your form and have them attached to the created record in Pipedrive. Simply add a file upload field to your form, edit the relevant Pipedrive workflow and check the Attach files checkbox.