How to Create a Freshdesk Ticket Form
You can use FormCrafts to supercharge your Freshdesk ticket forms by taking advantage of our templates, conditional logic, and a host of other features.
1. Creating a new Freshdesk form
Login to your FormCrafts dashboard and click New Form. Enter a name and click Create Form.
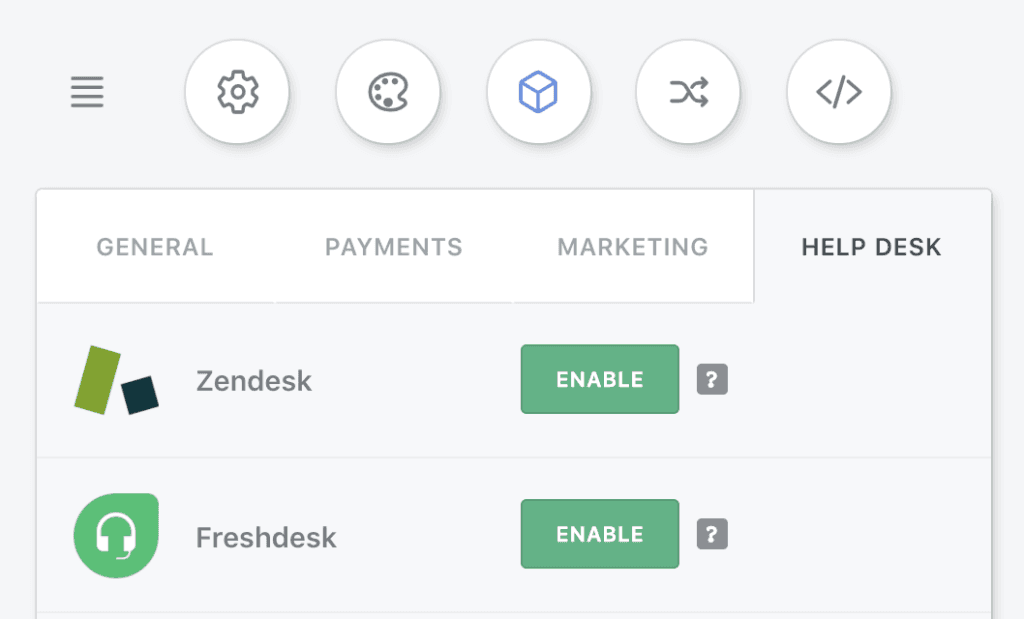
Before we add fields, go to Addons on the top-left corner -> Support and enable Freshdesk.
2. Adding fields to our form
Now add the following fields to your form by clicking Add Fields on the top-right corner.
- A One Line Input field labelled Your Name
- An Email field labelled Your Email
- A Checkbox field labelled How Important Is Your Issue?
- A Comment field labelled Describe the Issue
- A File Upload field labelled Attach Files
- A Submit button
When you map fields like checkbox and and dropdown you need to ensure the values in FormCrafts match with those in Freshdesk. To make this easier you can pre-fill options for these fields:
When you edit a checkbox or dropdown field look for Autofill next to Options List.
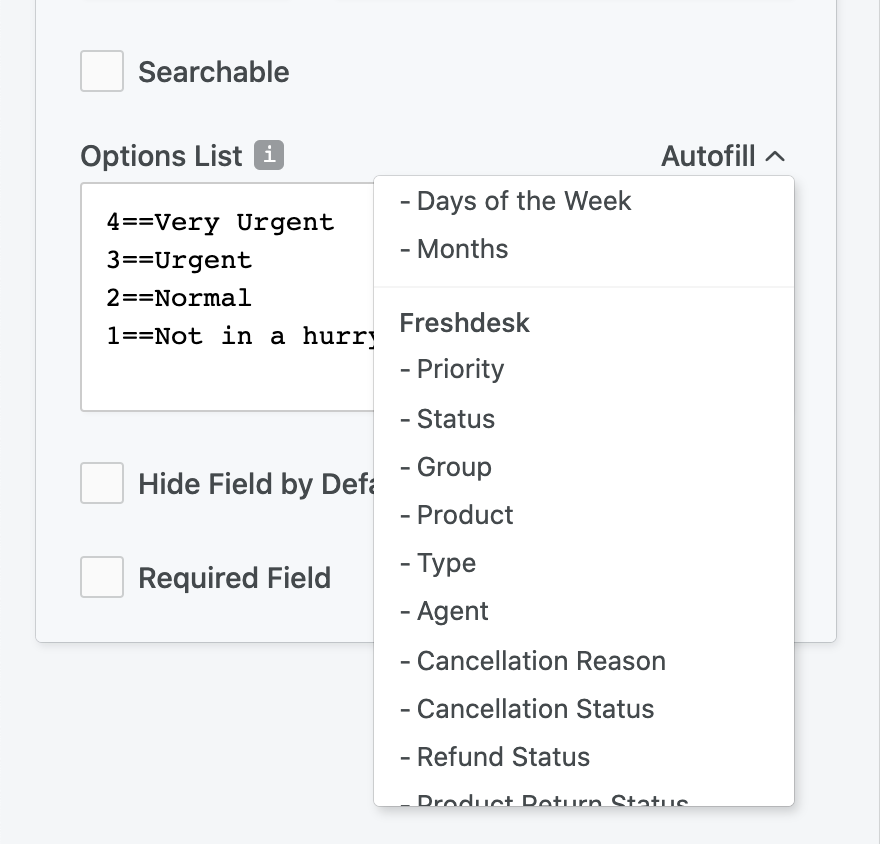
The first option on the list is 4==Very Urgent. The string before the == is the value, and the string after == is the text shown to users.
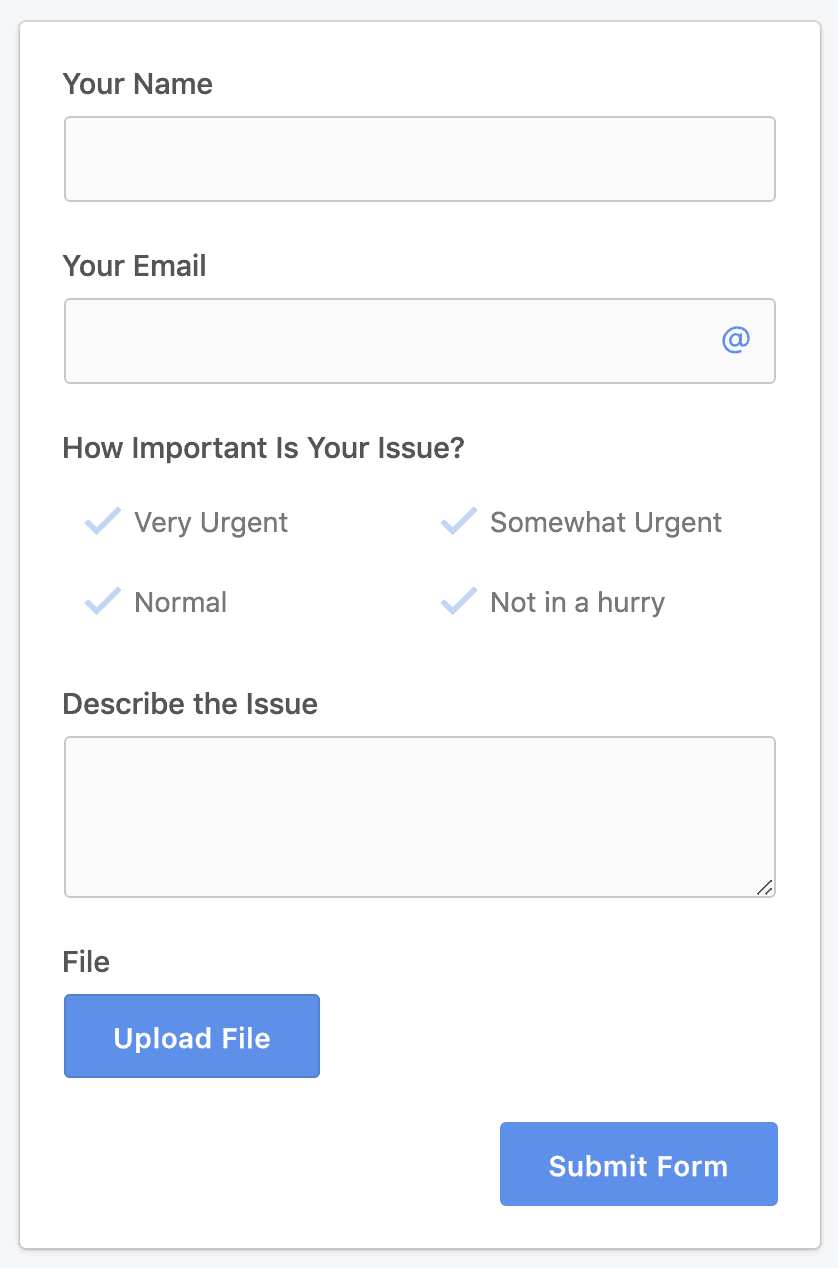
This should be our form right now:
3. Mapping form fields to Freshdesk fields
Last step is to map our form fields to their respective Freshdesk counterpart. Our mapping should look like this:
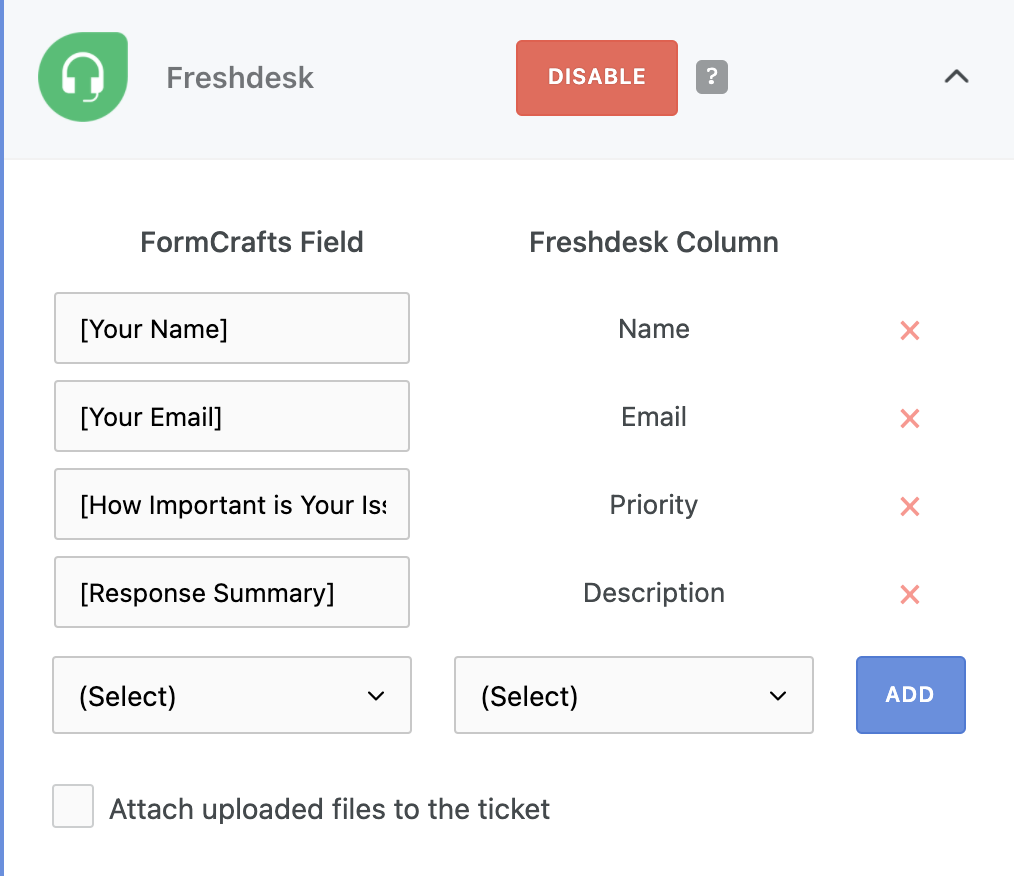
Note we can either map the field Describe the Issue to Freshdesk's Description, or as we did above, we can map Response Summary to Freshdesk's Description. Doing the latter ensures that all the form fields are shown in the ticket description.
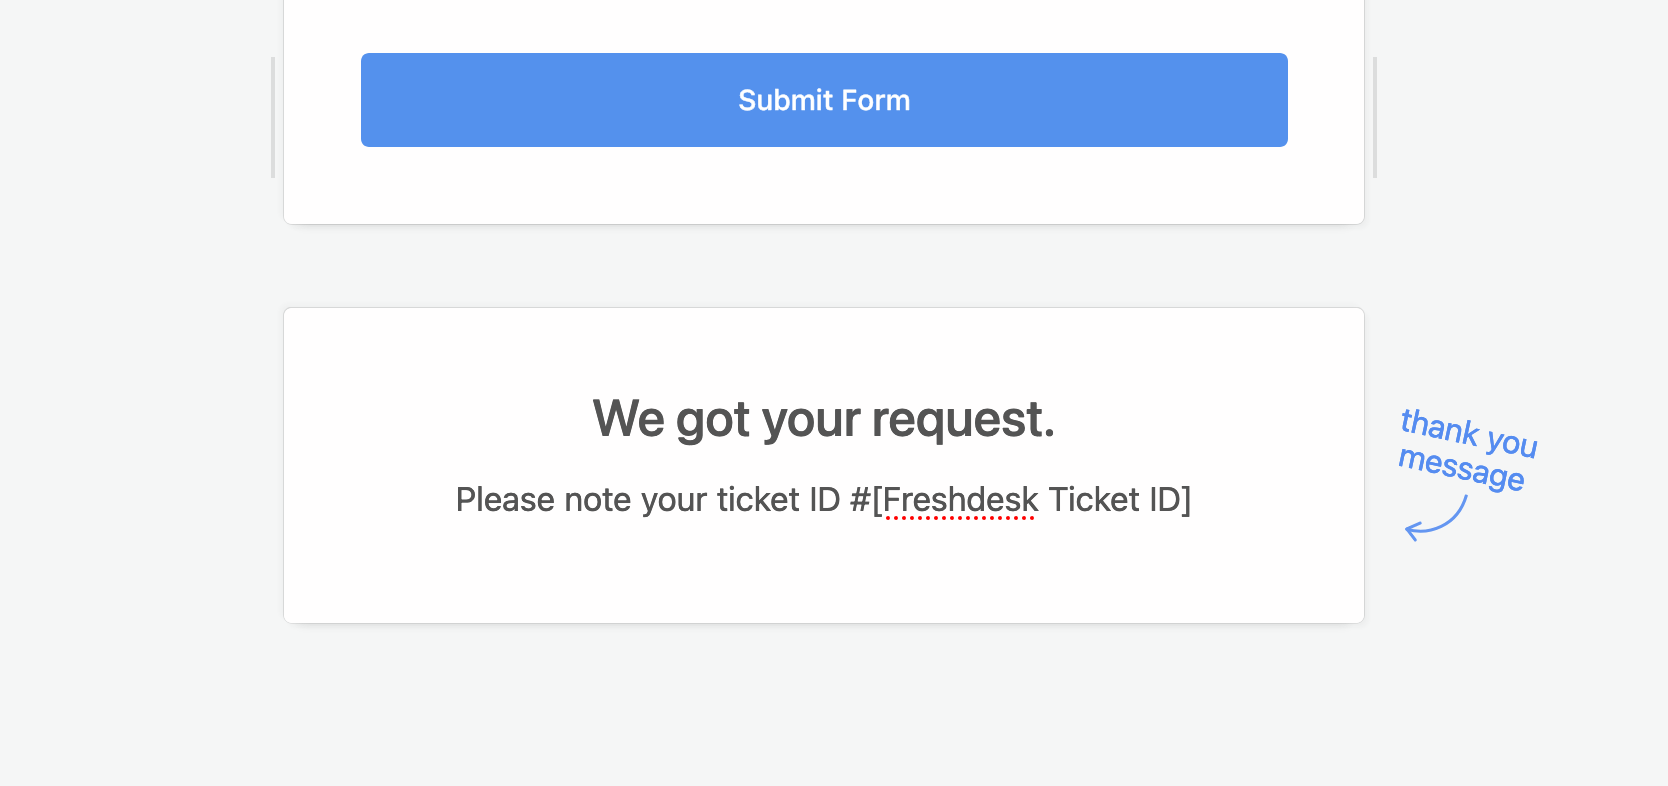
4. Showing ticket ID with the thank you message
You can modify the thank you message (which is below your form on the form edit screen) to include the tag [Freshdesk Ticket ID] so users can see their ticket ID when they submit the ticket.