How to Create a HubSpot Ticket Form
You can create powerful and intuitive support ticket forms in FormCrafts, and automatically turn responses into new service tickets in HubSpot.
You can automatically associate new tickets with existing HubSpot contacts, and even accept multiple file attachments.
Step 1
On the FormCrafts dashboard, click New Form. Enter the name and click Create Form.
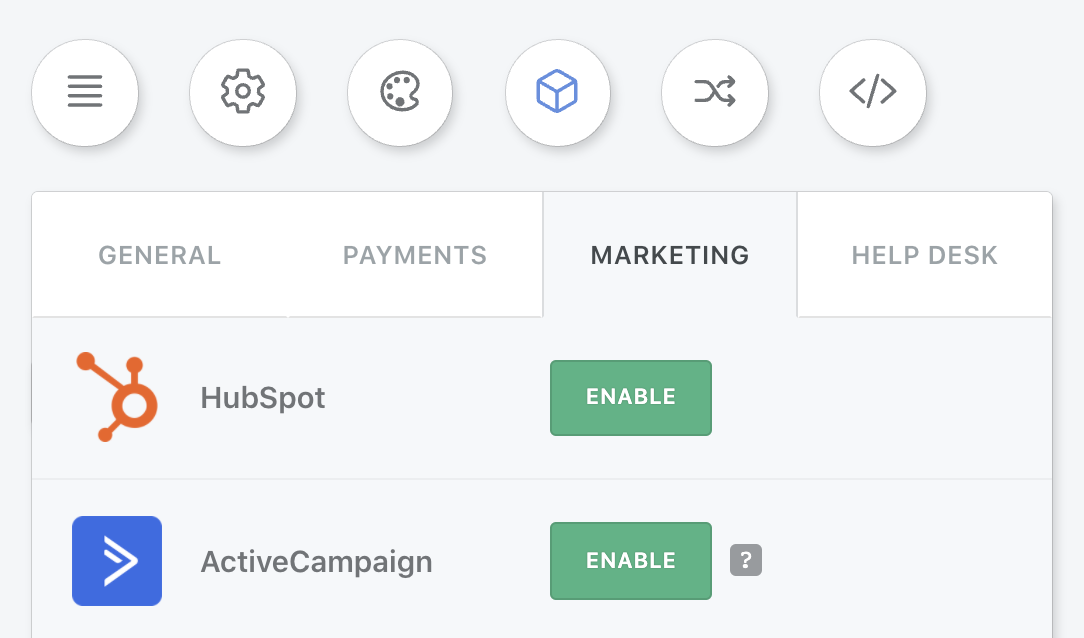
We are now on the form edit screen. Before adding fields enable HubSpot on your form. Click on Addons (top-left corner) -> Marketing -> HubSpot -> Enable.
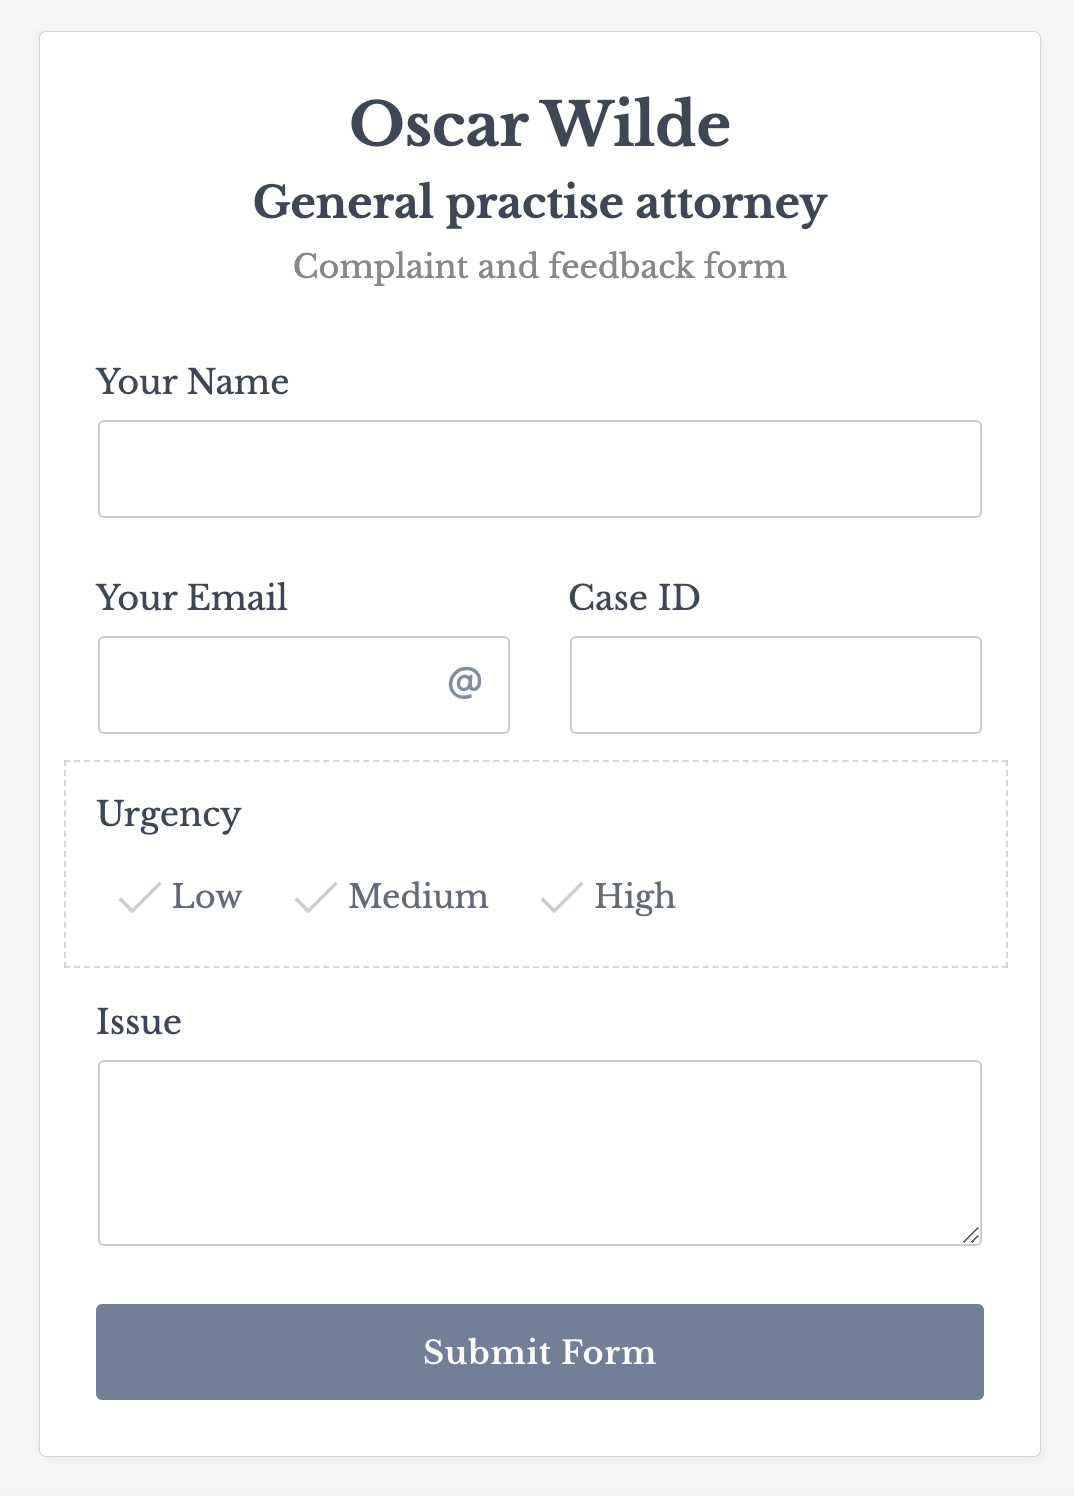
Now click on the Add Field icon to the top-right and add a couple of fields:
- custom text field
- one line input labelled Your Name
- email field labelled Your Email
- one line input labelled Case ID
- checkbox field labelled Urgency
- comment field labelled Issue
- submit field
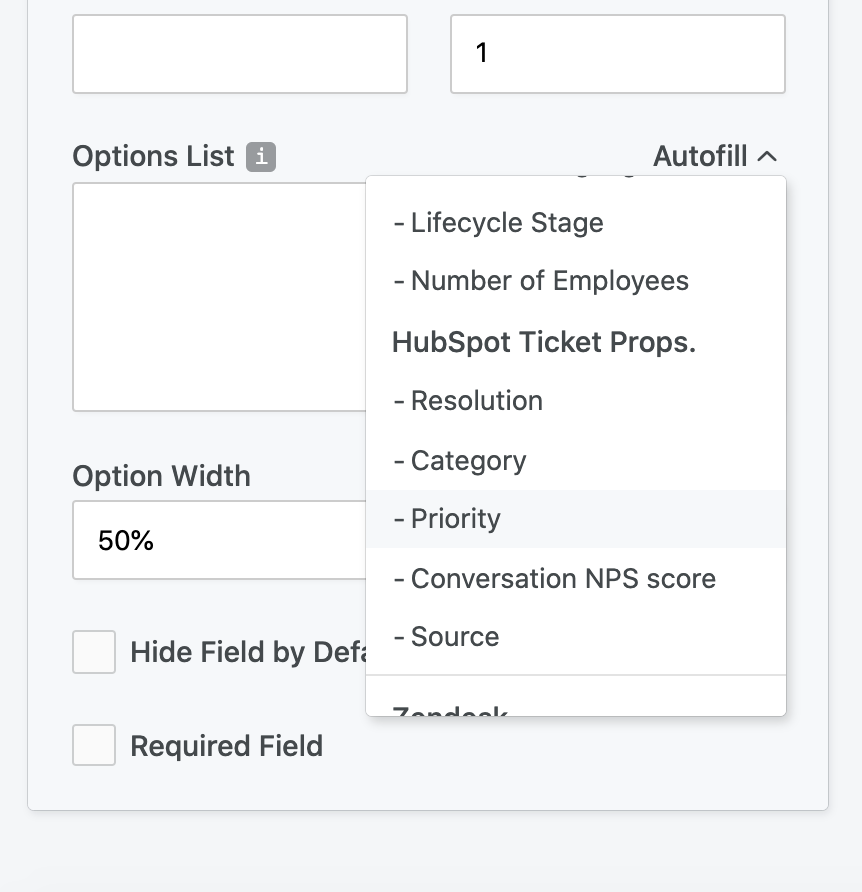
The checkbox field Urgency will be mapped to the Priority ticket property in HubSpot. With FormCrafts you can easily autofill the options defined in HubSpot. Edit your checkbox field and look for Autofill next to Options List. Here you would select HubSpot Ticket Props. → Priority.
Our form should now look like this:
Step 2
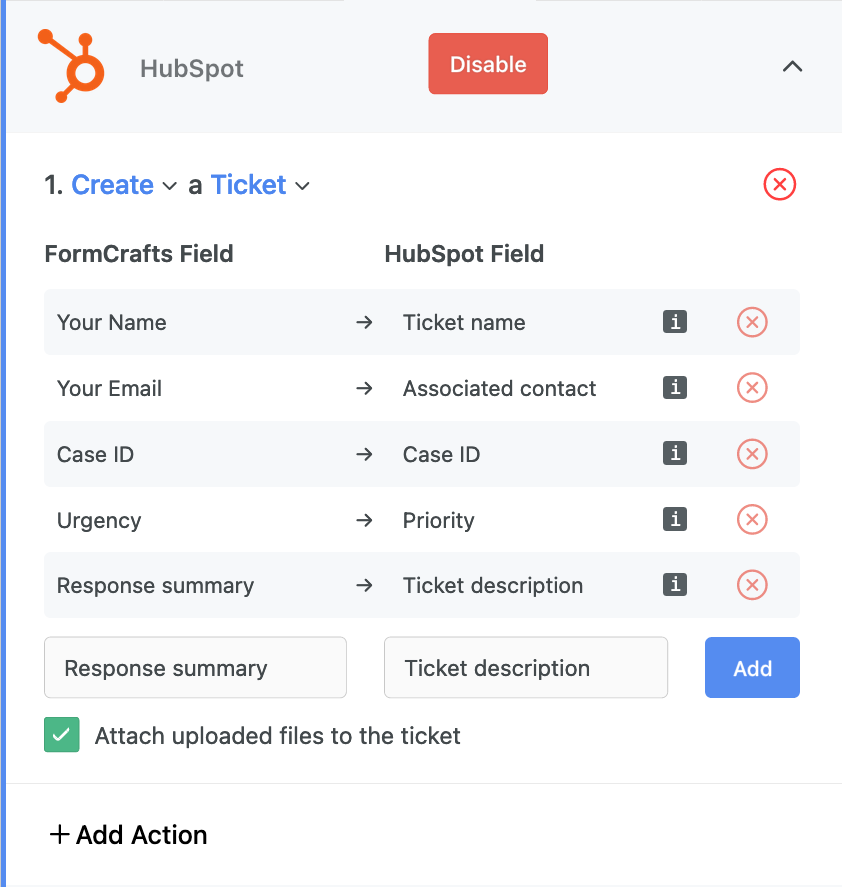
Click on Addons (top-left corner) -> Marketing -> HubSpot -> Enable. Once enabled click on Add Action. Under (select action) choose Create and under (select module) choose Ticket. Now we have to map our form fields to their respective HubSpot ticket columns.
Map Your Name field to Ticket name, Case ID to Case ID, Response Summary to Ticket description and Urgency to Priority.
We also map Your Email to Associated contact. This is what helps us associate the ticket with an existing contact.
Our final field mapping looks like this:
Step 3
Our HubSpot service ticket form is ready. Click on Preview (top-right) and fill out and submit the form to test it.