How to Use Custom Fonts
FormCrafts has a built-in selection of over 200 fonts. However, it is still possible to use custom fonts via services like Typekit and Google Fonts. We will use the tutorial below to use two fonts via Google Fonts on our form, and apply them to different parts of the form.
1. Select the fonts
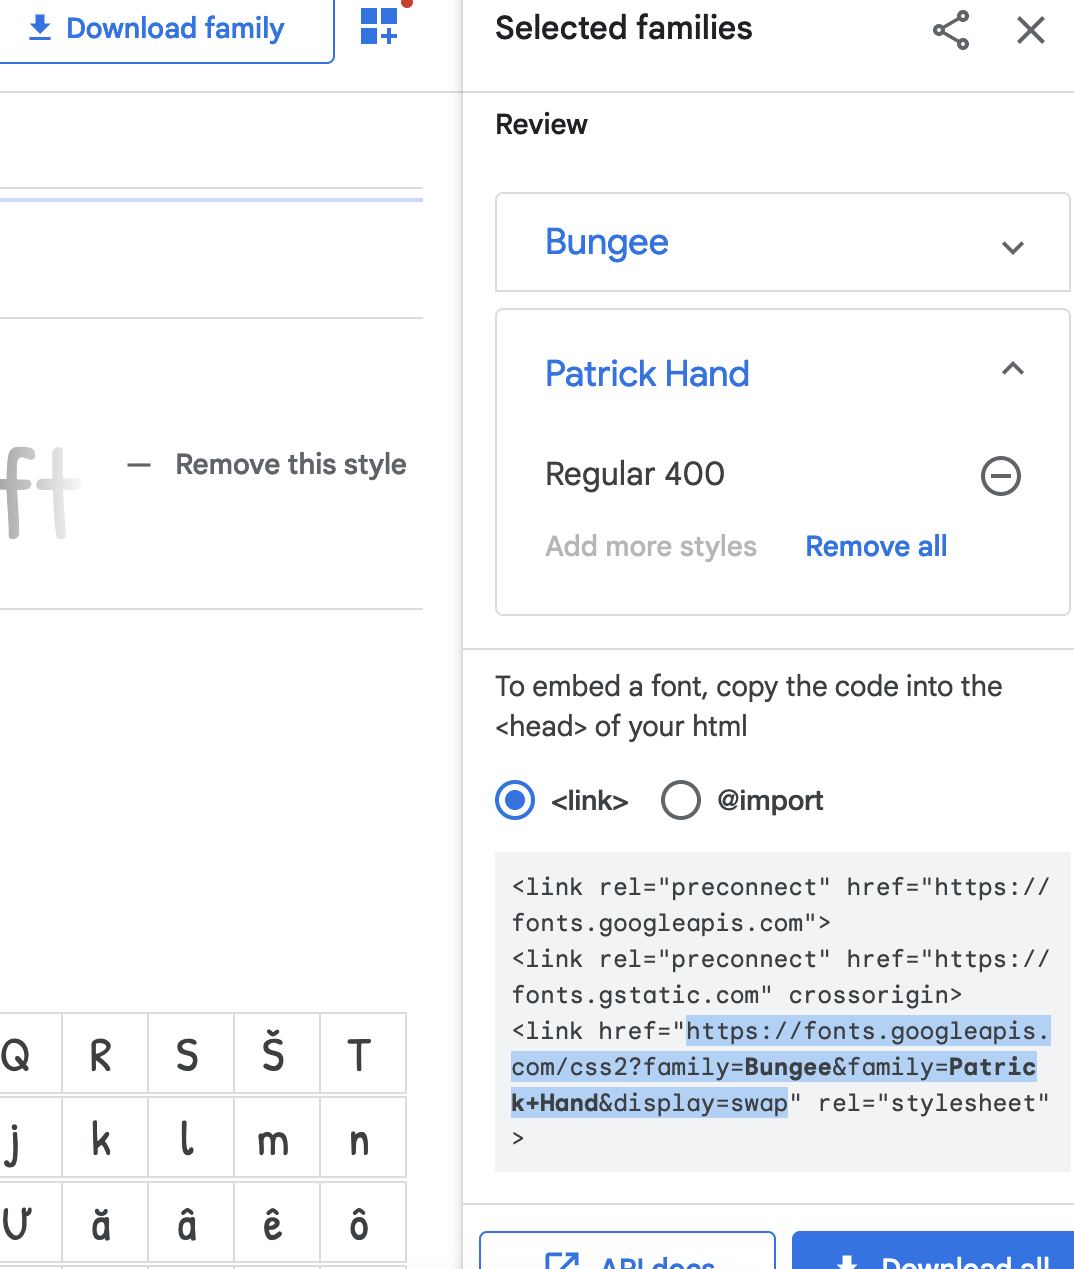
Visit fonts.google.com and choose the fonts you want to use. You can add fonts to the basket by clicking on Select this style. When you have selected one or more fonts you can view them by clicking on View your selected families on the top-right.
For this tutorial we have selected two fonts: Patrick Hand, and Bungee.
Here you can find a link with some instructions on how to use those fonts on your website. Make sure <link> is selected. We don't need the full embed code. We just need the link to their CSS file, as highlighted below. Copy this part.
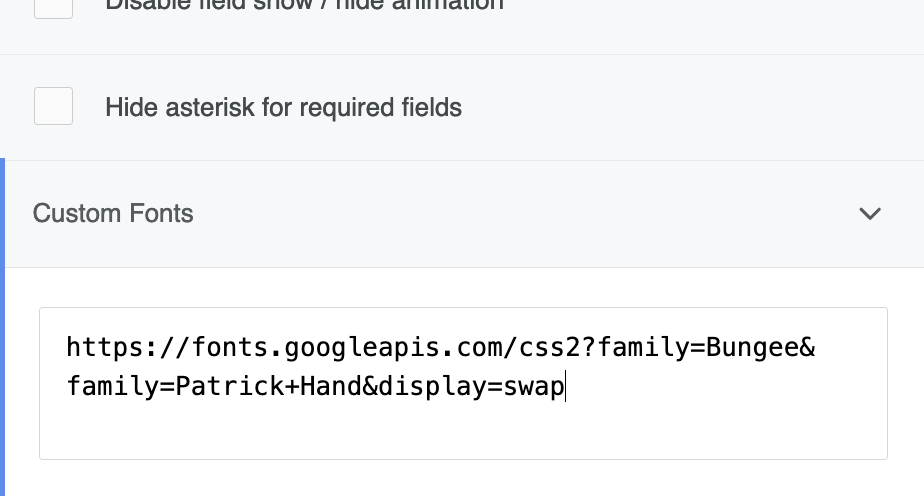
2. Load the fonts on your form
Next, edit your form in FormCrafts. Go to Styling (top-left) -> Advanced -> Custom Fonts. Here, paste the URL we coped above:
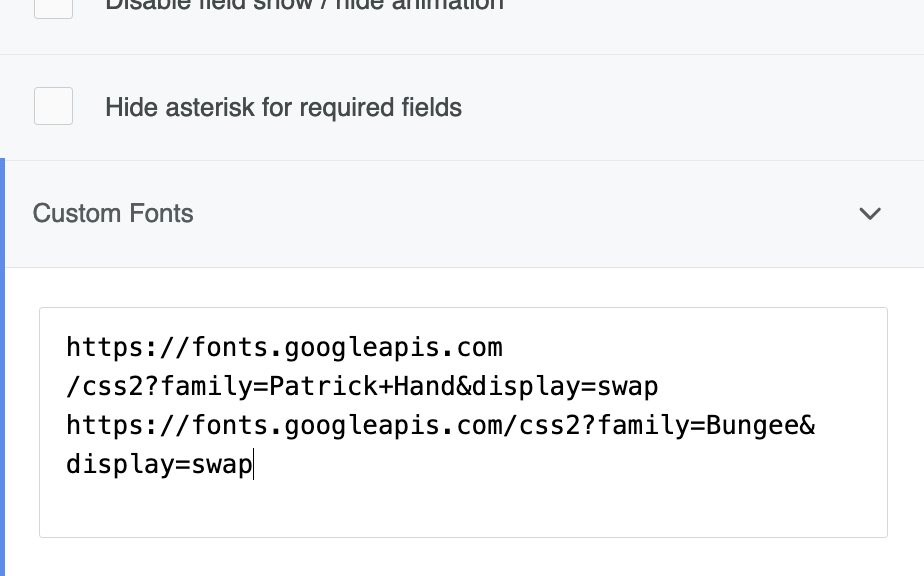
Note that if you wish to use fonts from multiple sources, each in different files, you can do so. Add a new line, and then paste the second URL, like below:
3. Apply the font on your form
Lastly, we need to add some Custom CSS to apply these fonts to the relevant parts of our form.
If you selected only one font and wish to apply it to the entire form, add this to Custom CSS:
body, form {
  font-family: "Patrick Hand", sans-serif;
}
However, we selected two font styles. To apply one style to your form (Patrick Hand) and the other style to the headings in your form (Bungee), use this Custom CSS instead:
body, form {
  font-family: "Patrick Hand", sans-serif;
}

form h1 {
  font-family: "Bungee", sans-serif;
}