How to Create Pipedrive Webforms
Introduction
Pipedrive has a webforms module for creating lead capture forms. Out of the box these forms are fast, customizable, and offer multiple sharing options. However, Pipedrive forms lack features if you want to create complex forms order forms, calculator forms, or split a webform across multiple pages.
In this tutorial, we will learn how to create powerful Pipedrive webforms using FormCrafts, with features not included in the default Pipedrive webforms module like:
- Multi-step forms
- Nested conditional logic / dependent fields
- Multi-file upload field
- Math calculations (to make quotation and estimation forms)
- Embeddable as inline forms or popup forms on any website
Our Pipedrive web forms will connect with Pipedrive, allowing us to turn responses into new leads or new deals.
1. Create a new webform
Create a free account on formcrafts.com. Once you confirm your email, go to your dashboard and click New Form -> Template. For this tutorial, we will select the Request quote template.
The Request quote form uses math calculations to value a house. The house has a base value which is determined by the number of bedrooms. The customer can then select house attributes, like Historic Building. These house attributes can increase or decrease the value of the house. You can assign positive or negative amount values to each attribute, and allow selecting multiple attributes.
The form also allows user to enter their email address to request a personalized quotation, which makes this an efficient lead capture form.
Click on Select template. On the next screen, enter a form name and press Enter.

2. Add additional form fields
Our form asks for an email address, but we should modify it to ask for more information. On the form edit screen go to Add Field (top-right) and add a One-line input field. Label this field Your name. Also, add a Comment field, and label it Any comments?
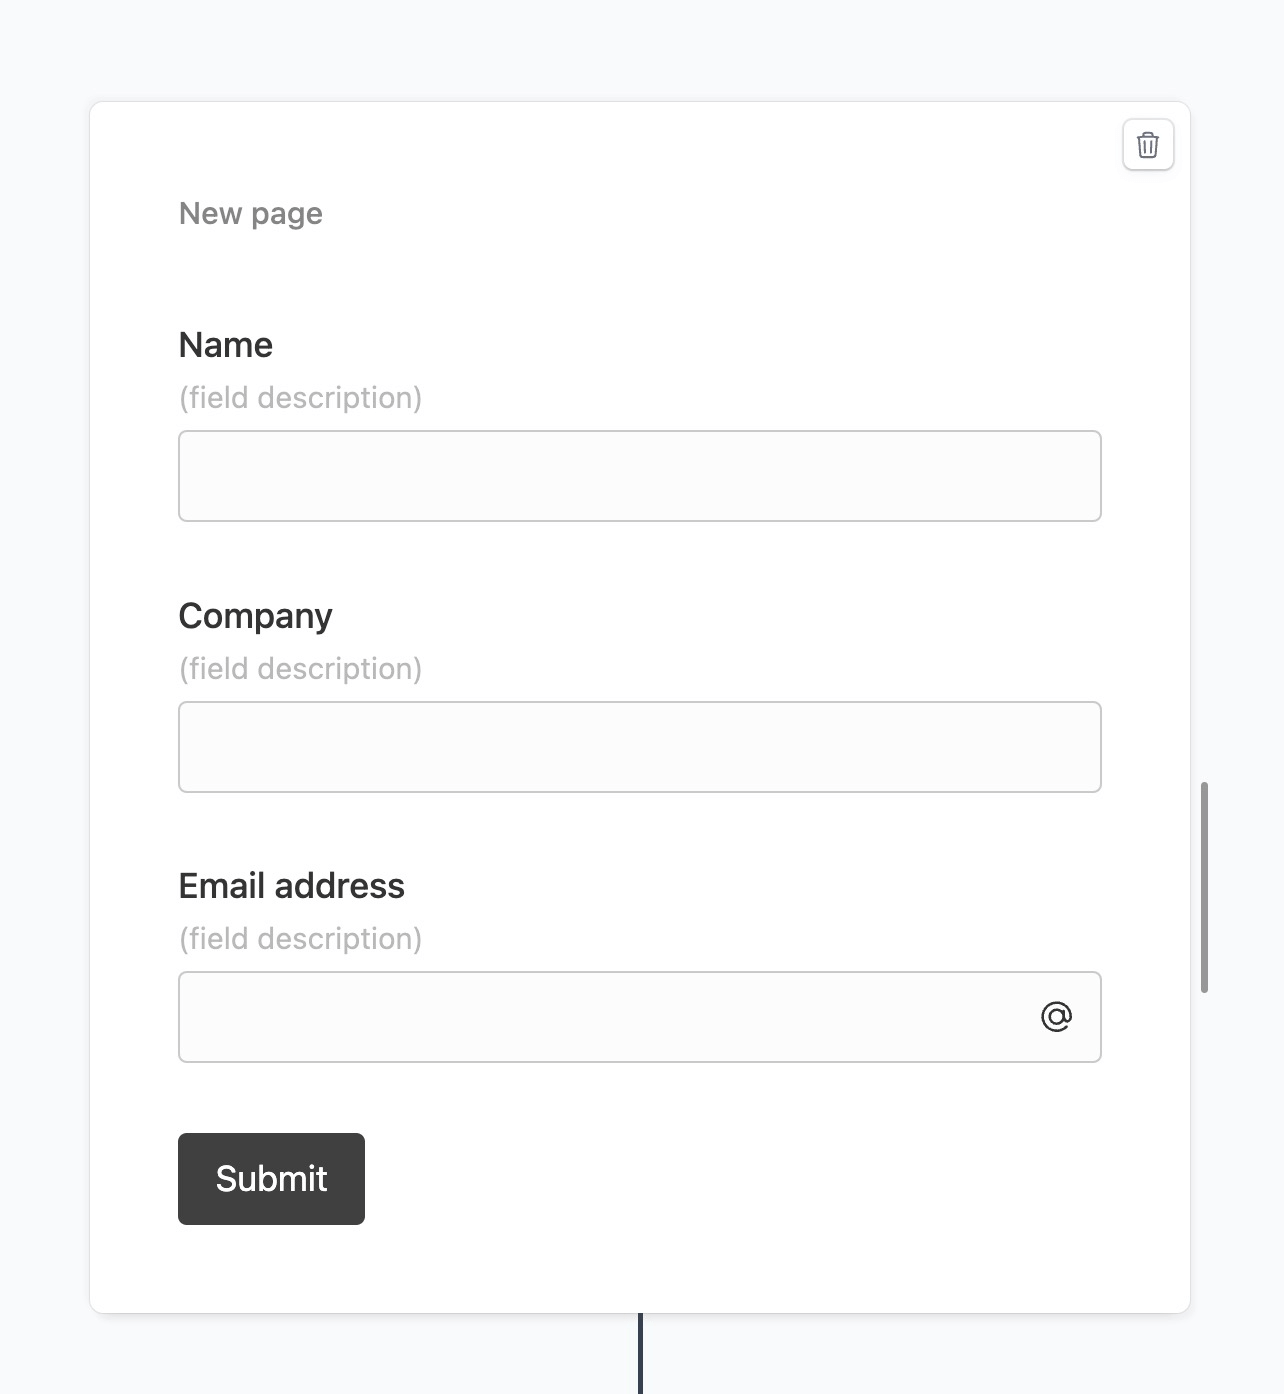
Our form should now look like this:

3. Connect with Pipedrive
Our webform is already ready to accept responses. However we are looking to create new leads based on those responses, so we first have to configure the Pipedrive add-on for our form.
On the form edit page go to Addons (top-left) -> CRM and enable Pipedrive. On the next screen, you would be asked to authorize FormCrafts to access your Pipedrive account.

4. Map regular form fields to Pipedrive
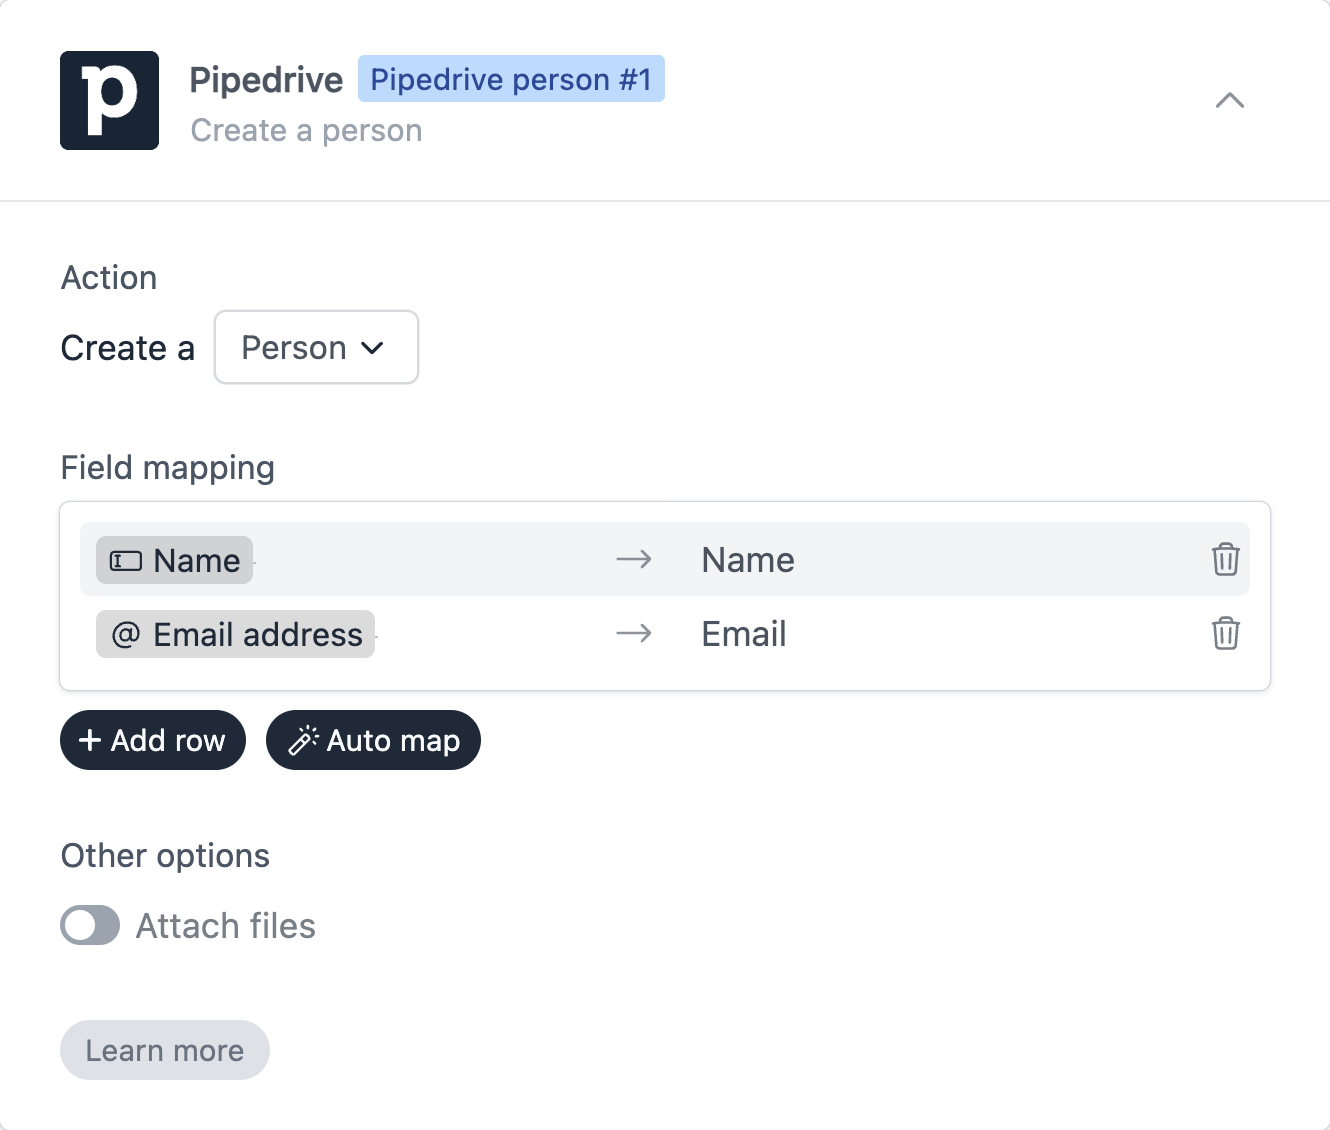
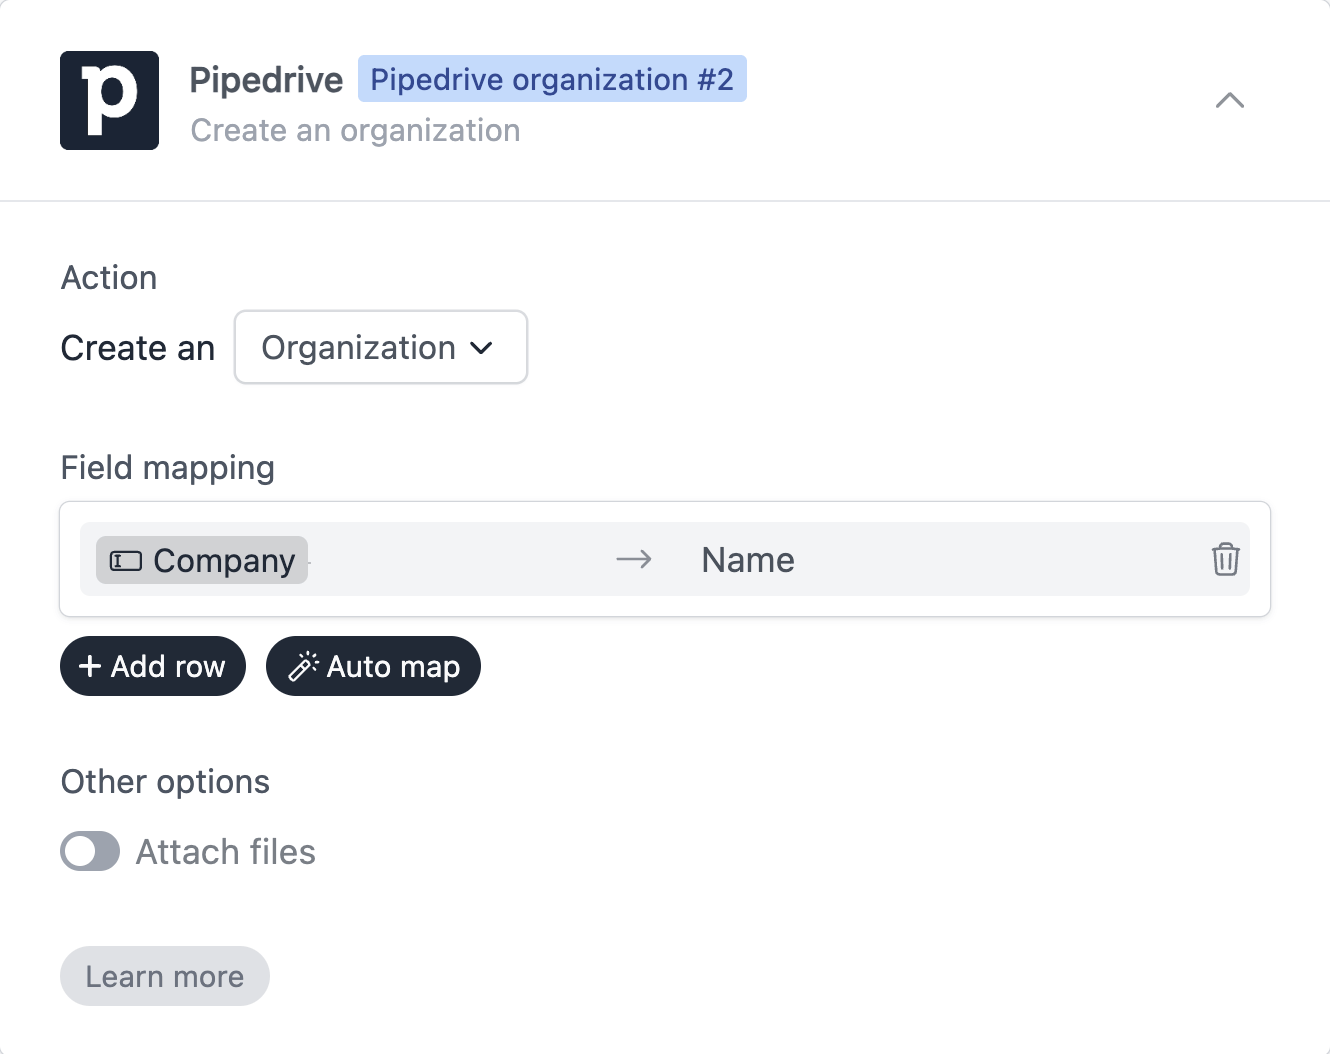
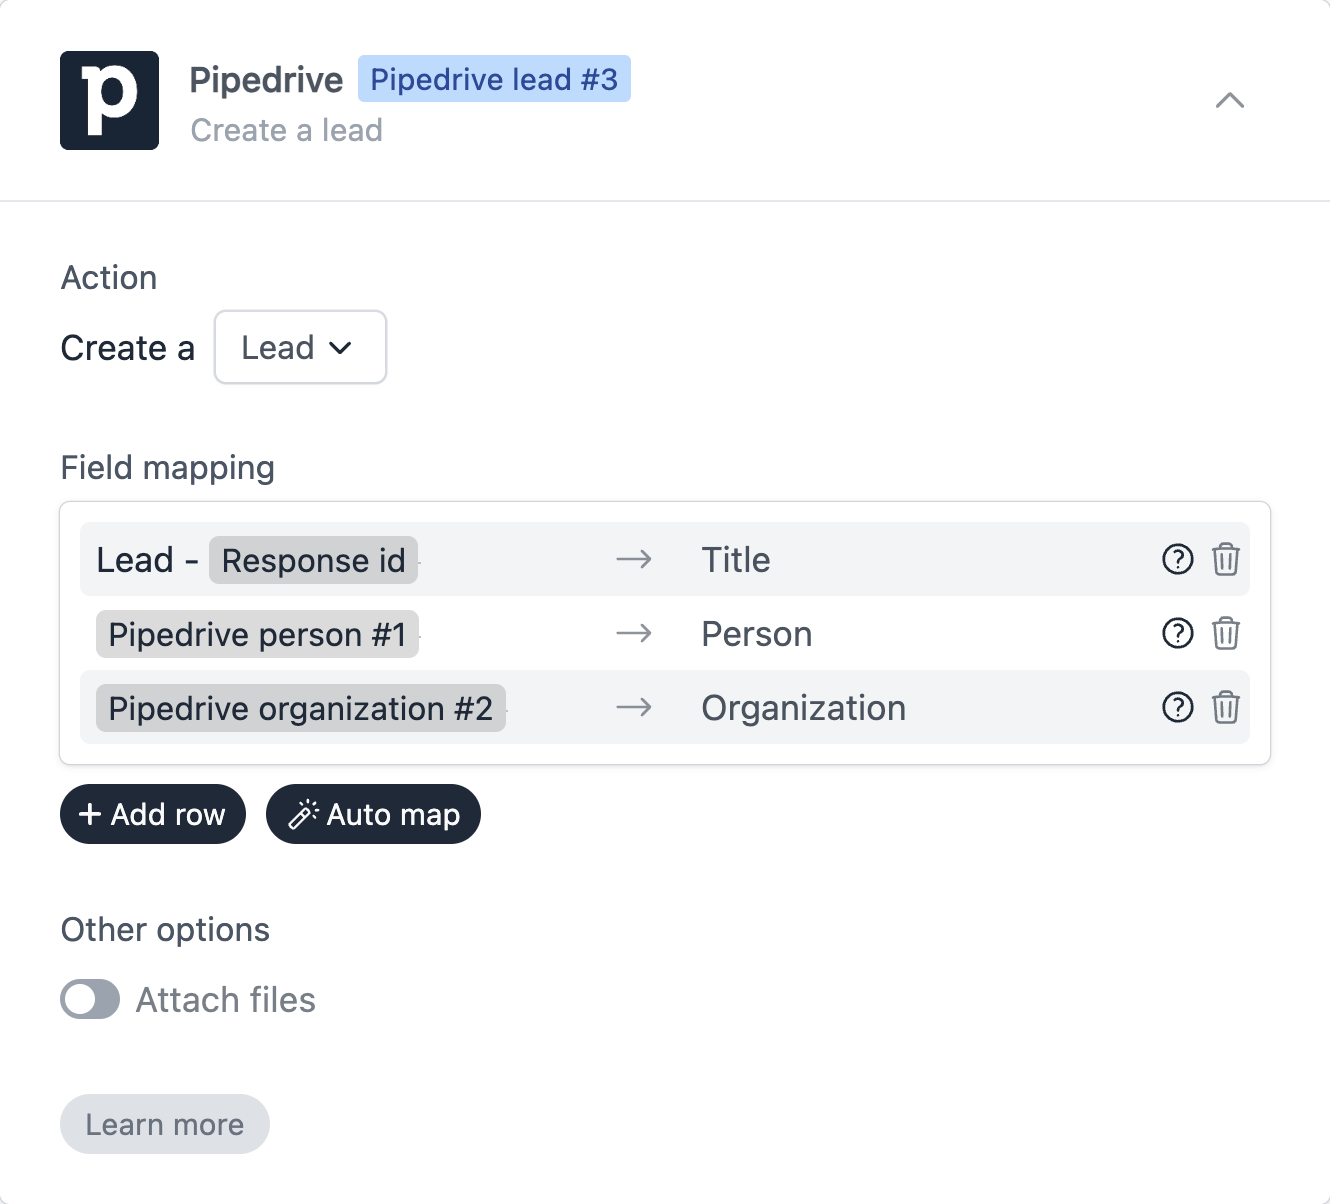
The last step is to link our web form fields to Pipedrive. Check the option Create Lead and then create the following field maps:
- Map Your name to Lead: Title and Person: Name
- Next, map Your email to Person: Email
- Lastly, map Any comments to Lead: Note

Note that we mapped the Any comments? field to Lead: Note. If you want to show all the form answers as a part of the note (instead of just the Comment field) you can map Response Summary to Lead: Note.
5. Map custom form fields to Pipedrive
In the above case, we mapped simple input and email fields to Pipedrive. How does one go about mapping custom fields, especially fields like checkboxes and dropdowns? You can create custom checkbox fields (multiple options or single option) in Pipedrive under Company Settings -> Company -> Data Fields. For this example let us create a custom field called Interested in

Now, in FormCrafts add a checkbox field via Add Field -> Basic -> Checkbox. When editing the field look for Autofill next to Options list and find Interested in (lead). If you click on this FormCrafts will read the options from Pipedrive and turn them into field options. Thi allows you to skip having to manually enter options for the field.

What are those numbers - 16, 17, 18, 22? Pipedrive has IDs for each option. Our first option is 16==Demo, meaning we will show the text Demo to the user, but use the ID 16 when sending the data over to Pipedrive. Lastly, map this field to the correct Pipedrive counterpart, under Addons -> CRM -> Pipedrive.

6. Share the Pipedrive webform
Our Pipedrive contact form is ready, and we can easily share or embed it anywhere.
All web forms come with an easy share link that looks like this:
formcrafts.com/a/mqpoqa
The form links can be edited to include a custom subdomain, and a custom link, like:
example.formcrafts.com/my-form
You can also embed your Pipedrive web forms on any website, as inline forms or popup forms. Forms can be embedded on custom websites, or CMSs like WordPress, Shopify, Wix, HubSpot, Squarespace etc ... Learn more about embedding forms.
To access these embed options click on Share / Embed (top-left corner).

Advanced form features
Accept files on the webform
You can also use our webform to accept files. To do so add a file upload field to your form, via Add Field -> File Upload. Next, under Addons -> Pipedrive check the option Attach uploaded files to the deal / person / organization.
You can edit the file upload field to specify the minimum and maximum file size allowed. You can also restrict the maximum number of files that can be uploaded, and the file extensions allowed.
Use conditional logic
FormCrafts has a powerful conditional logic module. Form conditions can be used to:
- Show and hide fields (useful for creating dependent fields)
- Redirect users to a custom URL
- Send emails to particular email addresses
- Trigger integrations (like Pipedrive)
Learn how to configure conditional logic in your forms.
Create multi-step forms
In FormCrafts creating a multi-step form is as easy as adding a new form field. Your form can contain any number of fields and pages.
Under Styling you can enable Form progress and Page titles to make the form experience more intuitive.
Interested to learn how to create multi-step forms? View our tutorial on creating multi-step forms.
Pipedrive webform templates
FormCrafts has a collection of well-curated form templates. Instead of focusing on quantity and offering thousands of templates, we offer a smaller selection of well-designed templates that we keep improving upon. For Pipedrive forms try some of our recommendations below:
Multi-step website consult request
You can use any FormCrafts form template as a starting point of your form.