How to Create a Contact Form for Zoho CRM
Create a new form
You can start by creating a free user account on FormCrafts.com here. On the FormCrafts dashboard click on New Form. Here you can choose to start with a blank form or use one of the form templates to get started. If you are using a form template skip the next step in this tutorial.
Add fields to your form
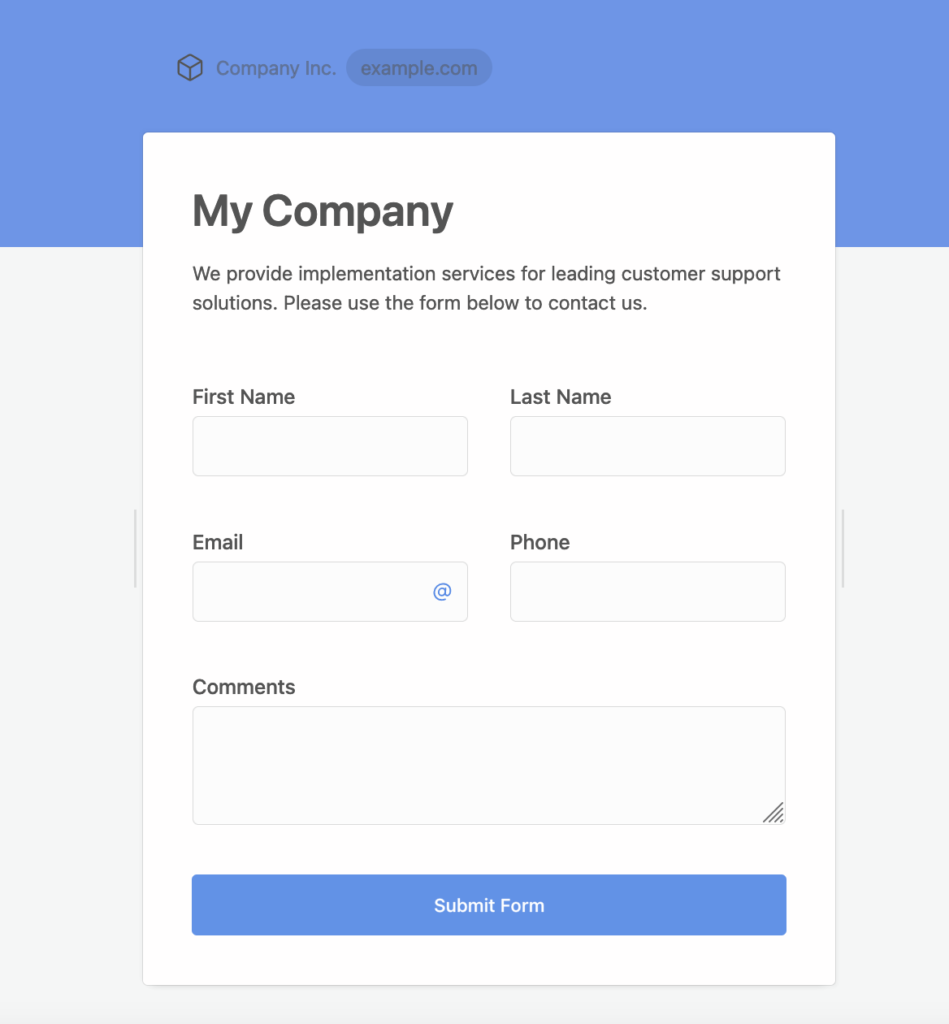
You should now be on the form edit page. To add fields to your form click on Add Field on the top-right corner of the page. For this tutorial we will add the following fields to our form:
- Custom text field for the form title and description
- A one-line-text field for first name, and another one for last name
- An email field
- A phone field
- A comment field
Our form is ready to be used. You can click on the Preview button on the top right corner and submit the form.
Enable and configure Zoho CRM
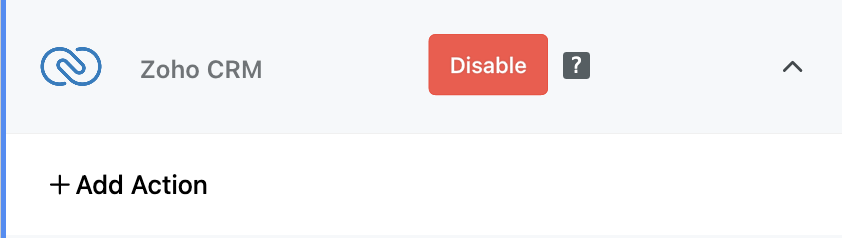
While our form is ready, we haven't linked it to Zoho CRM. We want our form to create a new lead in Zoho. To do so go to Addons on the top-right corner, then click on CRM, and enable Zoho. You will be prompted to login. Once enabled you will be able to add actions. The addon allows you to create or update one or more objects in Zoho CRM on every form submit, and each of these objects / actions can be configured by clicking on Add Action.
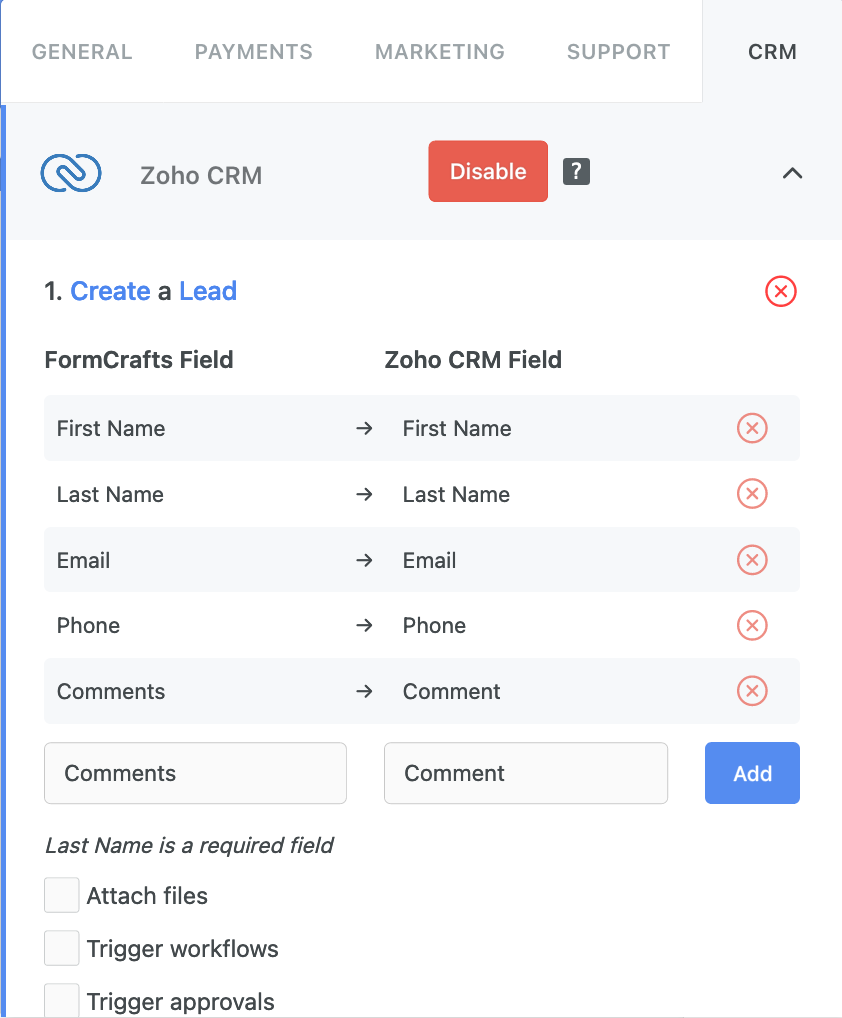
For this tutorial we will simple create a new lead on every form submit. Click on Add Action. Under (select action) select Create, and under (select module) select Lead.
The next step is to link our form fields to Zoho CRM fields.
Under (form field) select First Name and under (Zoho CRM field) select First Name. Click on add. This will create a field mapping. Similarly we will link the rest of our form fields to Zoho CRM fields.
Our form is ready to be used. You can click on Preview and submit the form, and it should create a new lead in Zoho CRM. Our Zoho CRM addon has other powerful features that you can read about below:
Other features
Create a linked record
You can use the Zoho CRM addon to create linked records like calls, tasks, events, or notes. We learnt how to create a new lead in Zoho CRM above. To add a note to that lead, click on Add Action. Under (select action) select Create, and under (select module) select Note. Under (lookup type) select Lead. We can now map form fields like we did above.
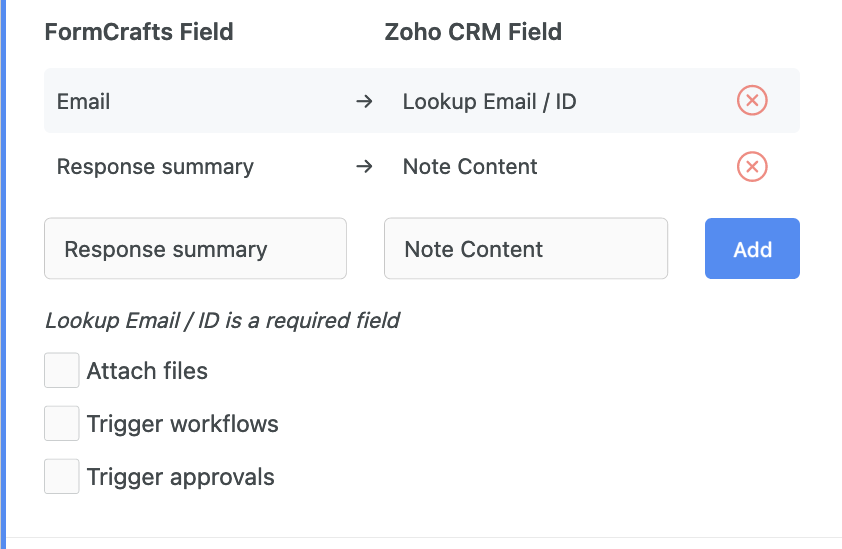
Notice that we mapped Response Summary to Note Content. Response Summary is special type of field that summarizes all form data. In the above case when a note is created, the content of that note would be the summarized form data.
Add tags
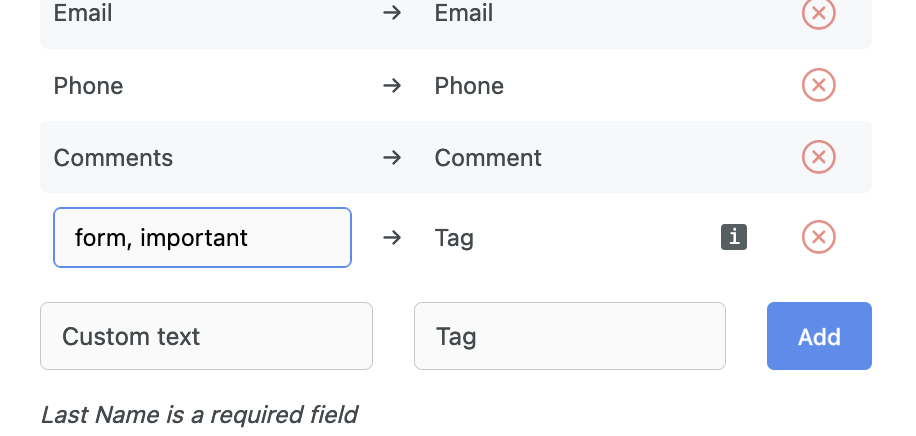
You can add tags to your module, via the form. One simple way is to map a field like checkbox or dropdown to the Tag field in Zoho. If you don't want to map a form field, but would like to define the tags beforehand, you can do so. Under (FormCraft field) select Custom Text and under (Zoho CRM field) select Tags. Click on Add. Where it says Type ... type in form, important. This will add two tags (form and important) to newly created leads.
Attach files
You can accept files on your form, and attach them to newly created Zoho CRM modules, like Leads. Firstly add a file upload field to your form via Add Field -> Basic -> File Upload. Next, go to Add-ons -> CRM -> Zoho, and check the option Attach Files to the module you want to attach files to.
Embed / Share forms
There are two ways to share your forms. Click on the Share / Embed button on the top-left corner of the screen. Here you will find a form link that can be easily shared. You can modify this link, and also add a custom domain to make your form link look something like:
company.formcrafts.com/my-form
The other way is to embed your forms on a website, either as an inline form or a popup form. You can find the embed code when you click on the Embed tab.
For some CMSs like WordPress we have special instructions to follow:
https://formcrafts.com/help/create/how-to-embed-forms-on-wordpress